
Pasta 101
Pasta is a staple in our home. I love all types of pasta, but there is something extremely satisfying in making pasta noodles from scratch. Not to mention, kneading the dough is a great arm workout. This simple, versatile recipe will make you a pasta expert in no time.
Homemade pasta dough has been trial and error for me. Many recipes, and even a cooking class I attended, only use all-purpose flour. While this works, and will turn out just fine if it’s all you have, the finished noodles don’t have that bite that you want in an al dente pasta. This recipe calls for equal parts all-purpose and Semolina flour. I would go even further to say you could increase the amount of Semolina to a 2:1 ratio. The other problem I’ve had with making fresh pasta is overcooking the noodles. Most recipes say to cook 3-5 minutes. I say that’s too long. Trust in the floating test. Once your noodles rise to the surface, take them out with a slotted spoon. Overcooked noodles are a chewy, slimy mess.
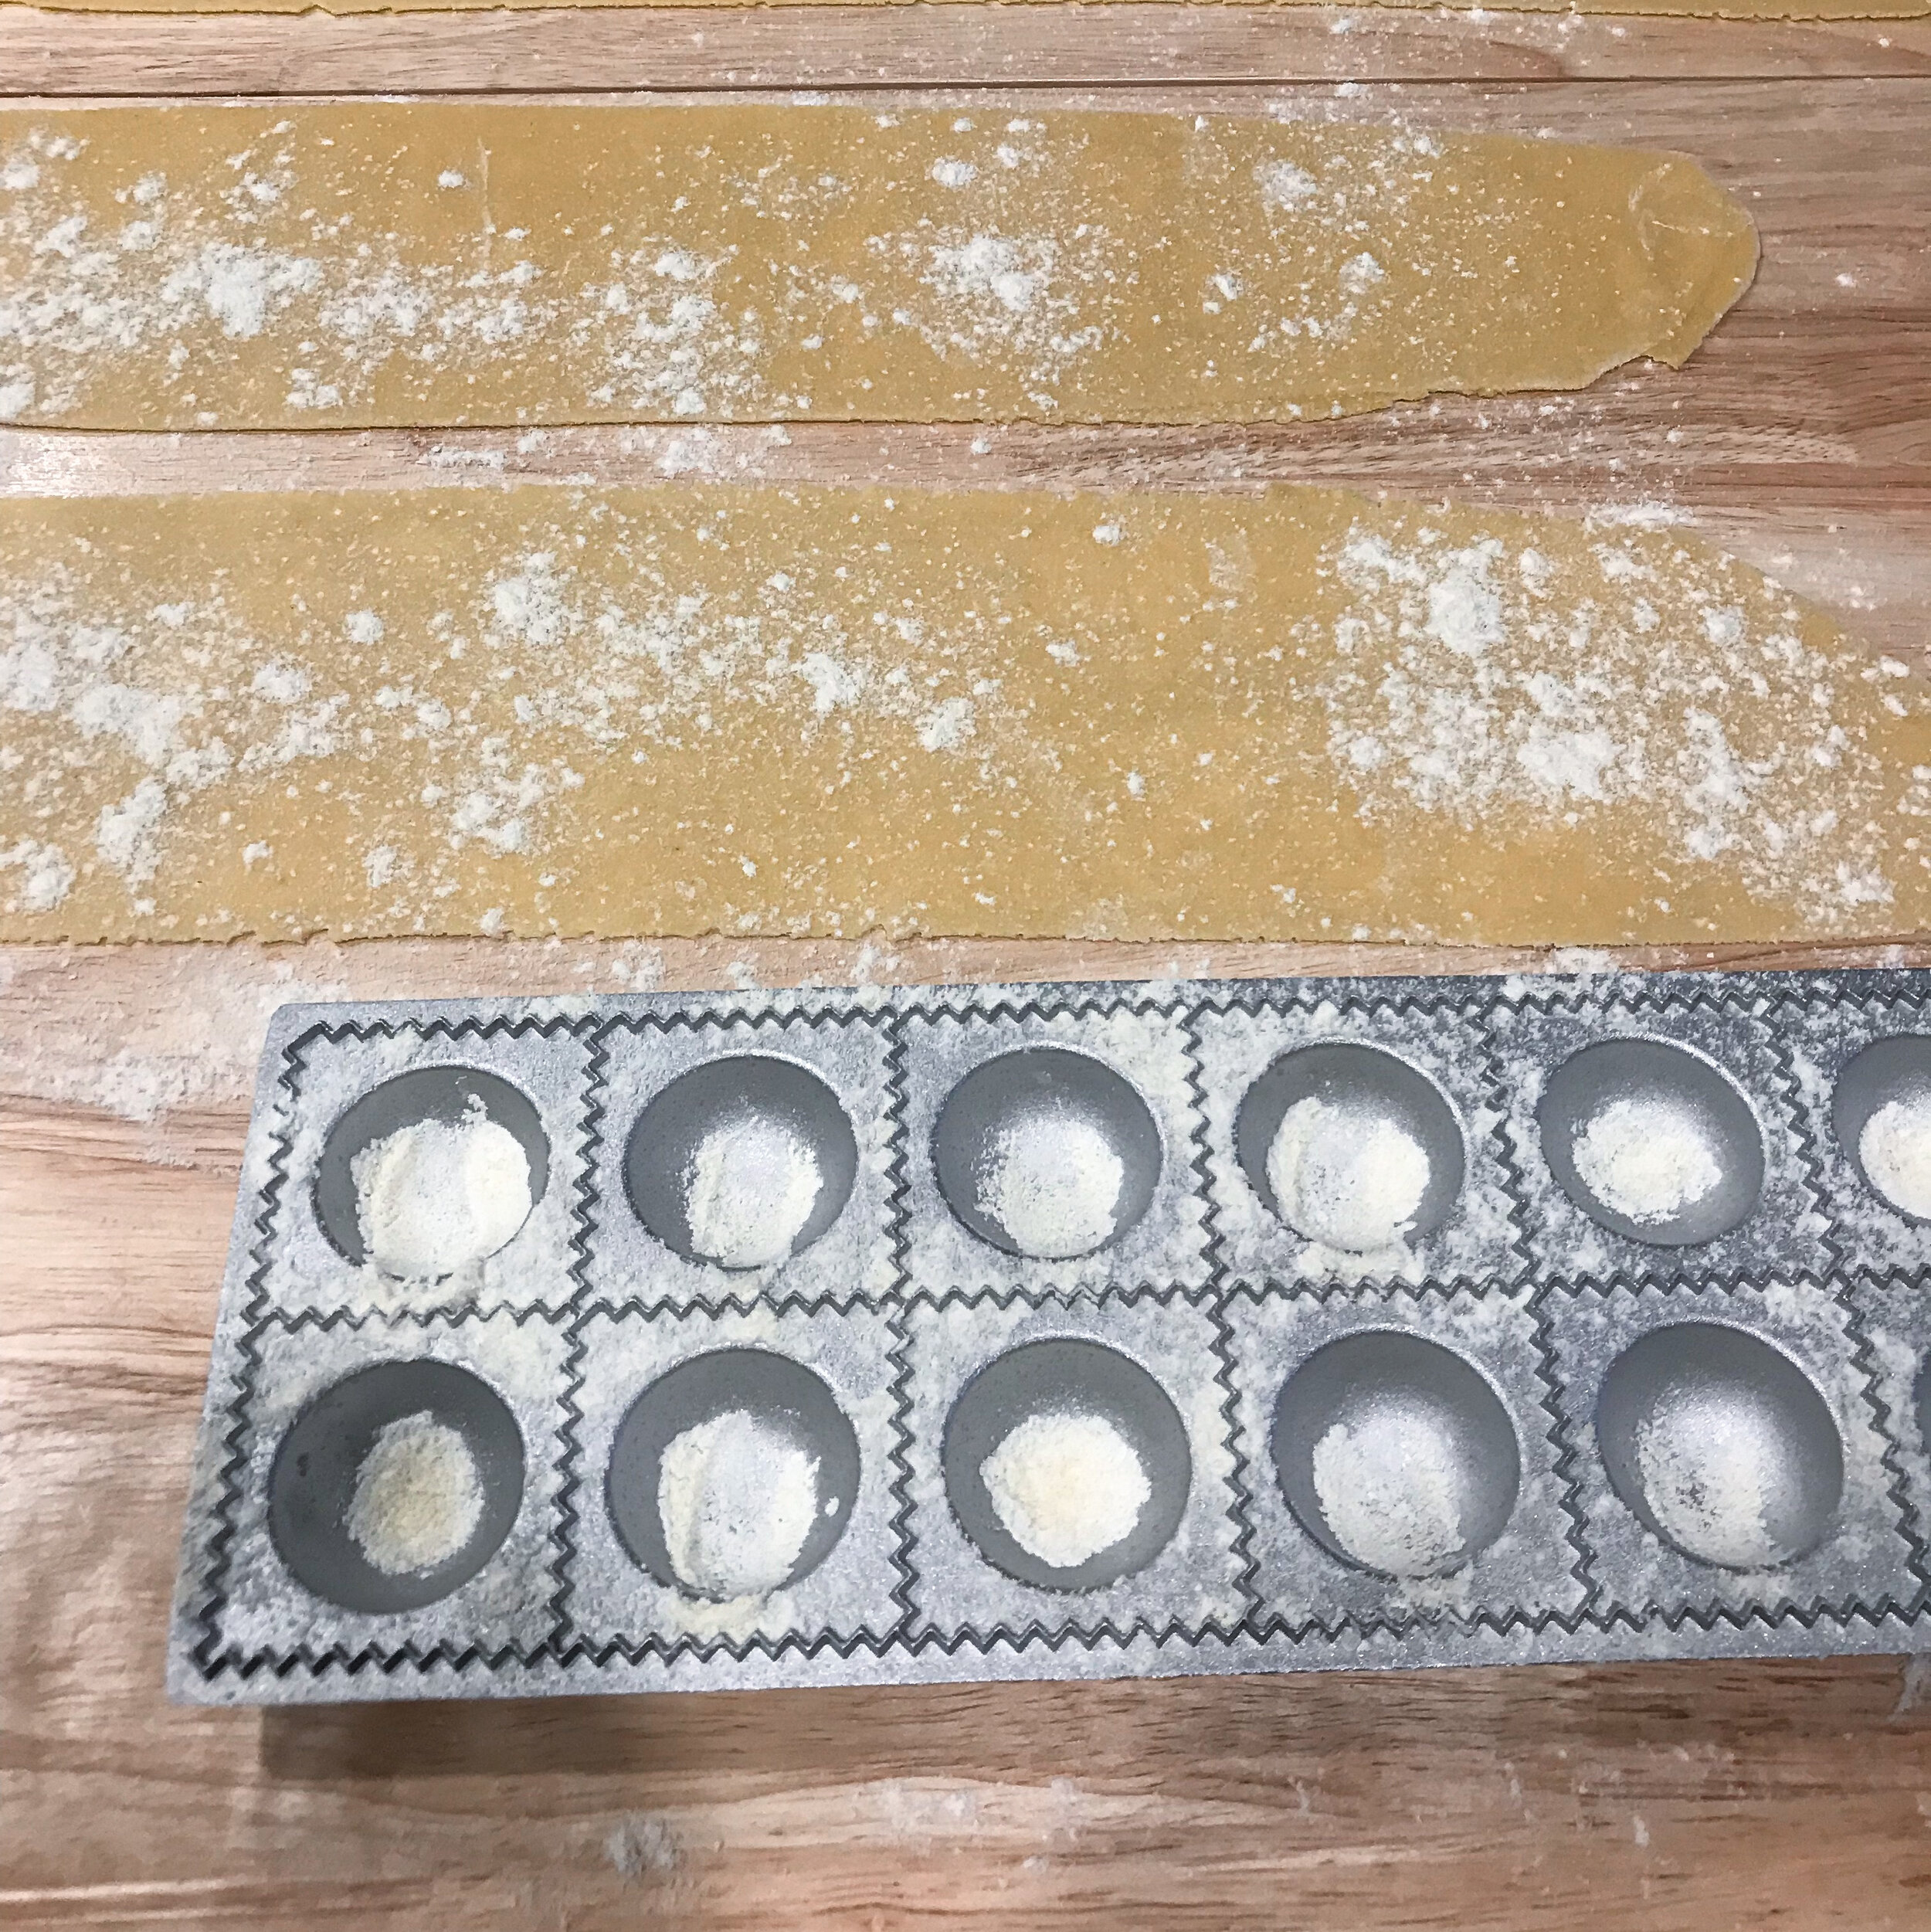
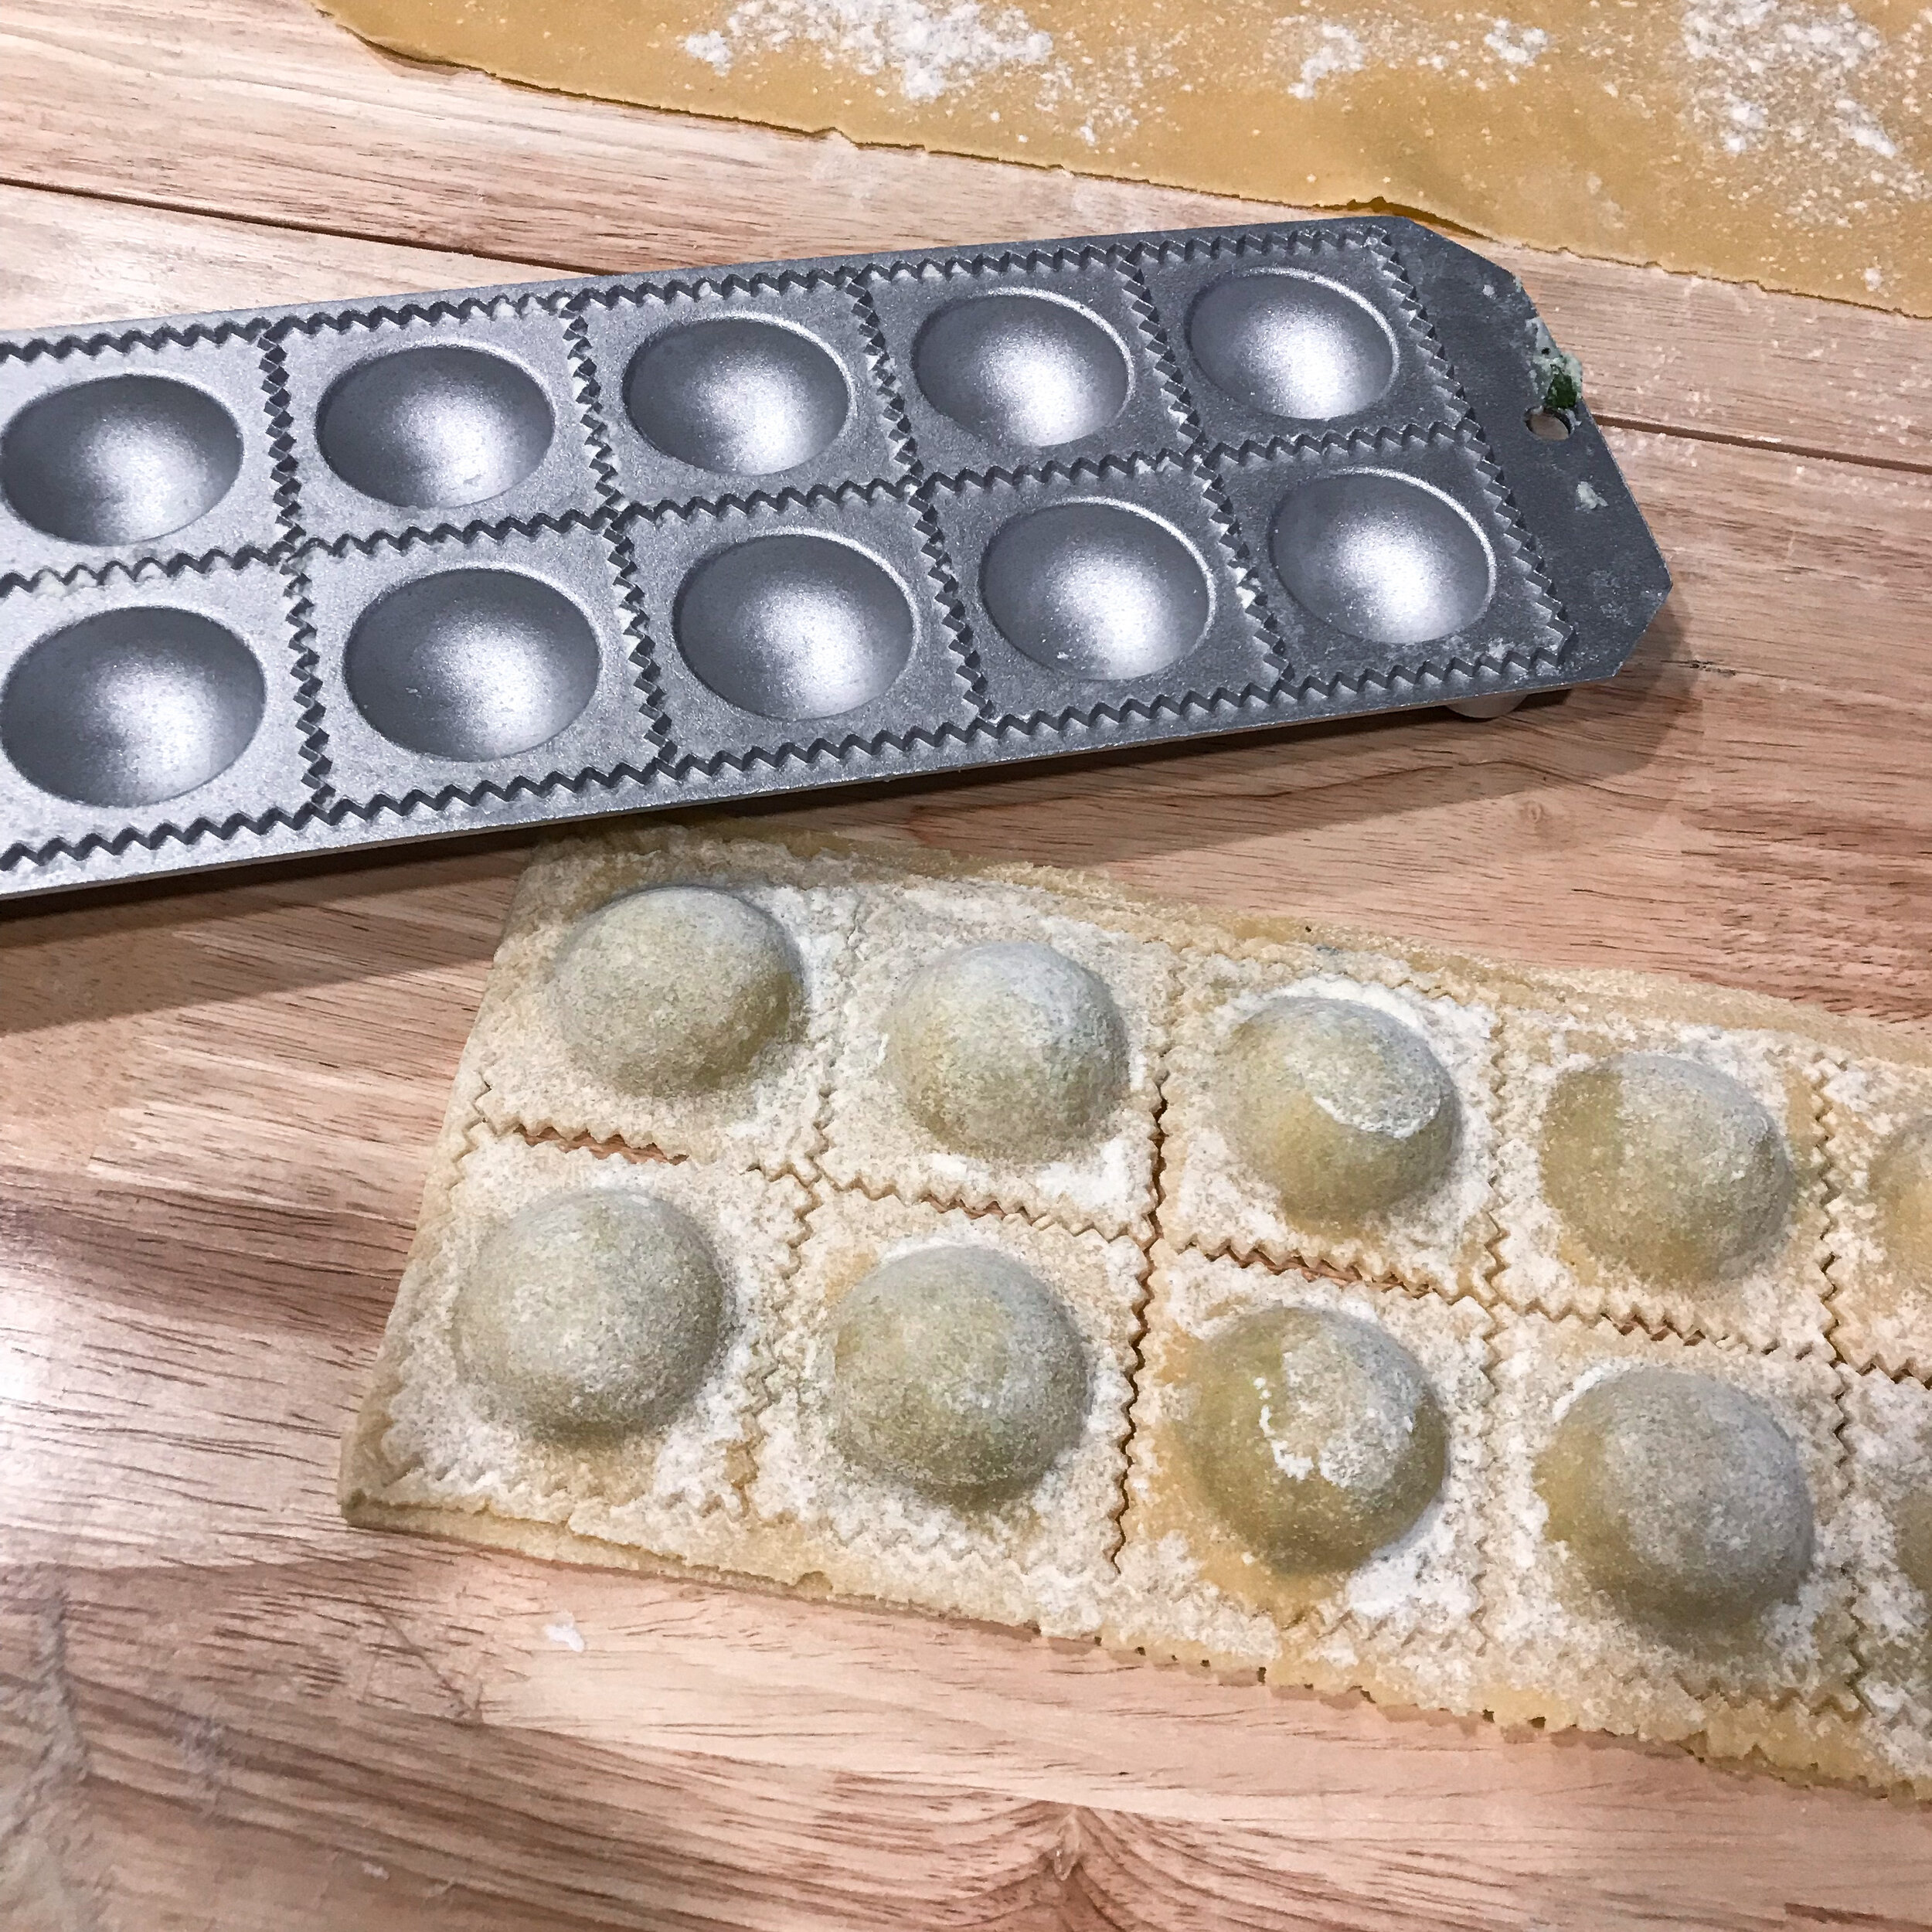
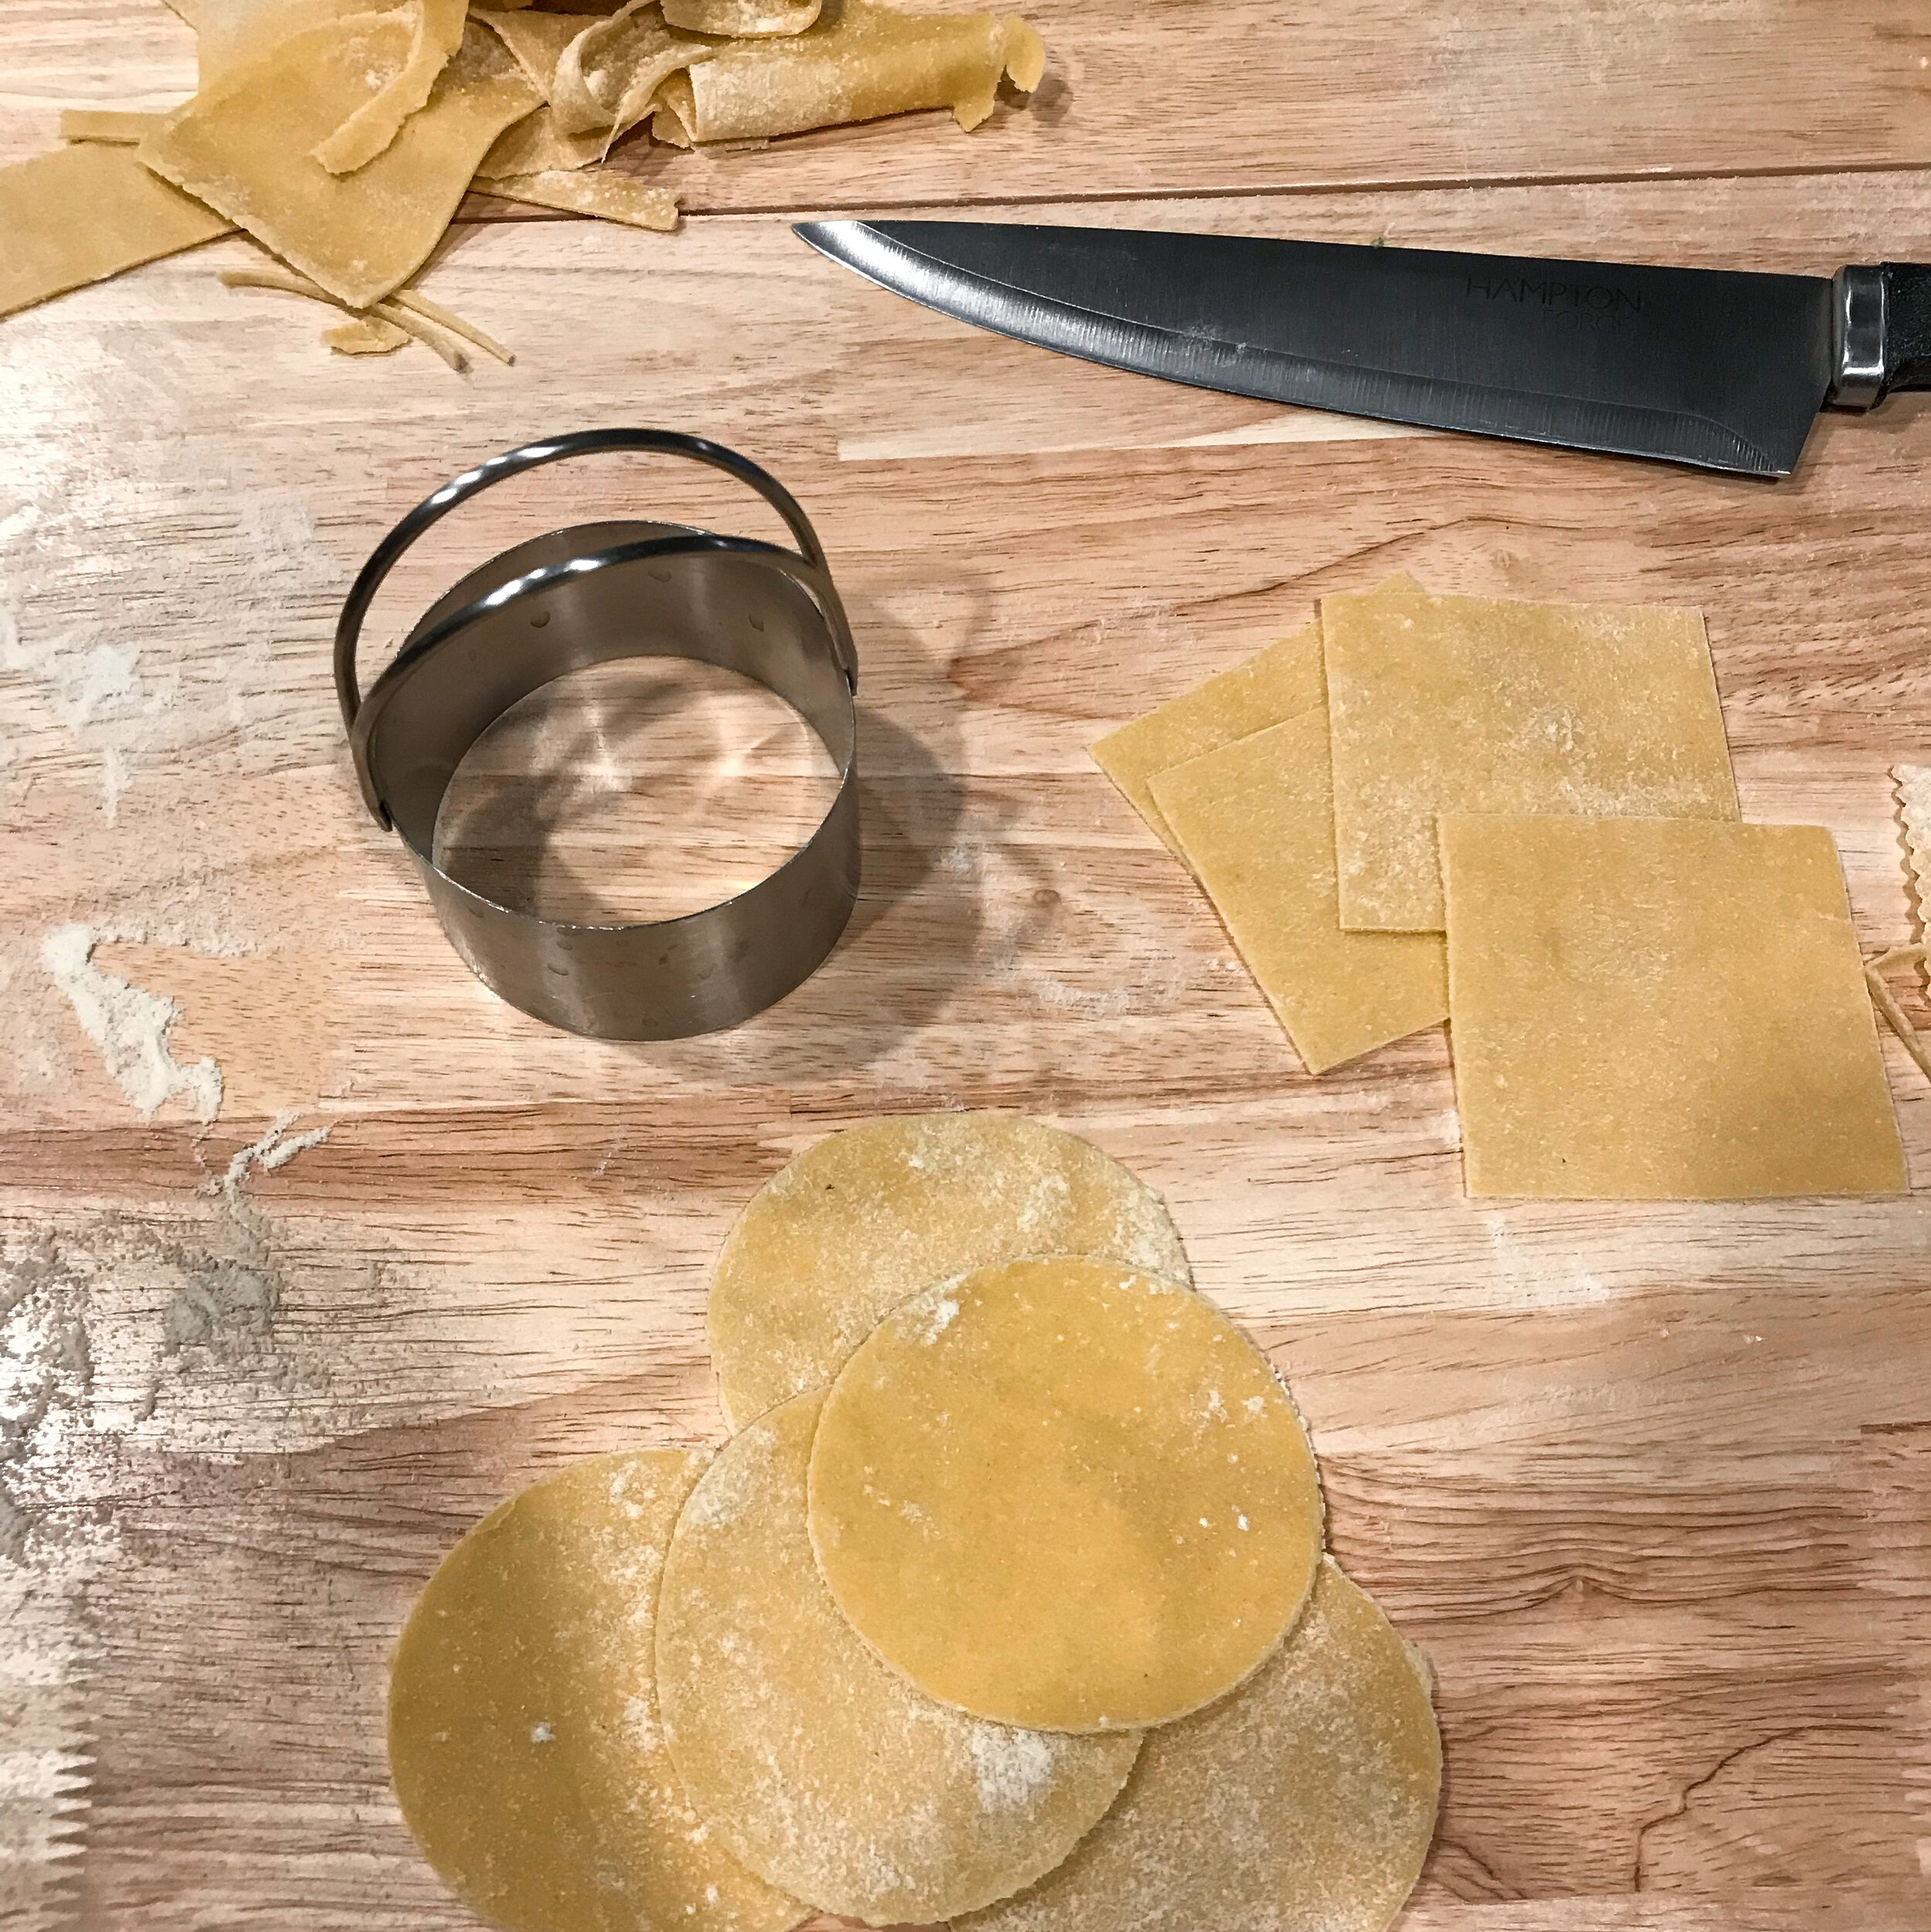
This basic pasta dough recipe can be used for all types of pastas. We made tagliatelle with one batch, and we’ve also been successful with ravioli and bow-tie. We got this handy-dandy ravioli mold and it makes the process so easy. Other tools you may want to invest in are a pasta roller and a pastry cutter but you would be just fine with a rolling pin and a knife as well. I recommend not spending the most on these tools, as some rollers can get pretty pricey. They will all get the job done.
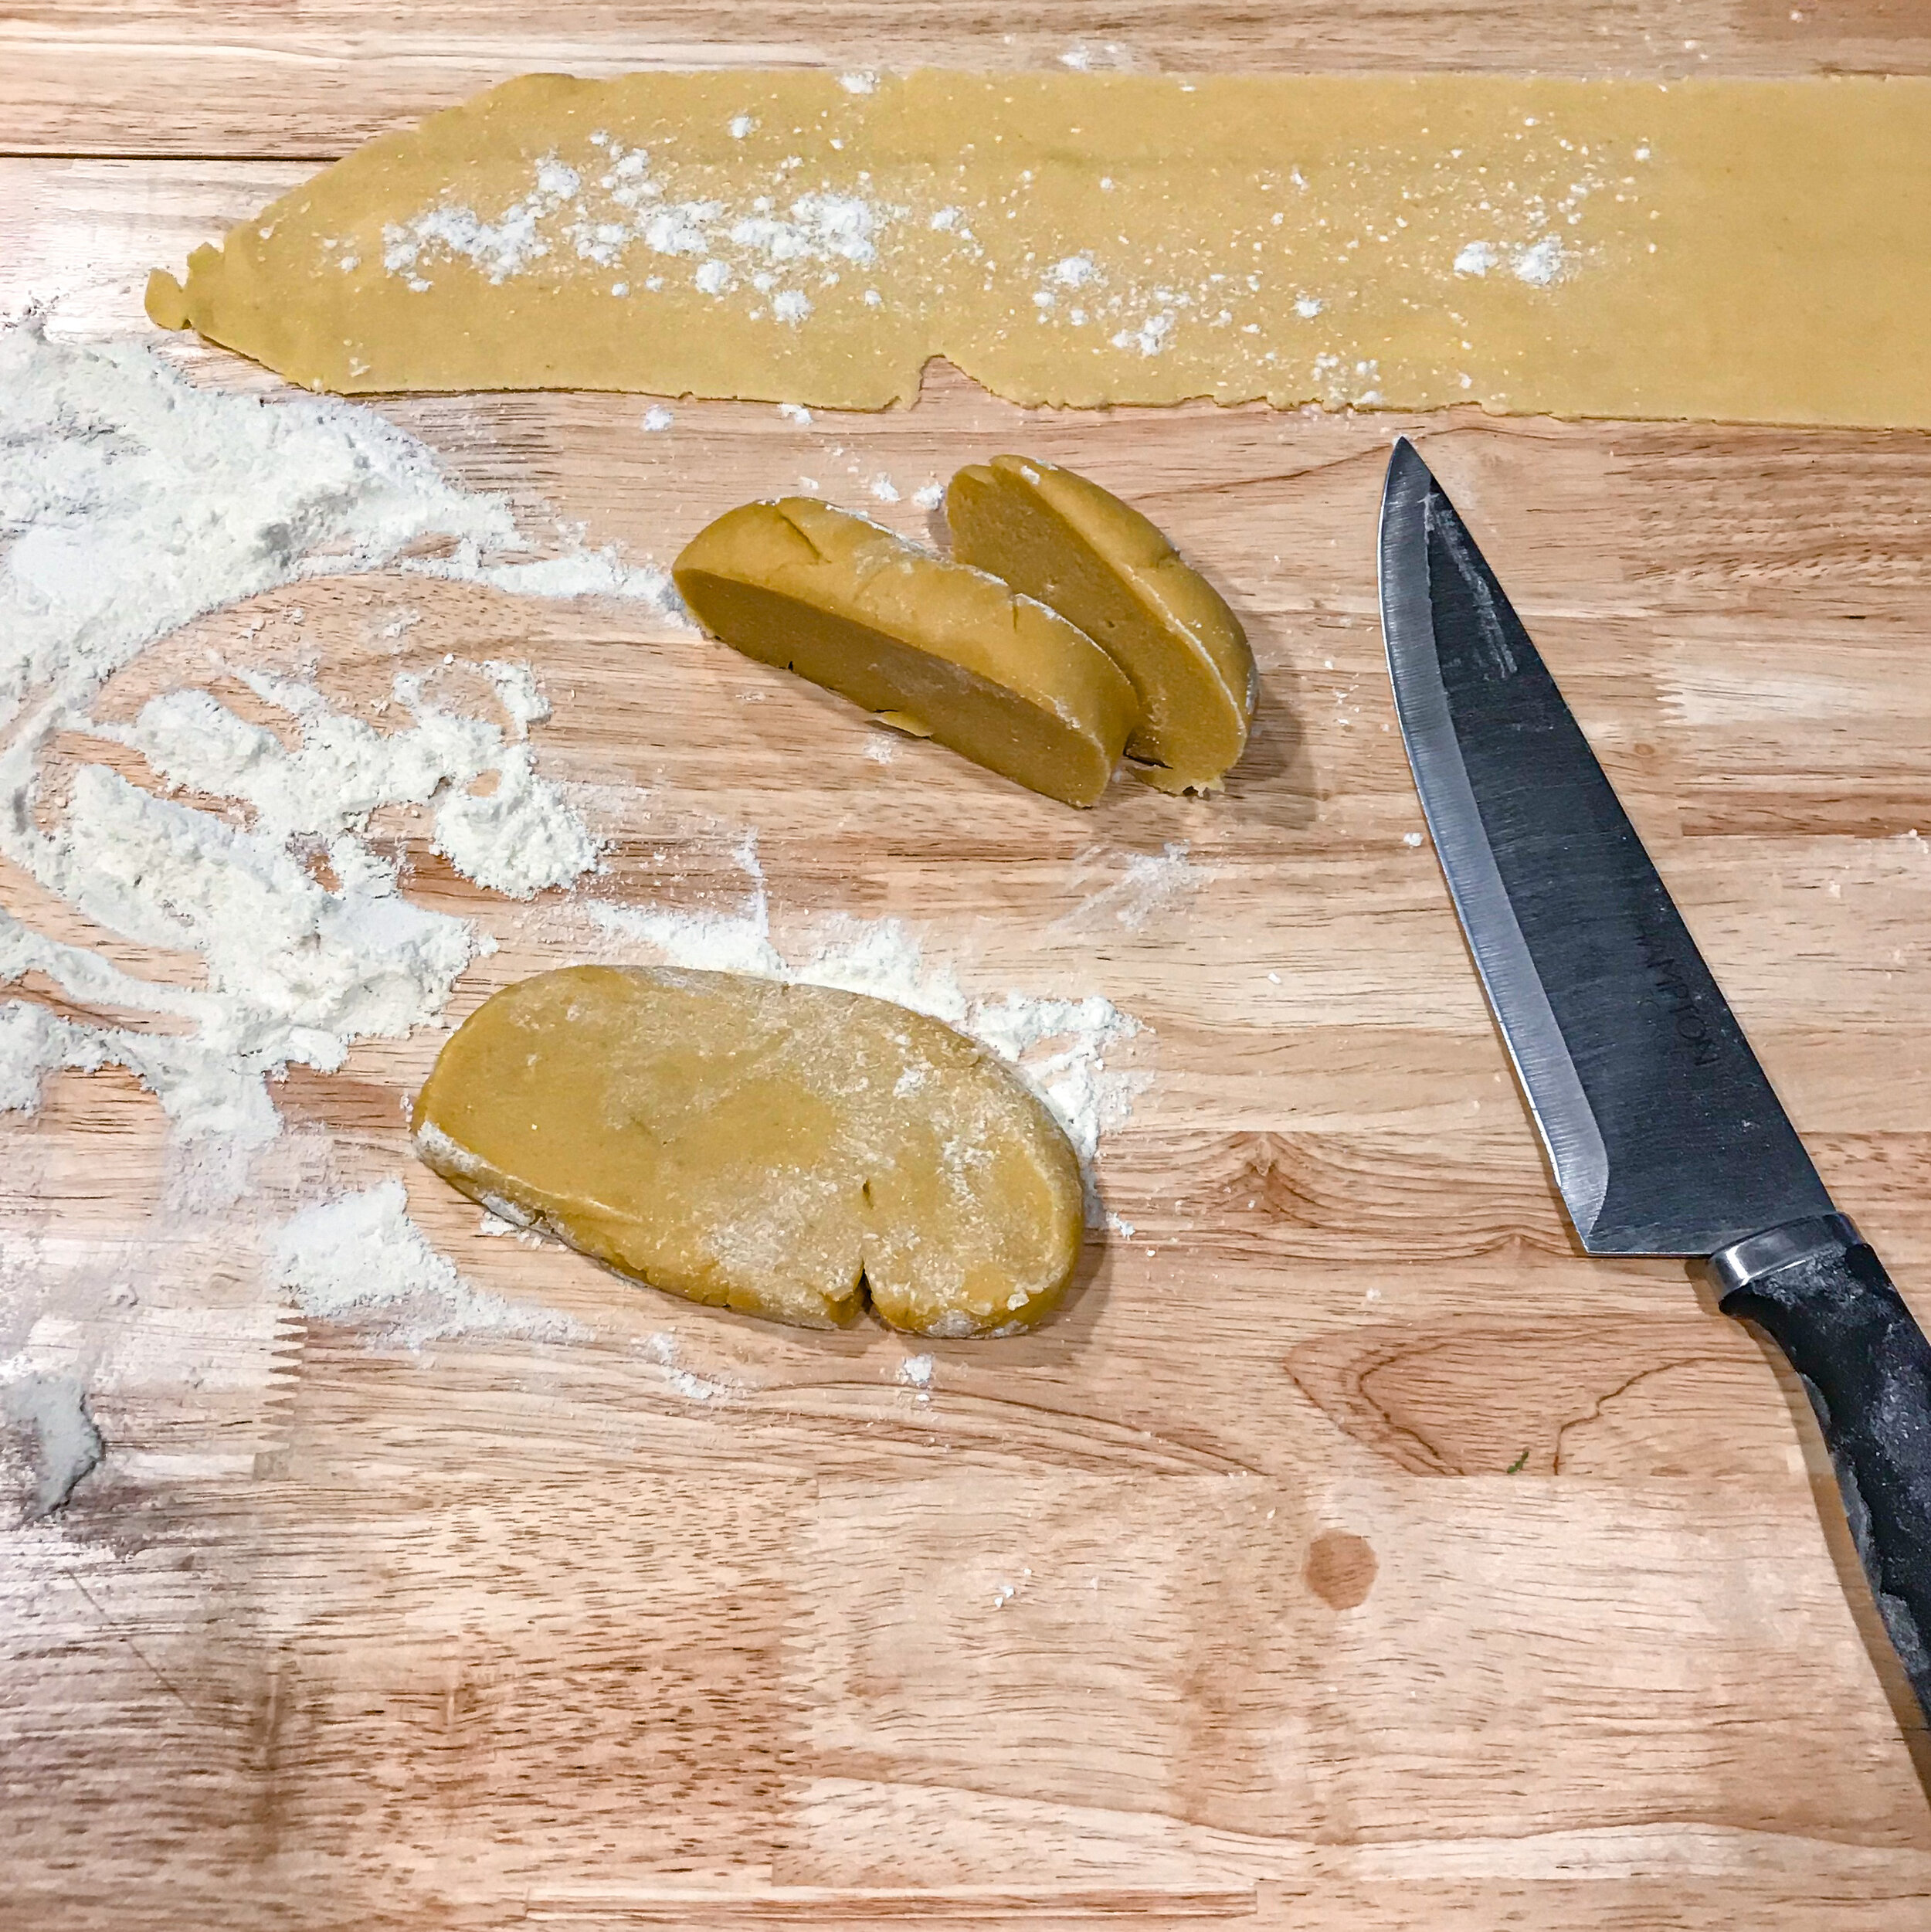
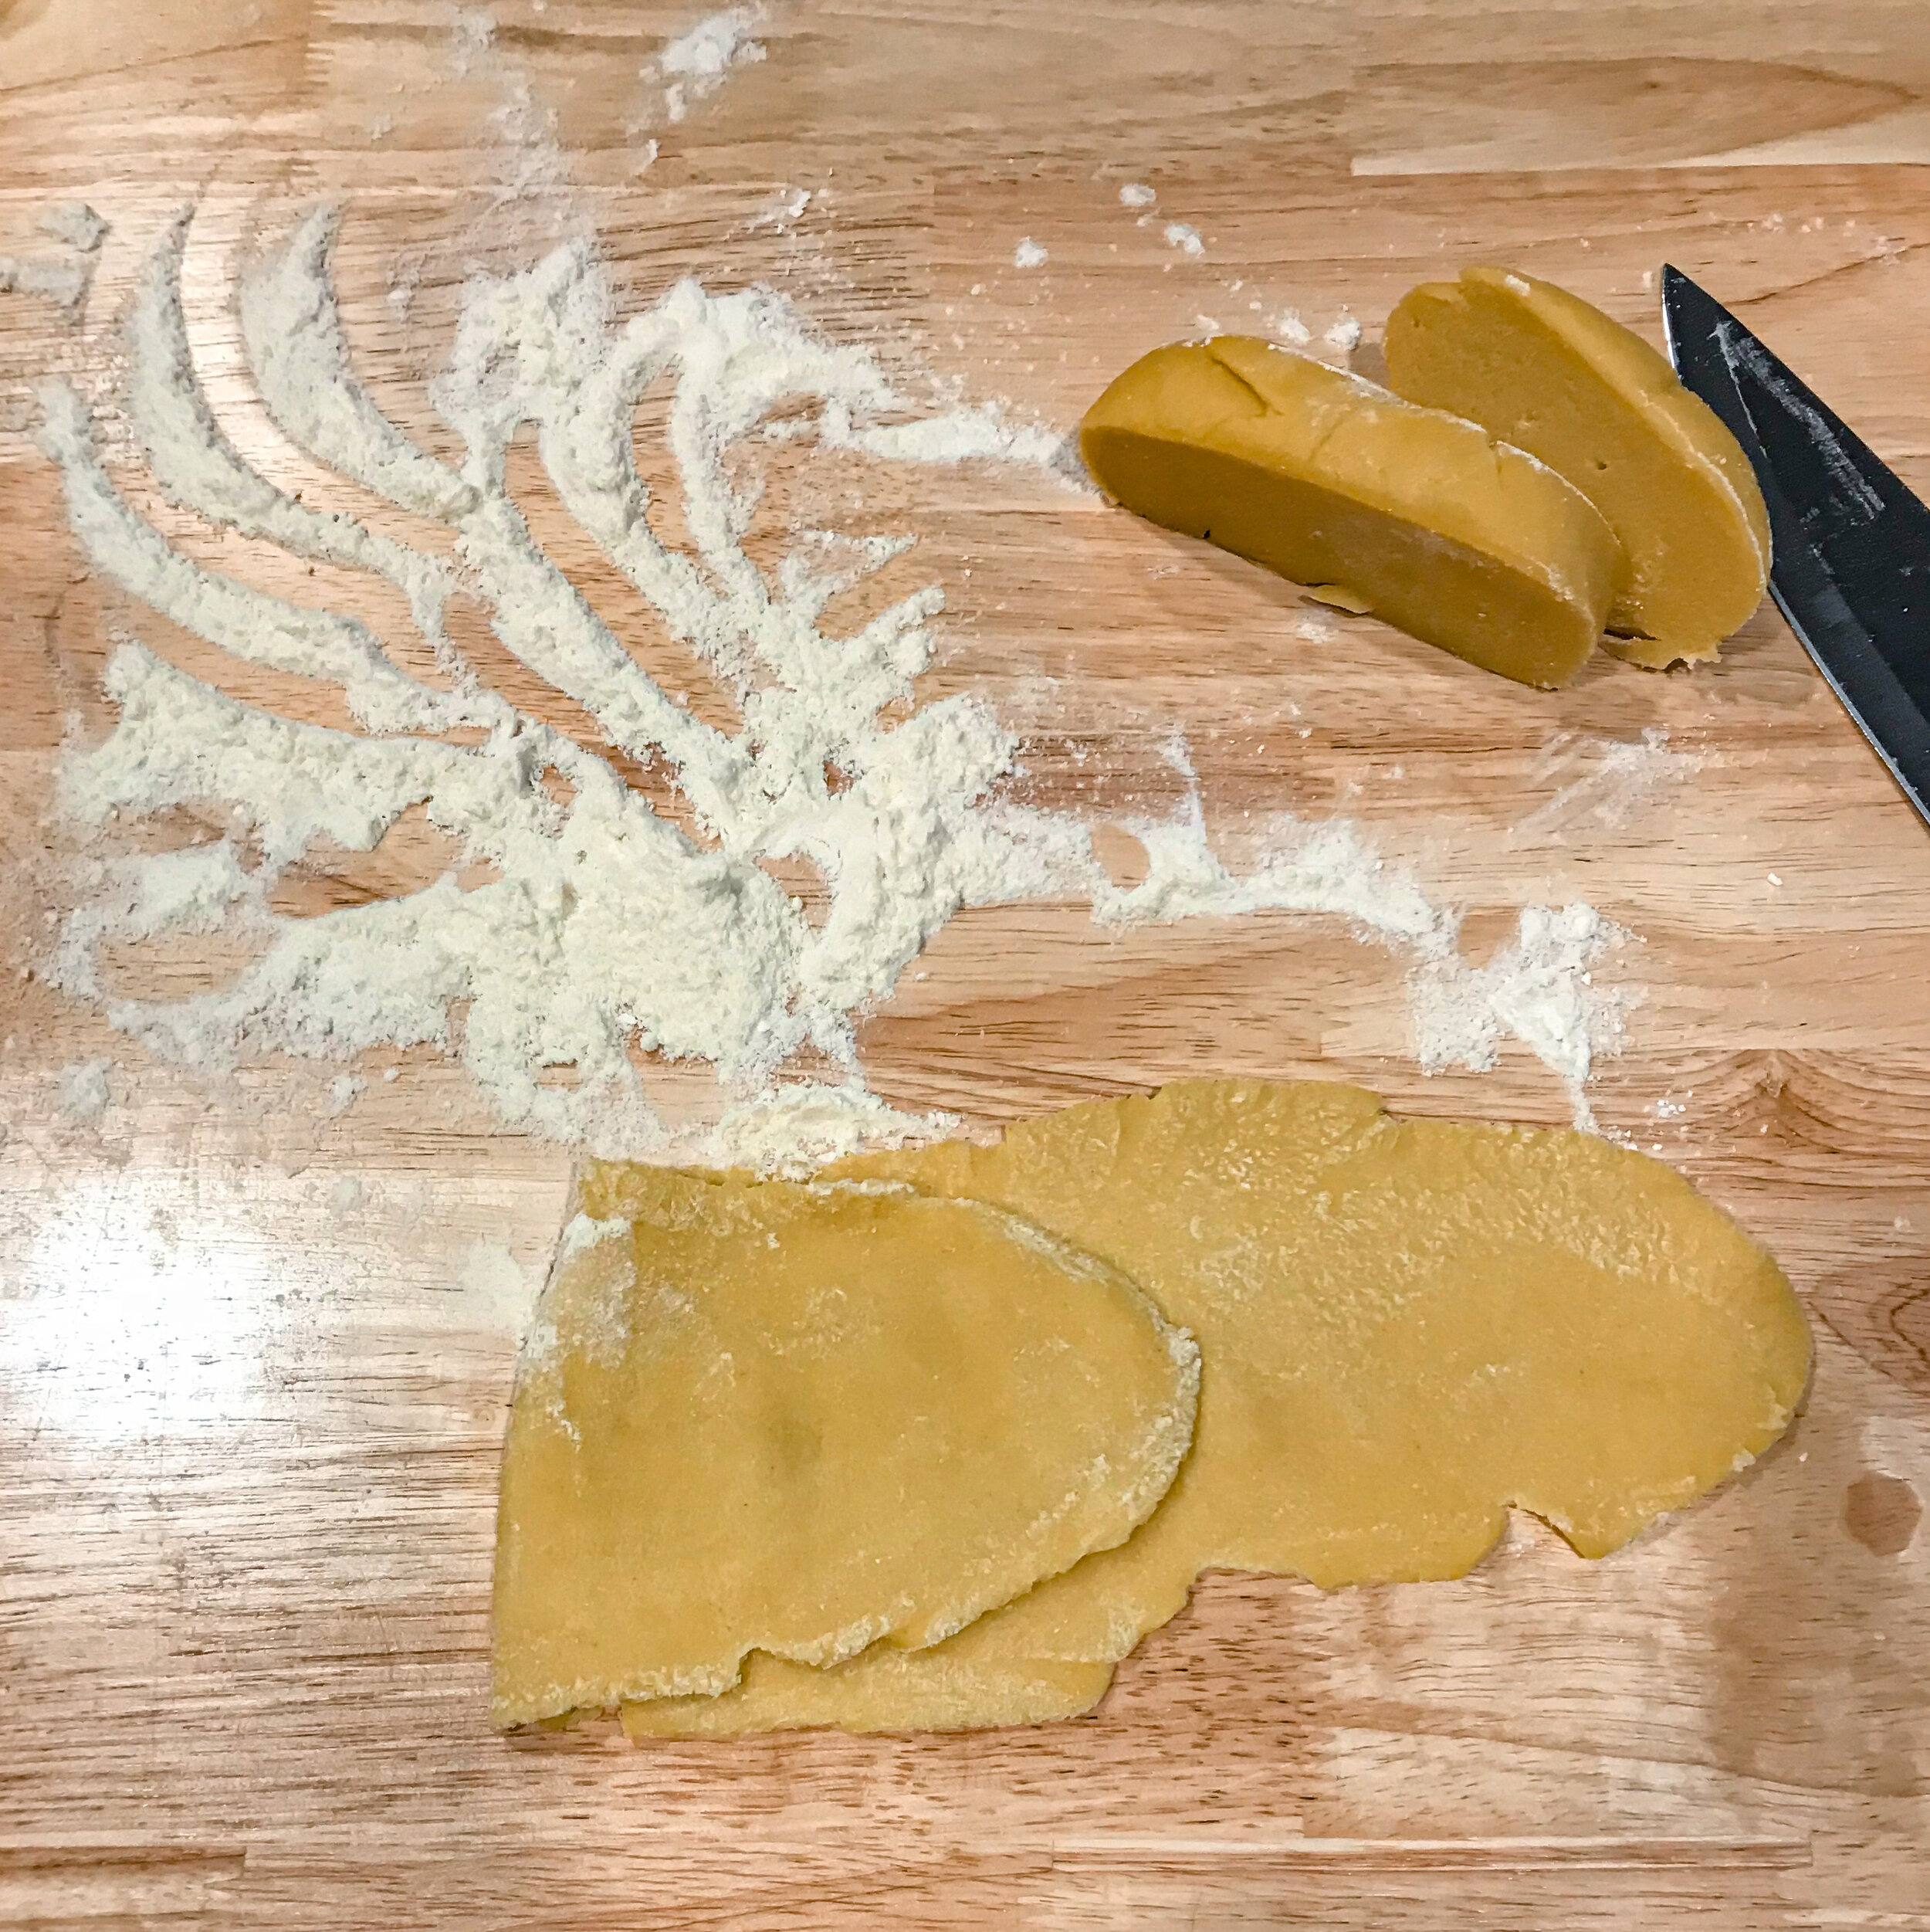
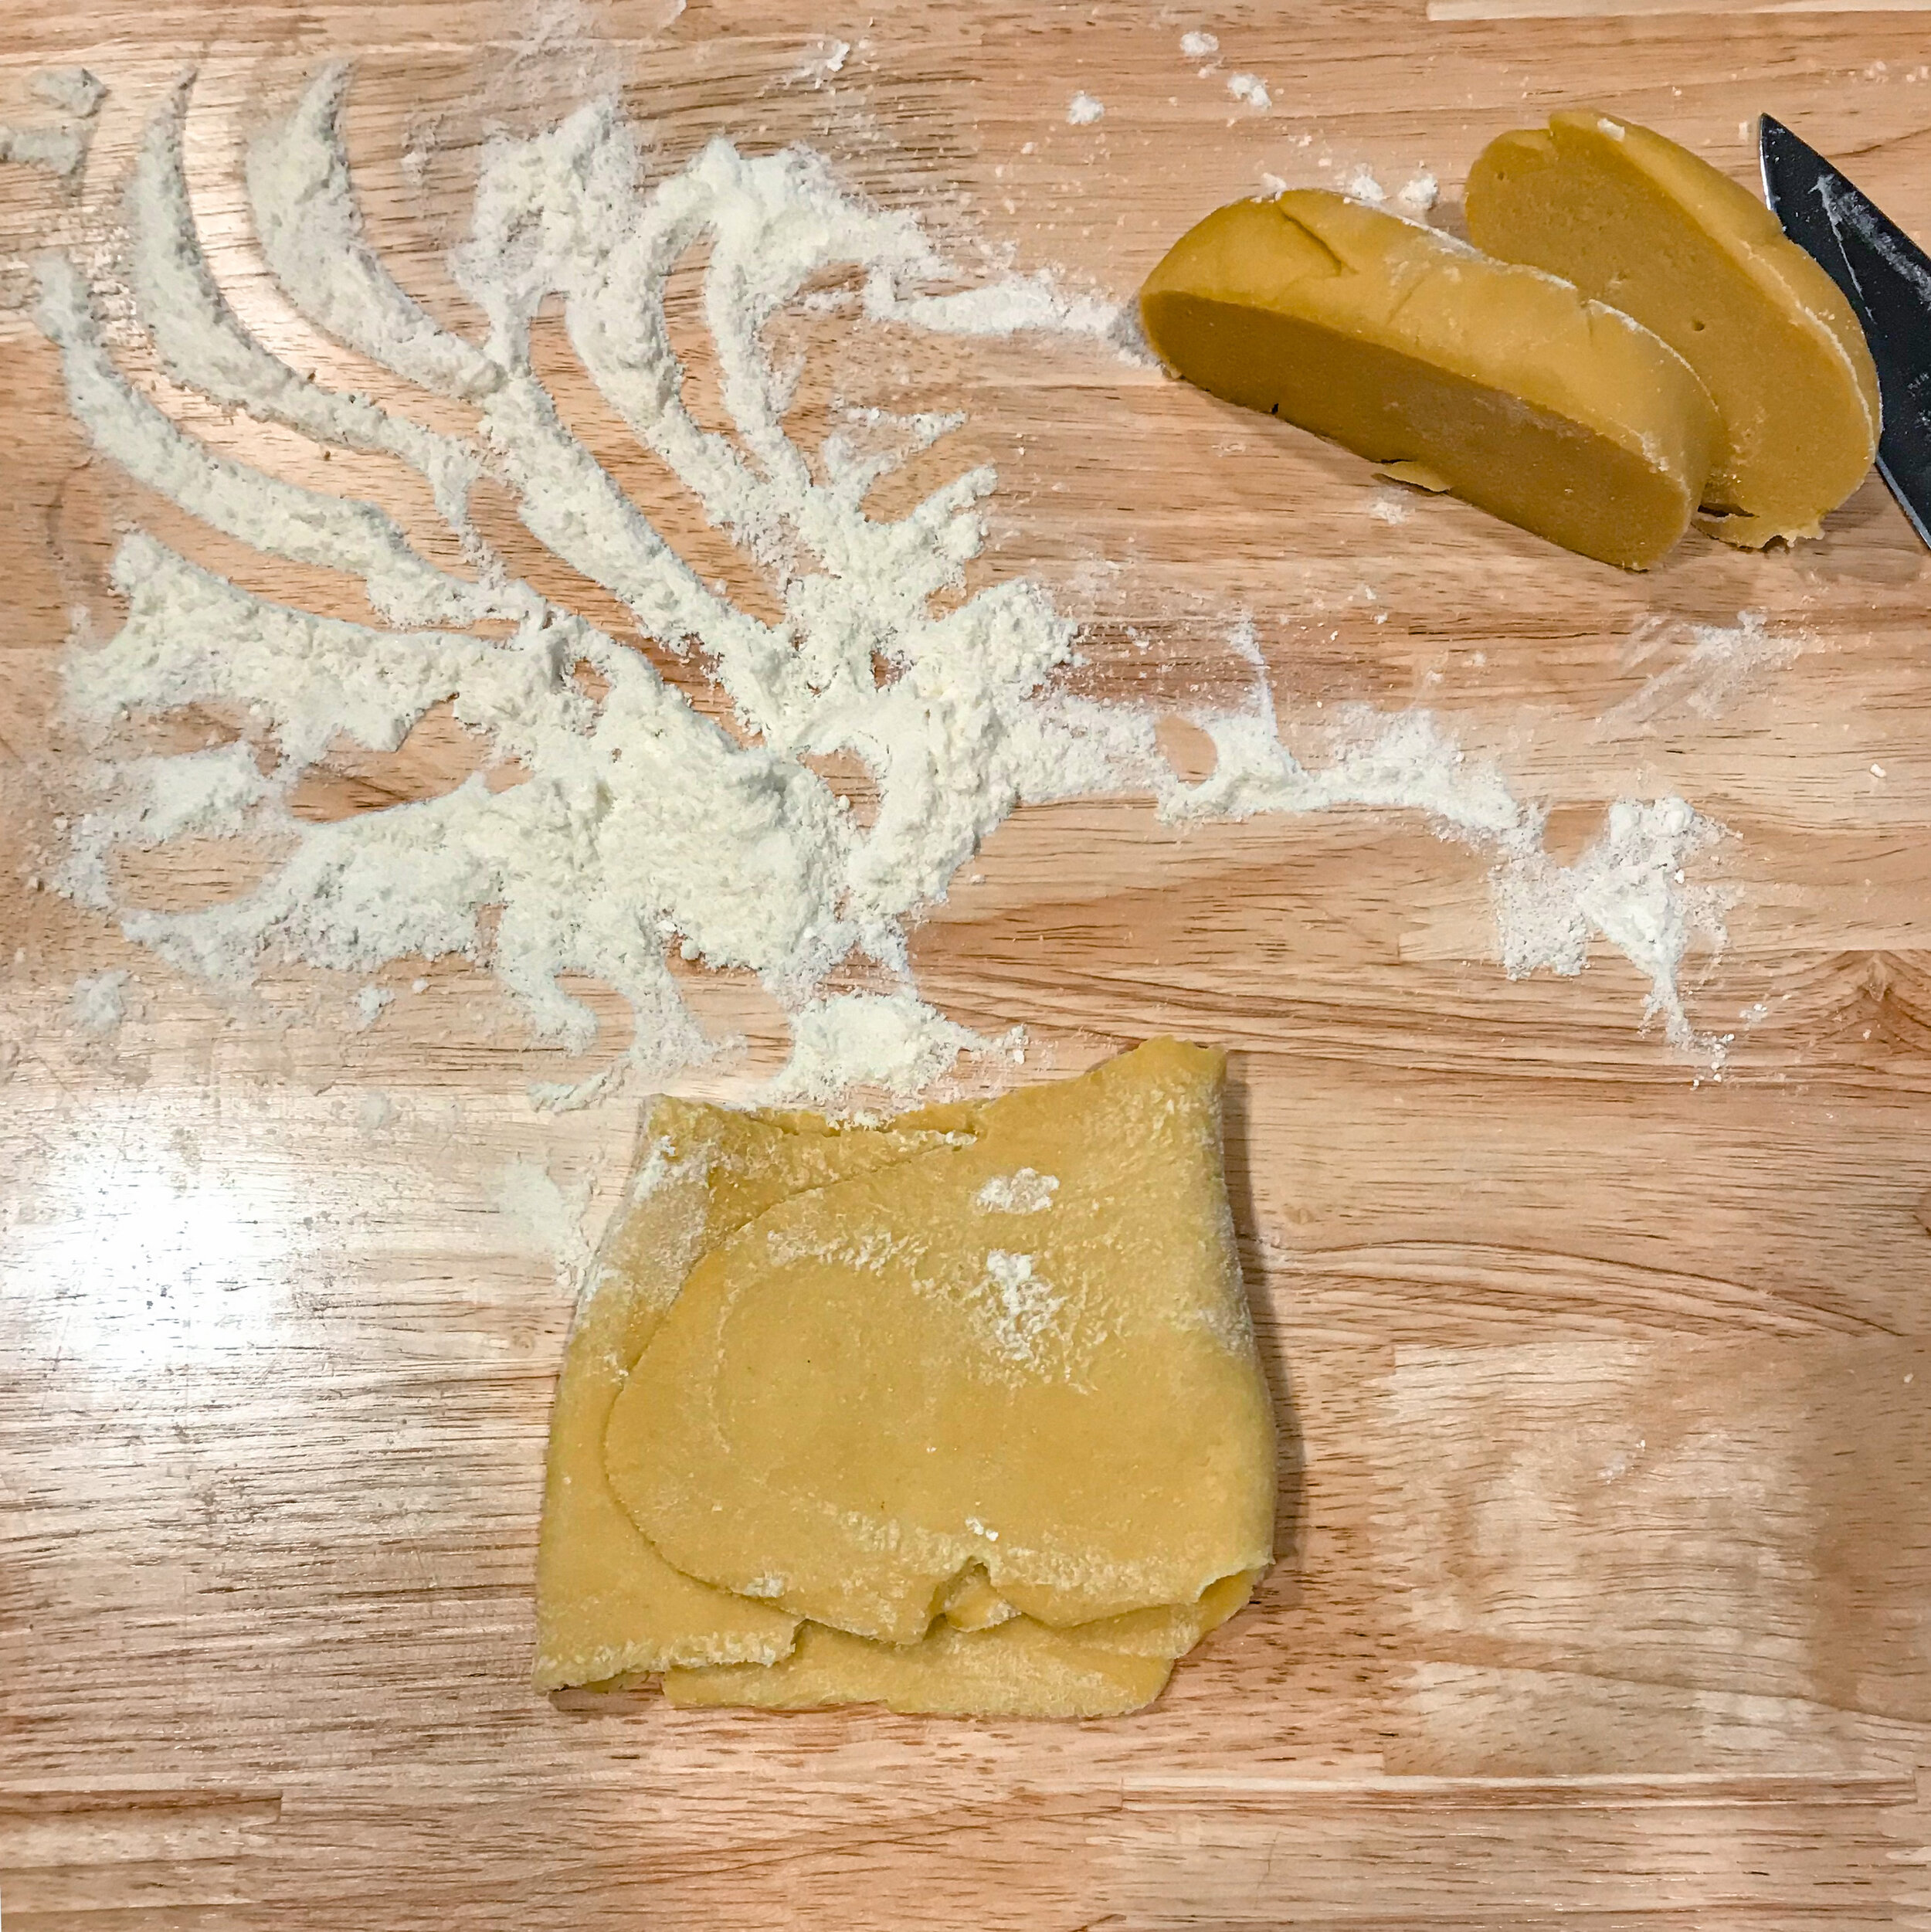
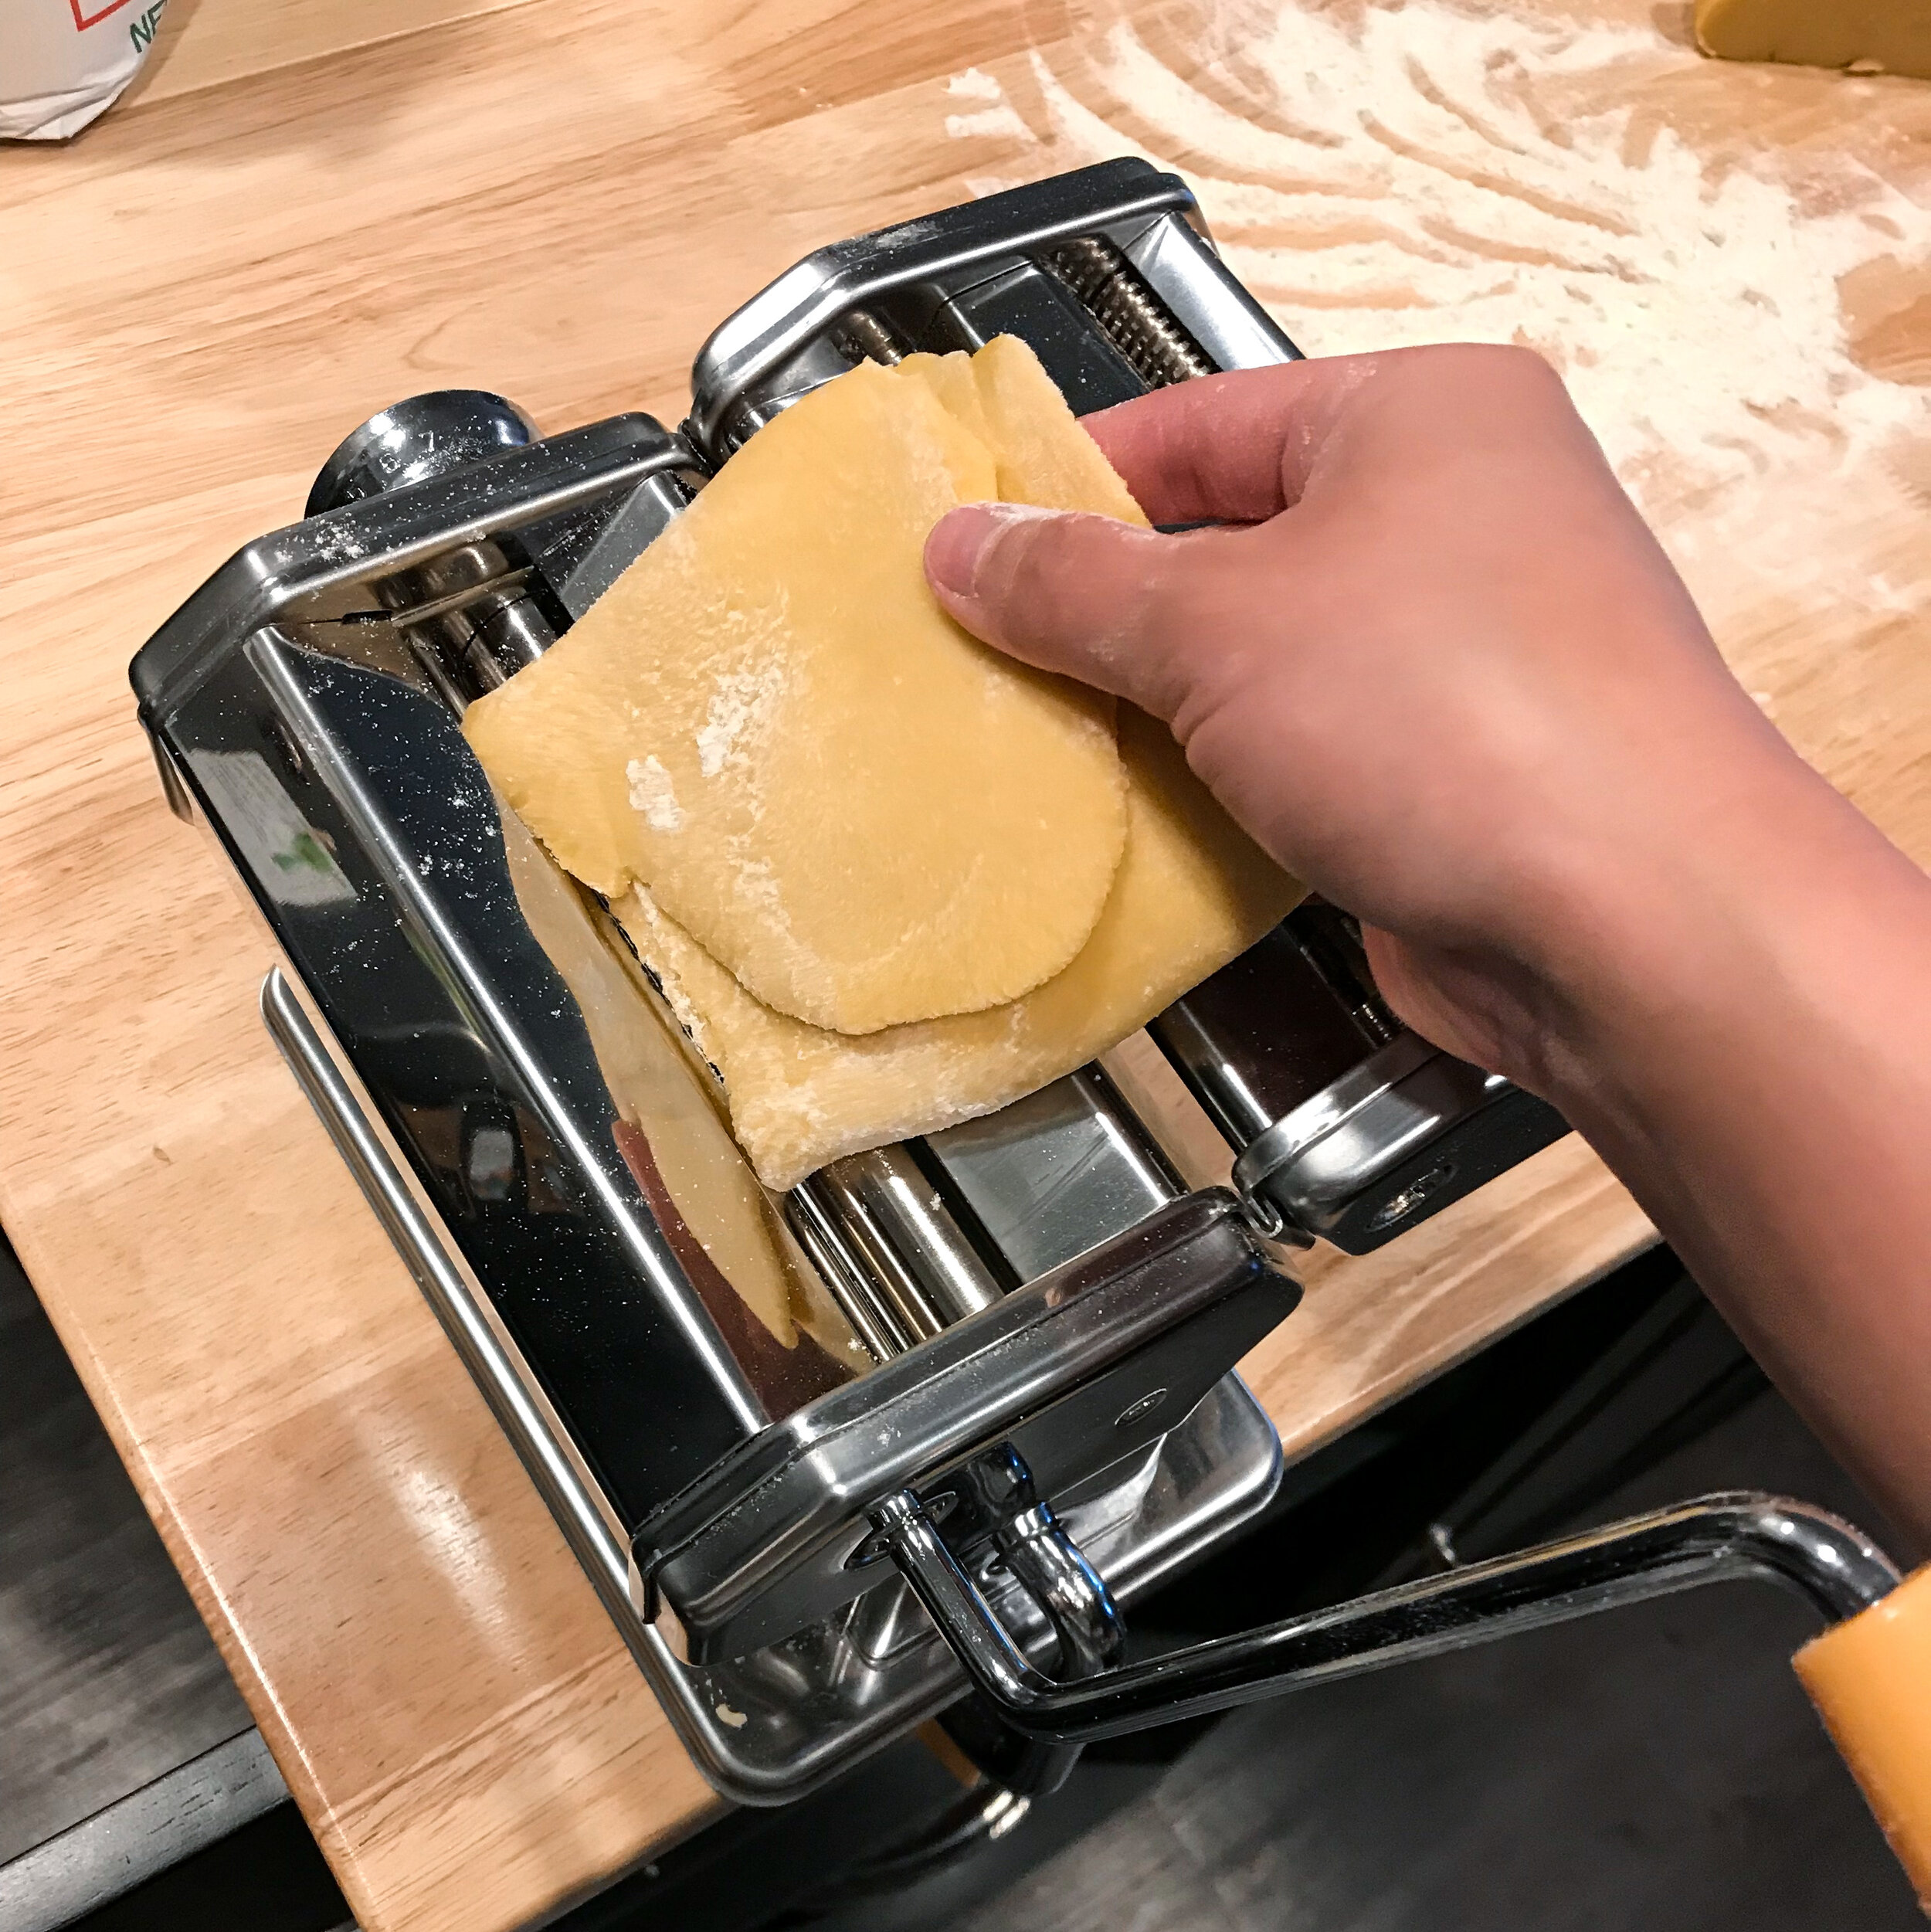
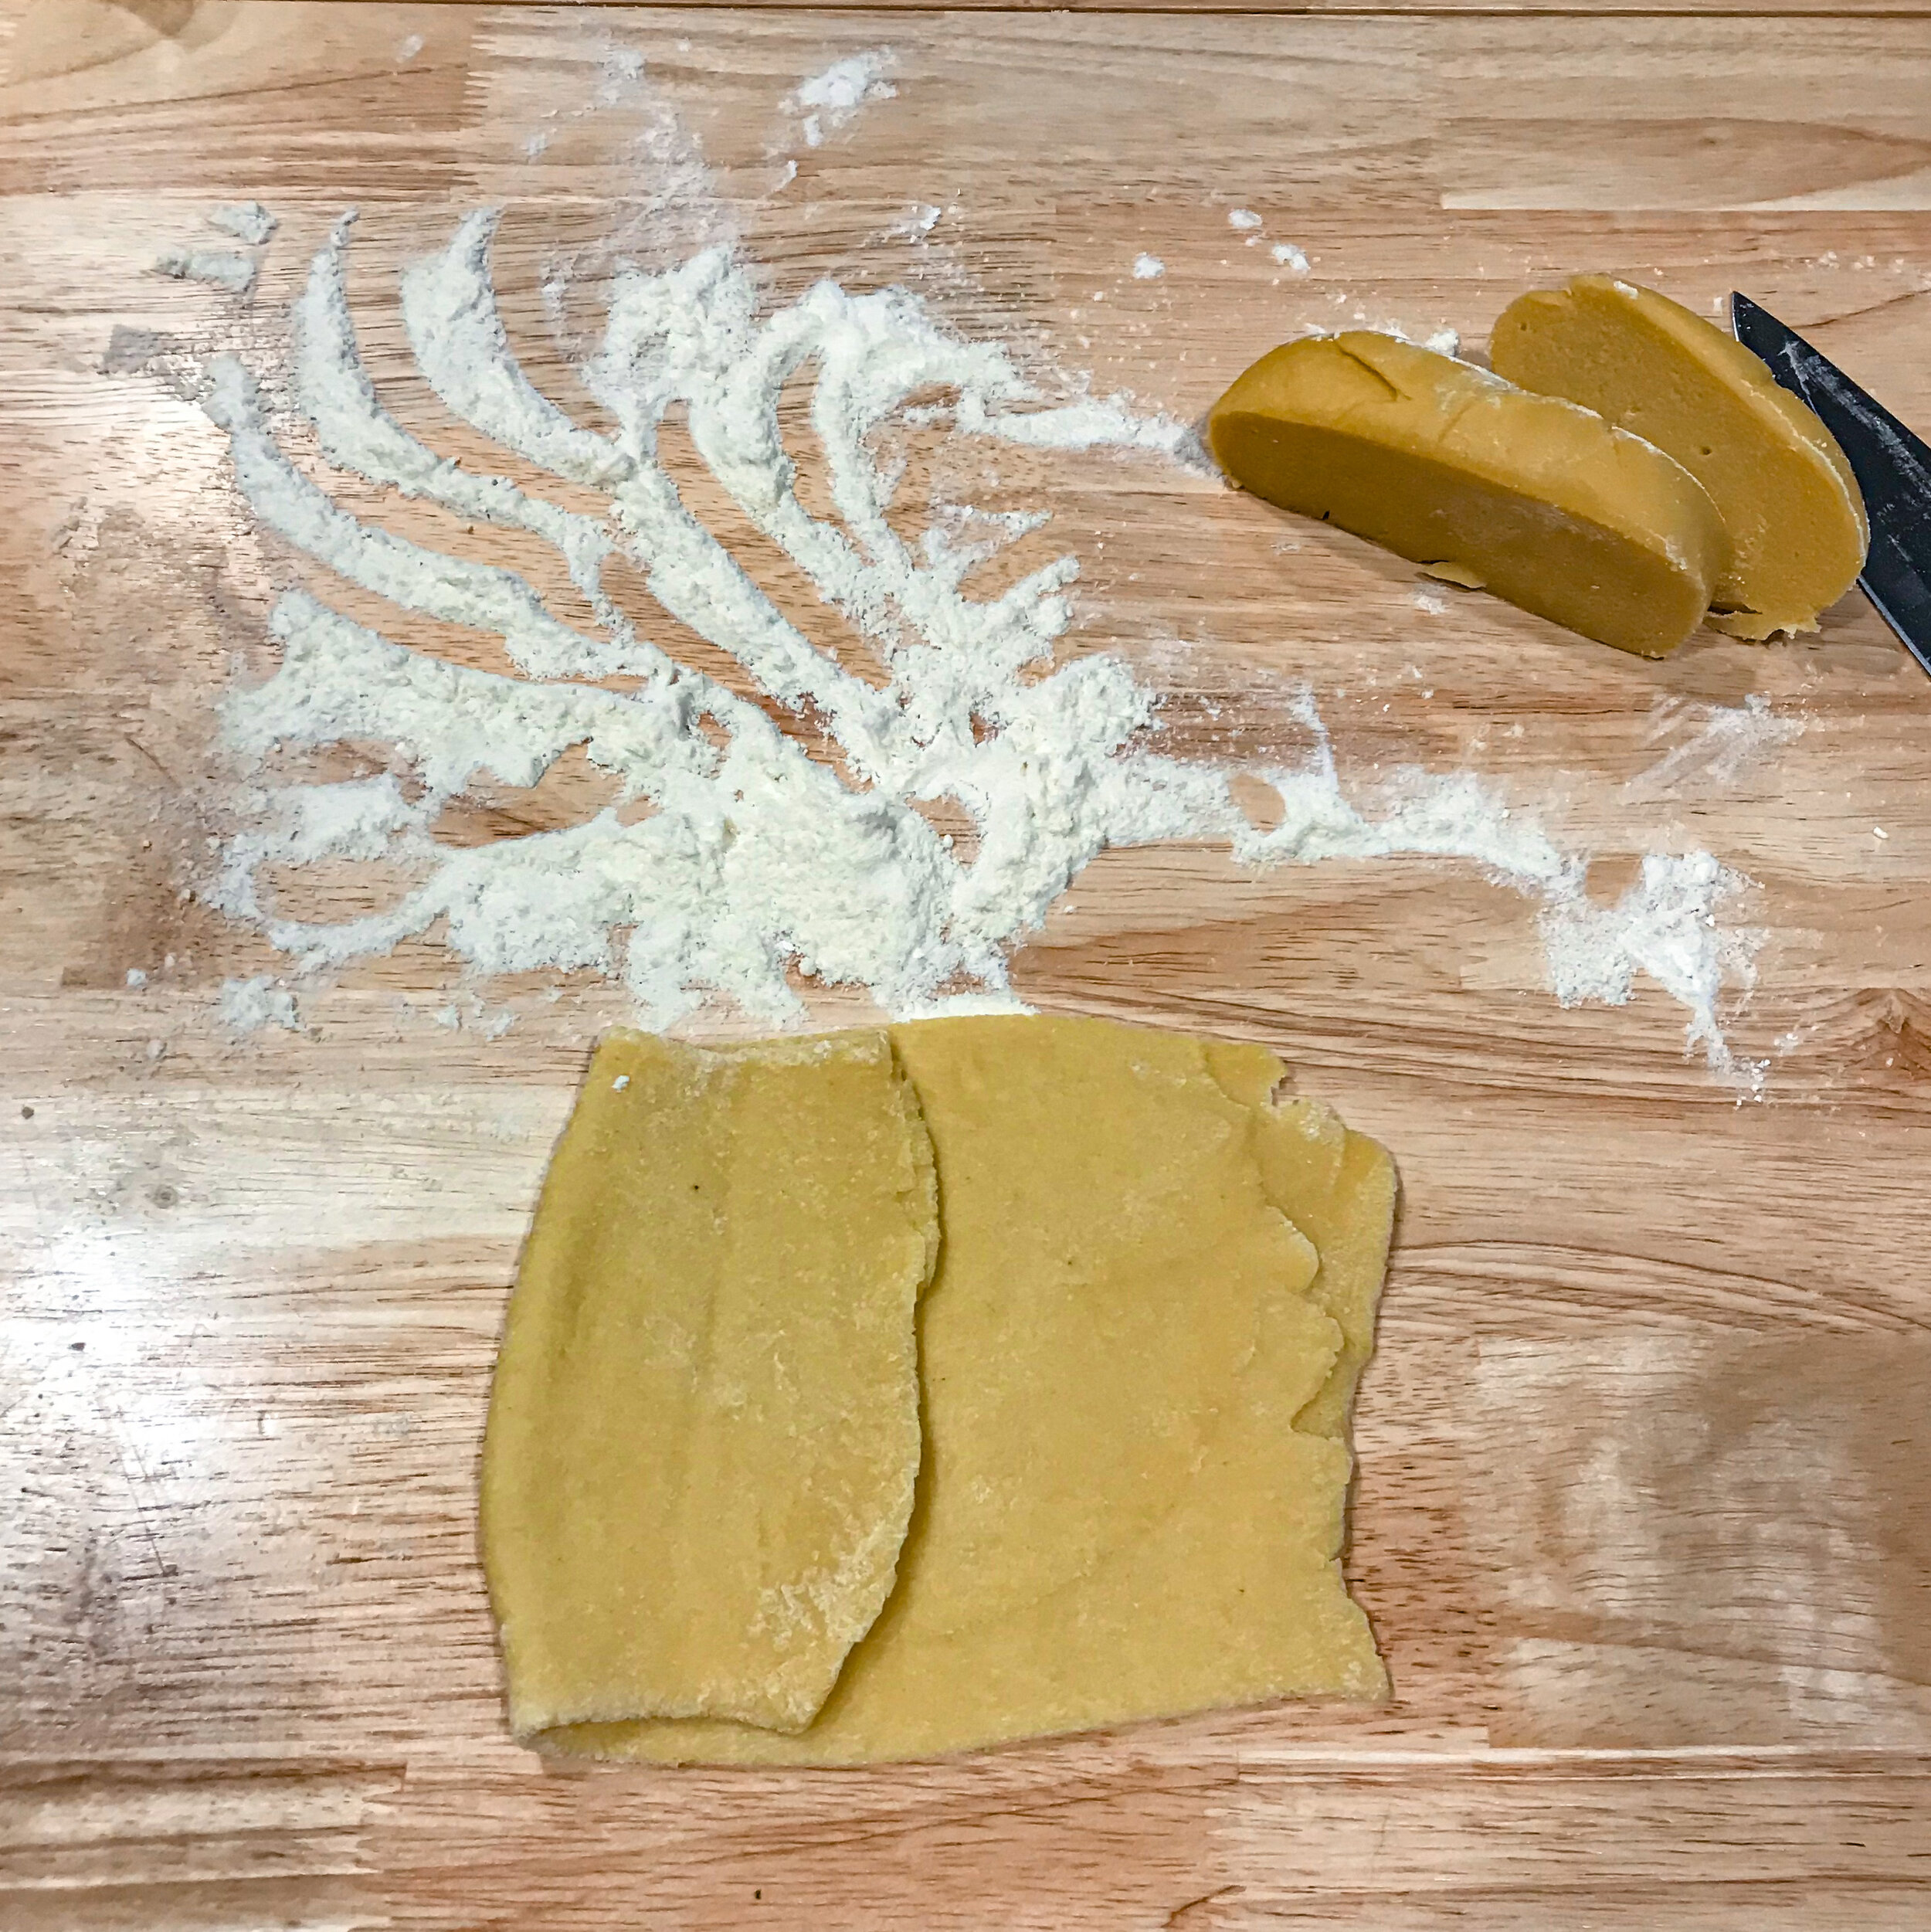
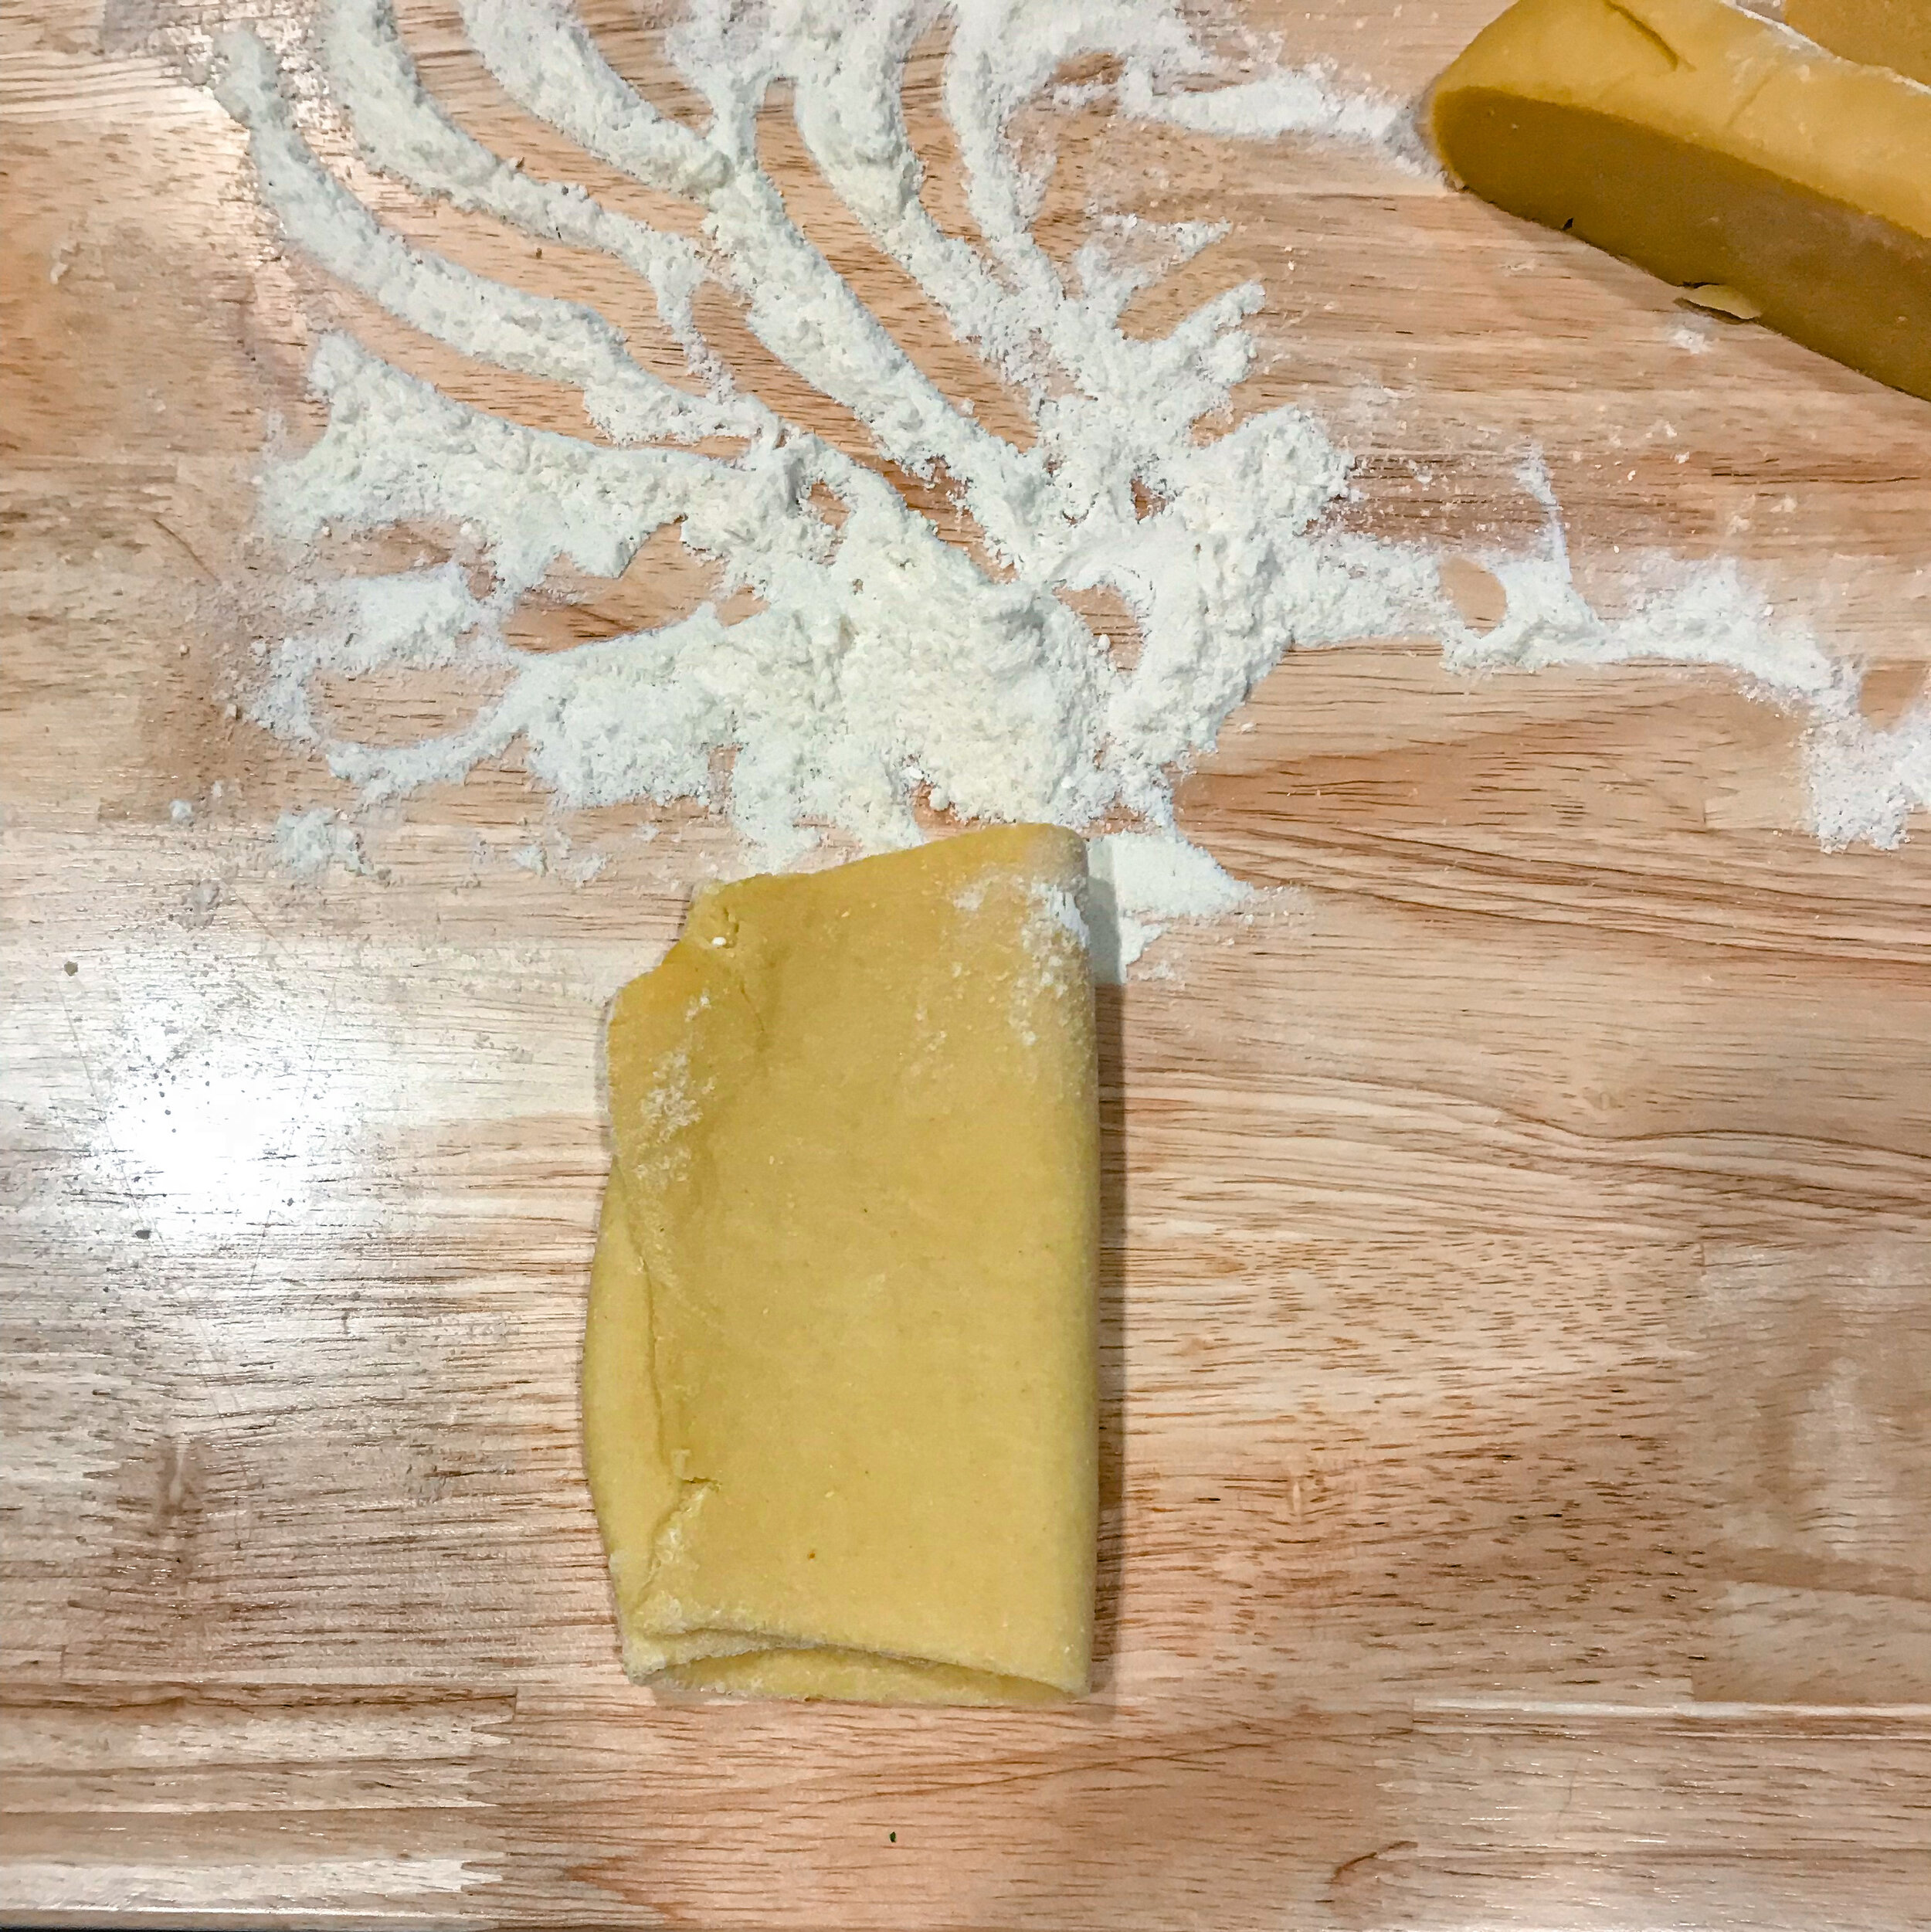
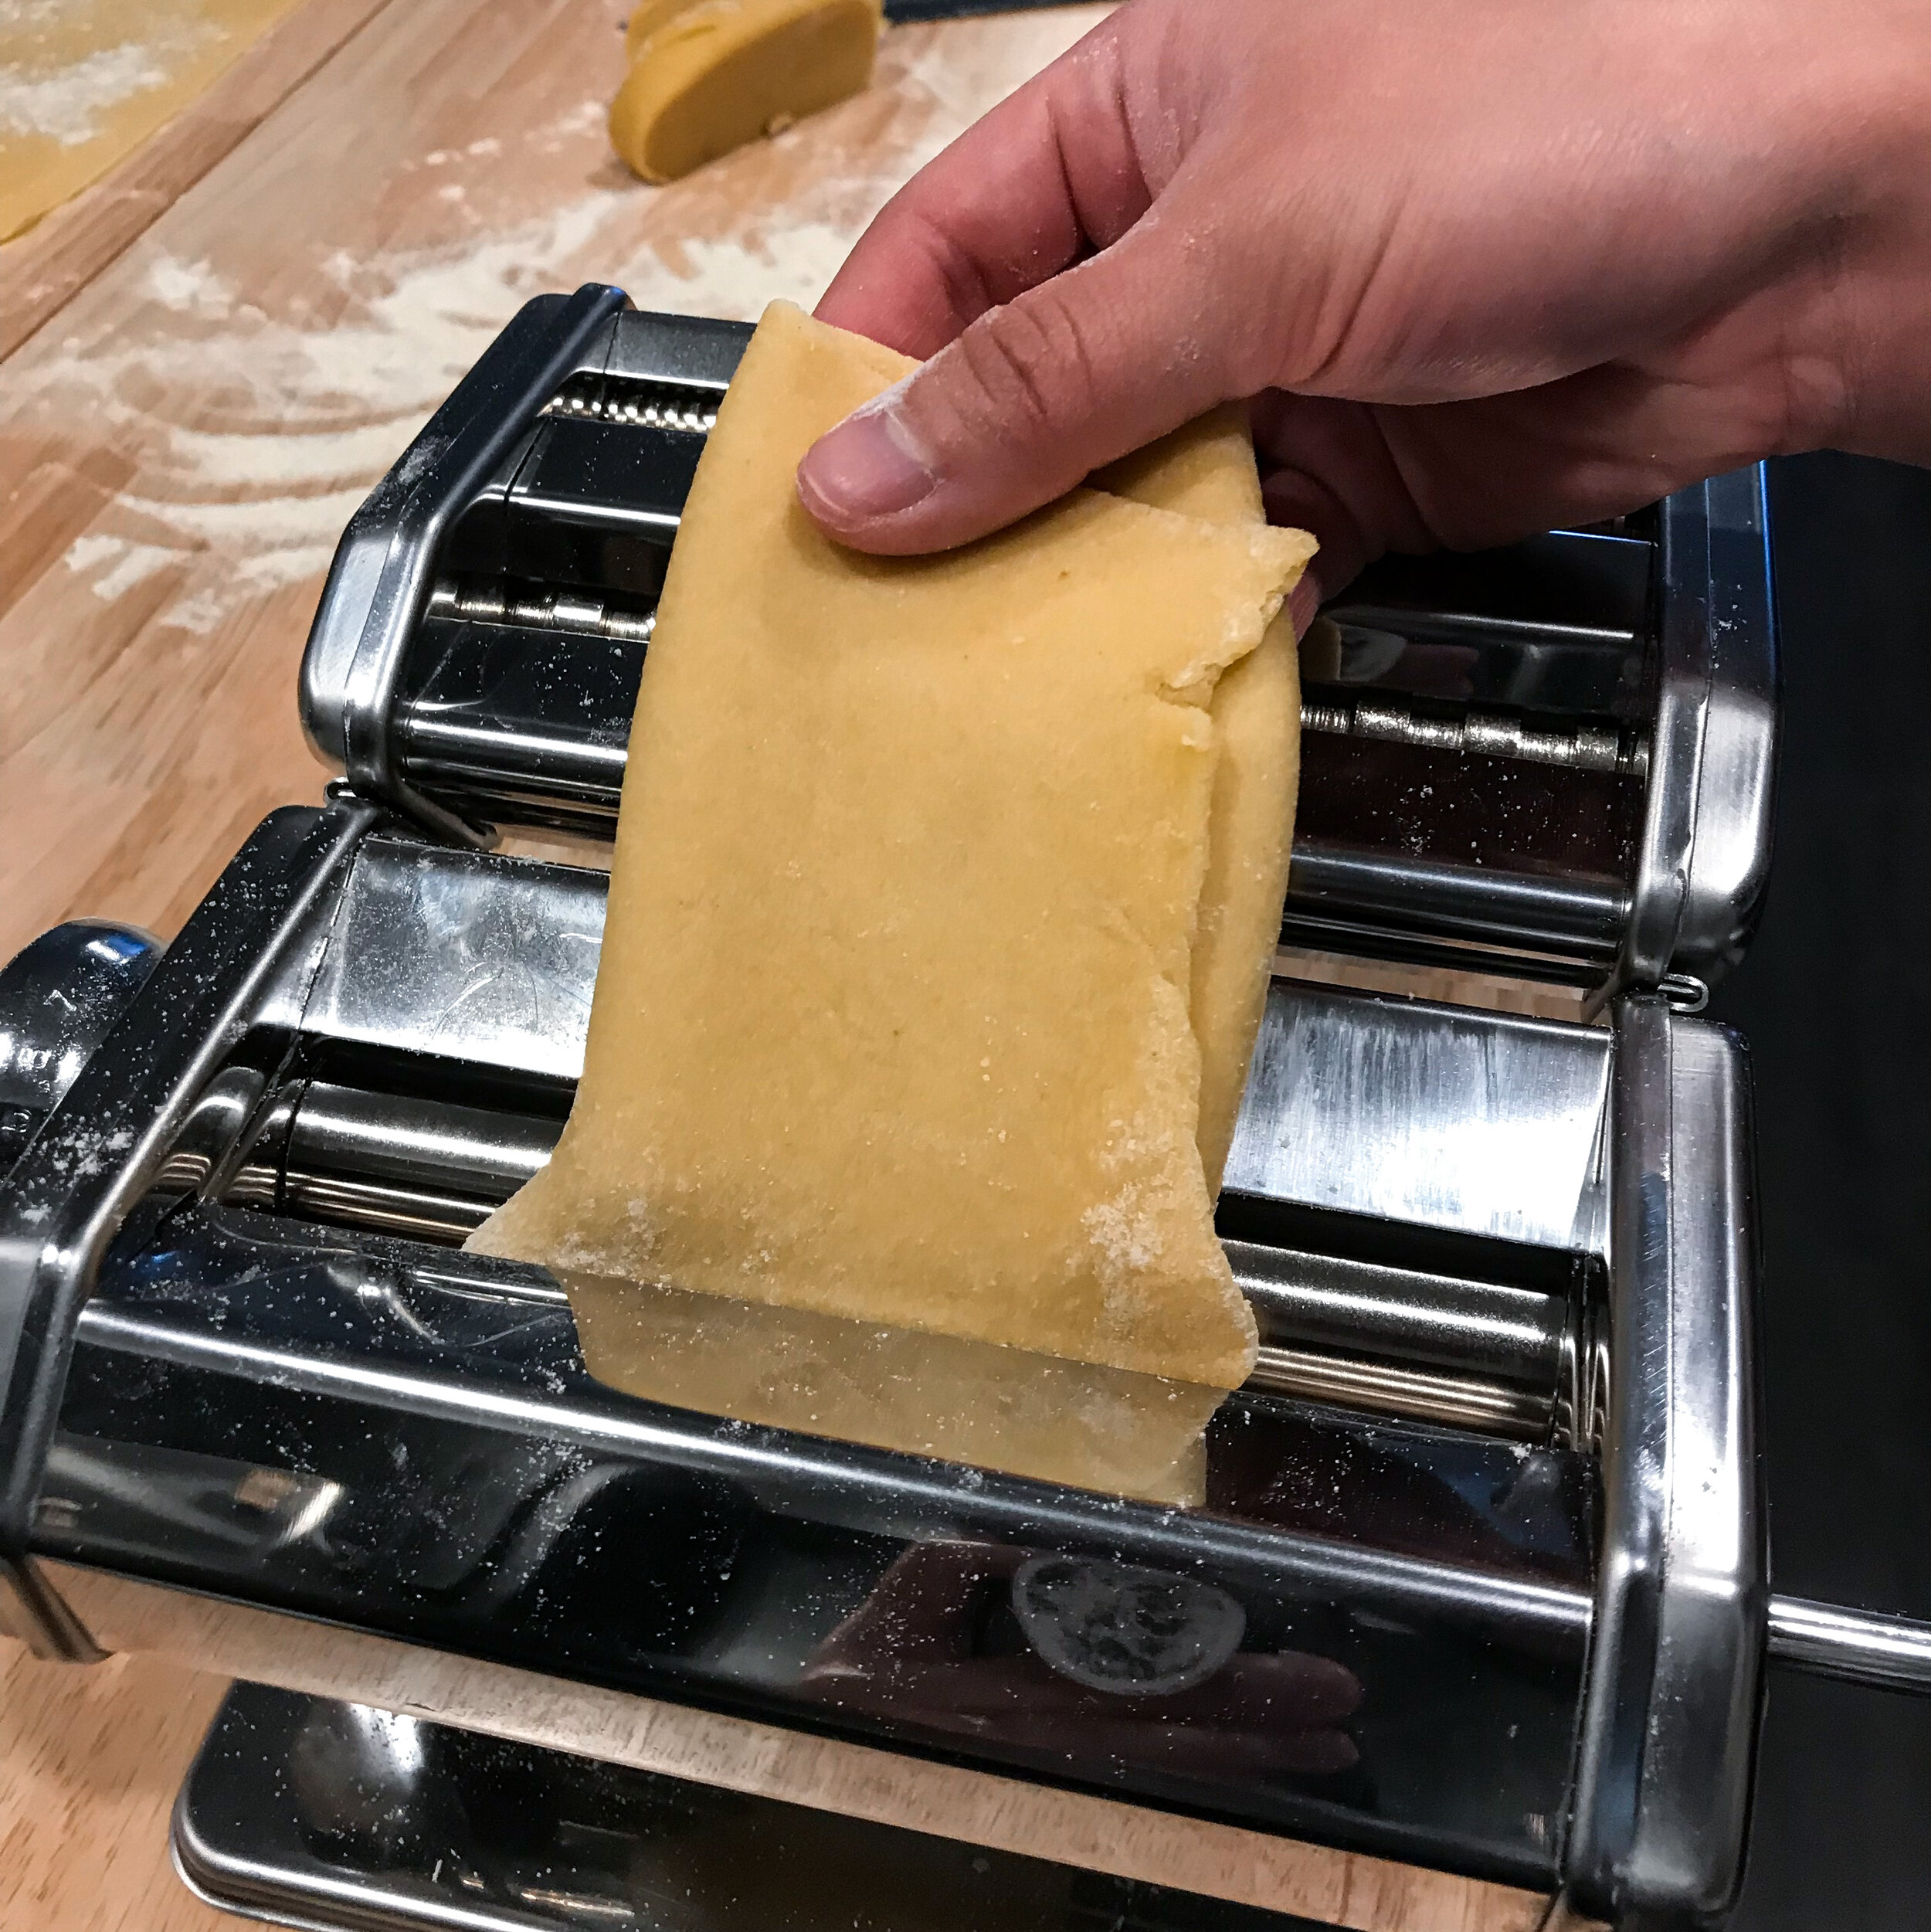


When rolling and cutting the dough, the thickness depends on the type of noodle you want. You don’t want ravioli sheets to be too thin or else they won’t be able to support the filling. On the pasta roller, we usually roll our dough out to a 3 for all our pasta shapes (ours starts at 7 and you work your way down. Some rollers start at 0 so keep this in mind.) To form our sheets, I cut the big ball of dough into about 7 equal sections. Dust with extra flour so it doesn’t stick to the roller, and flatten into an oblong disk. Starting with the widest setting (7 for me), pass the disk through slowly. Fold the sheet in thirds and pass through on the same setting. Fold again and pass through one more time.
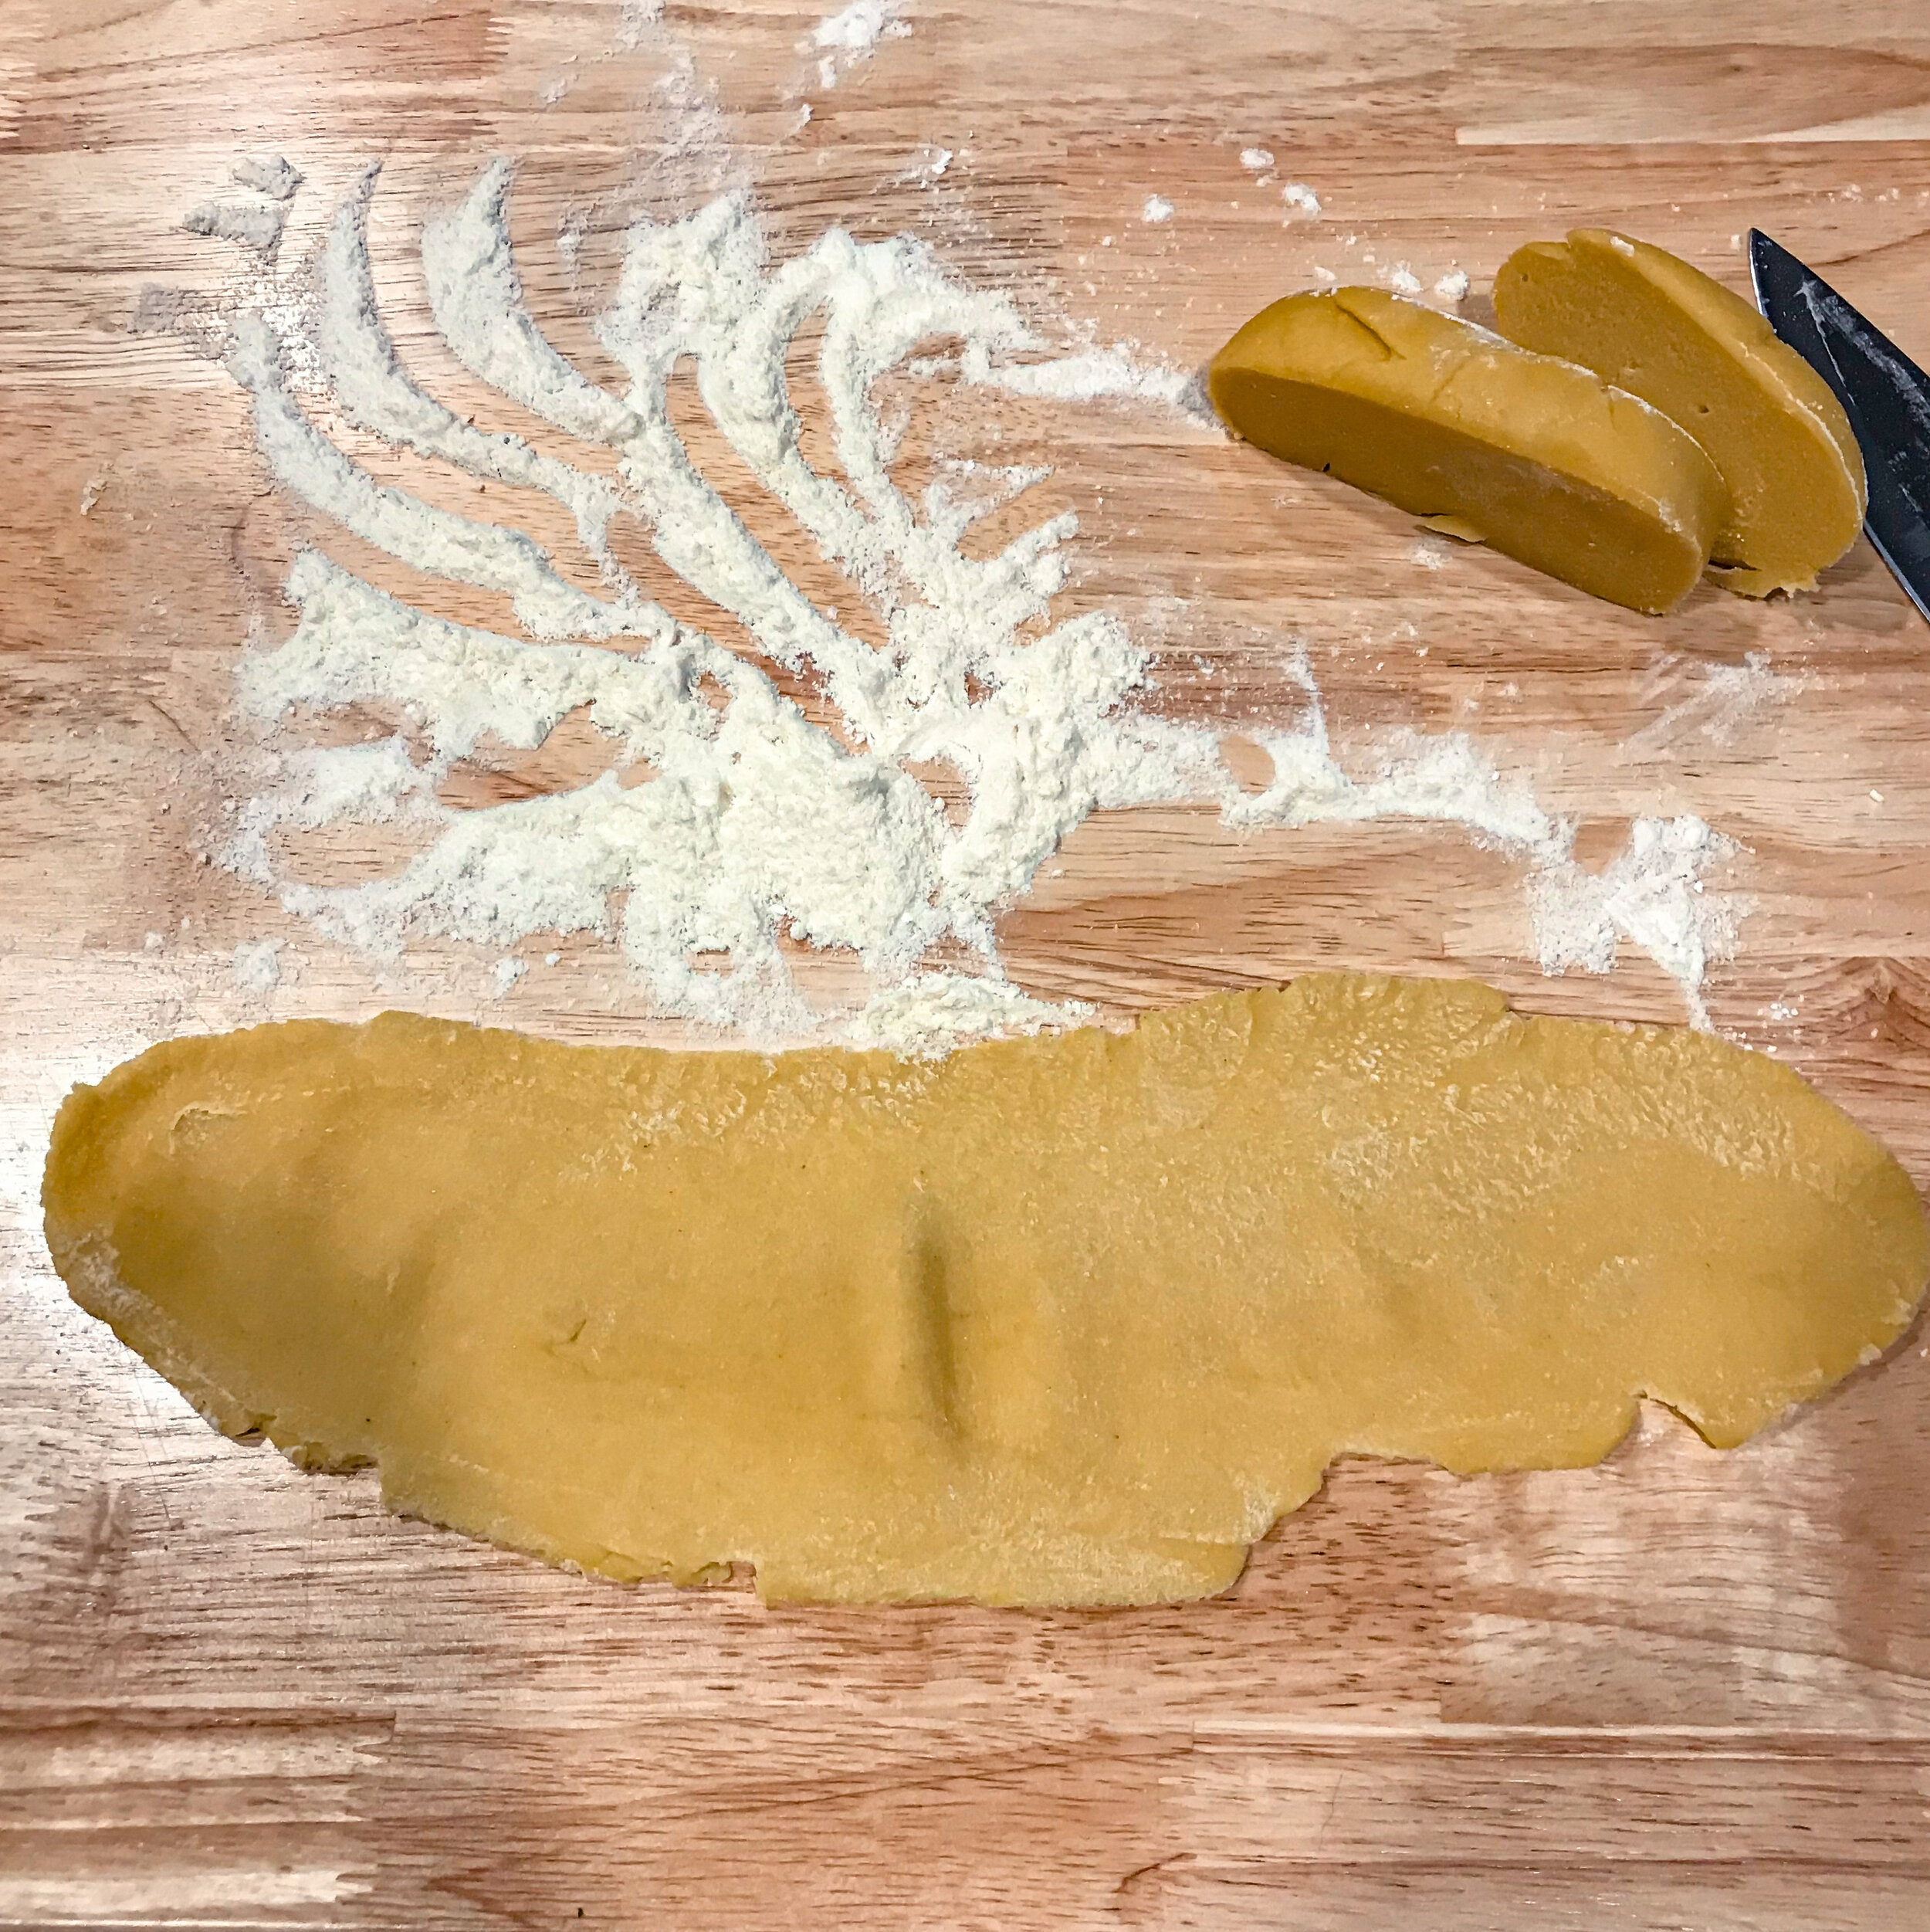
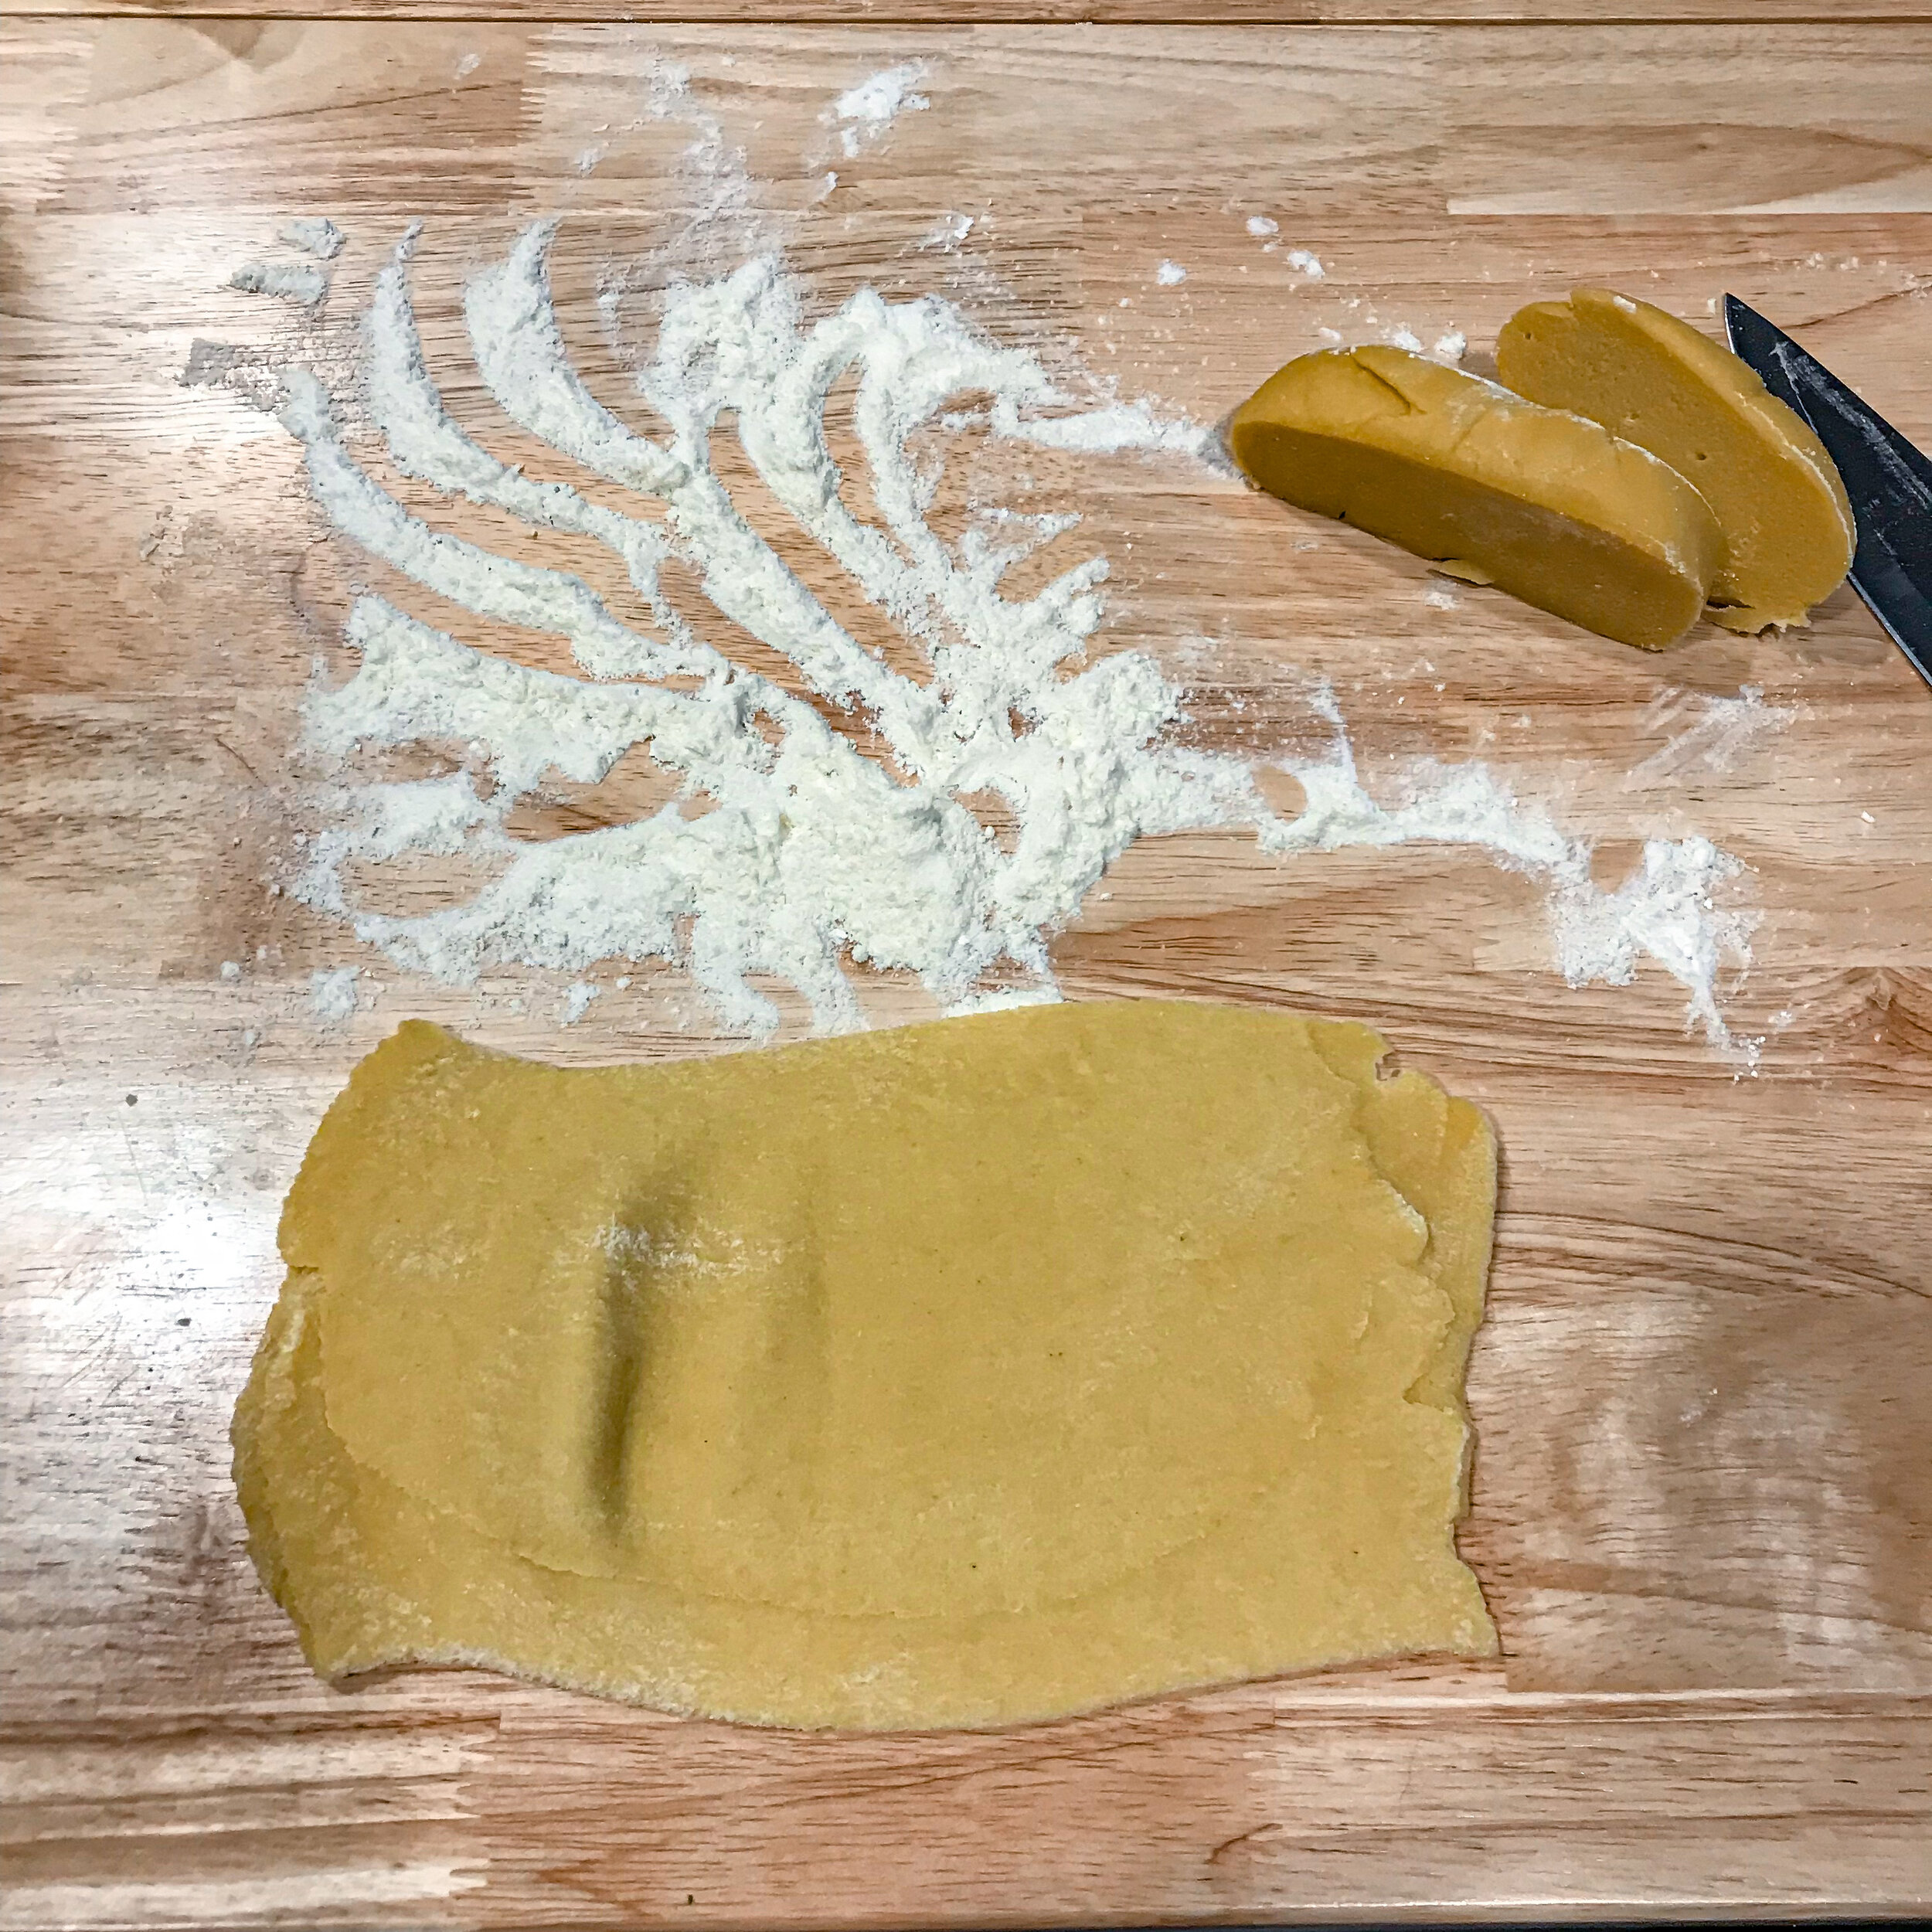
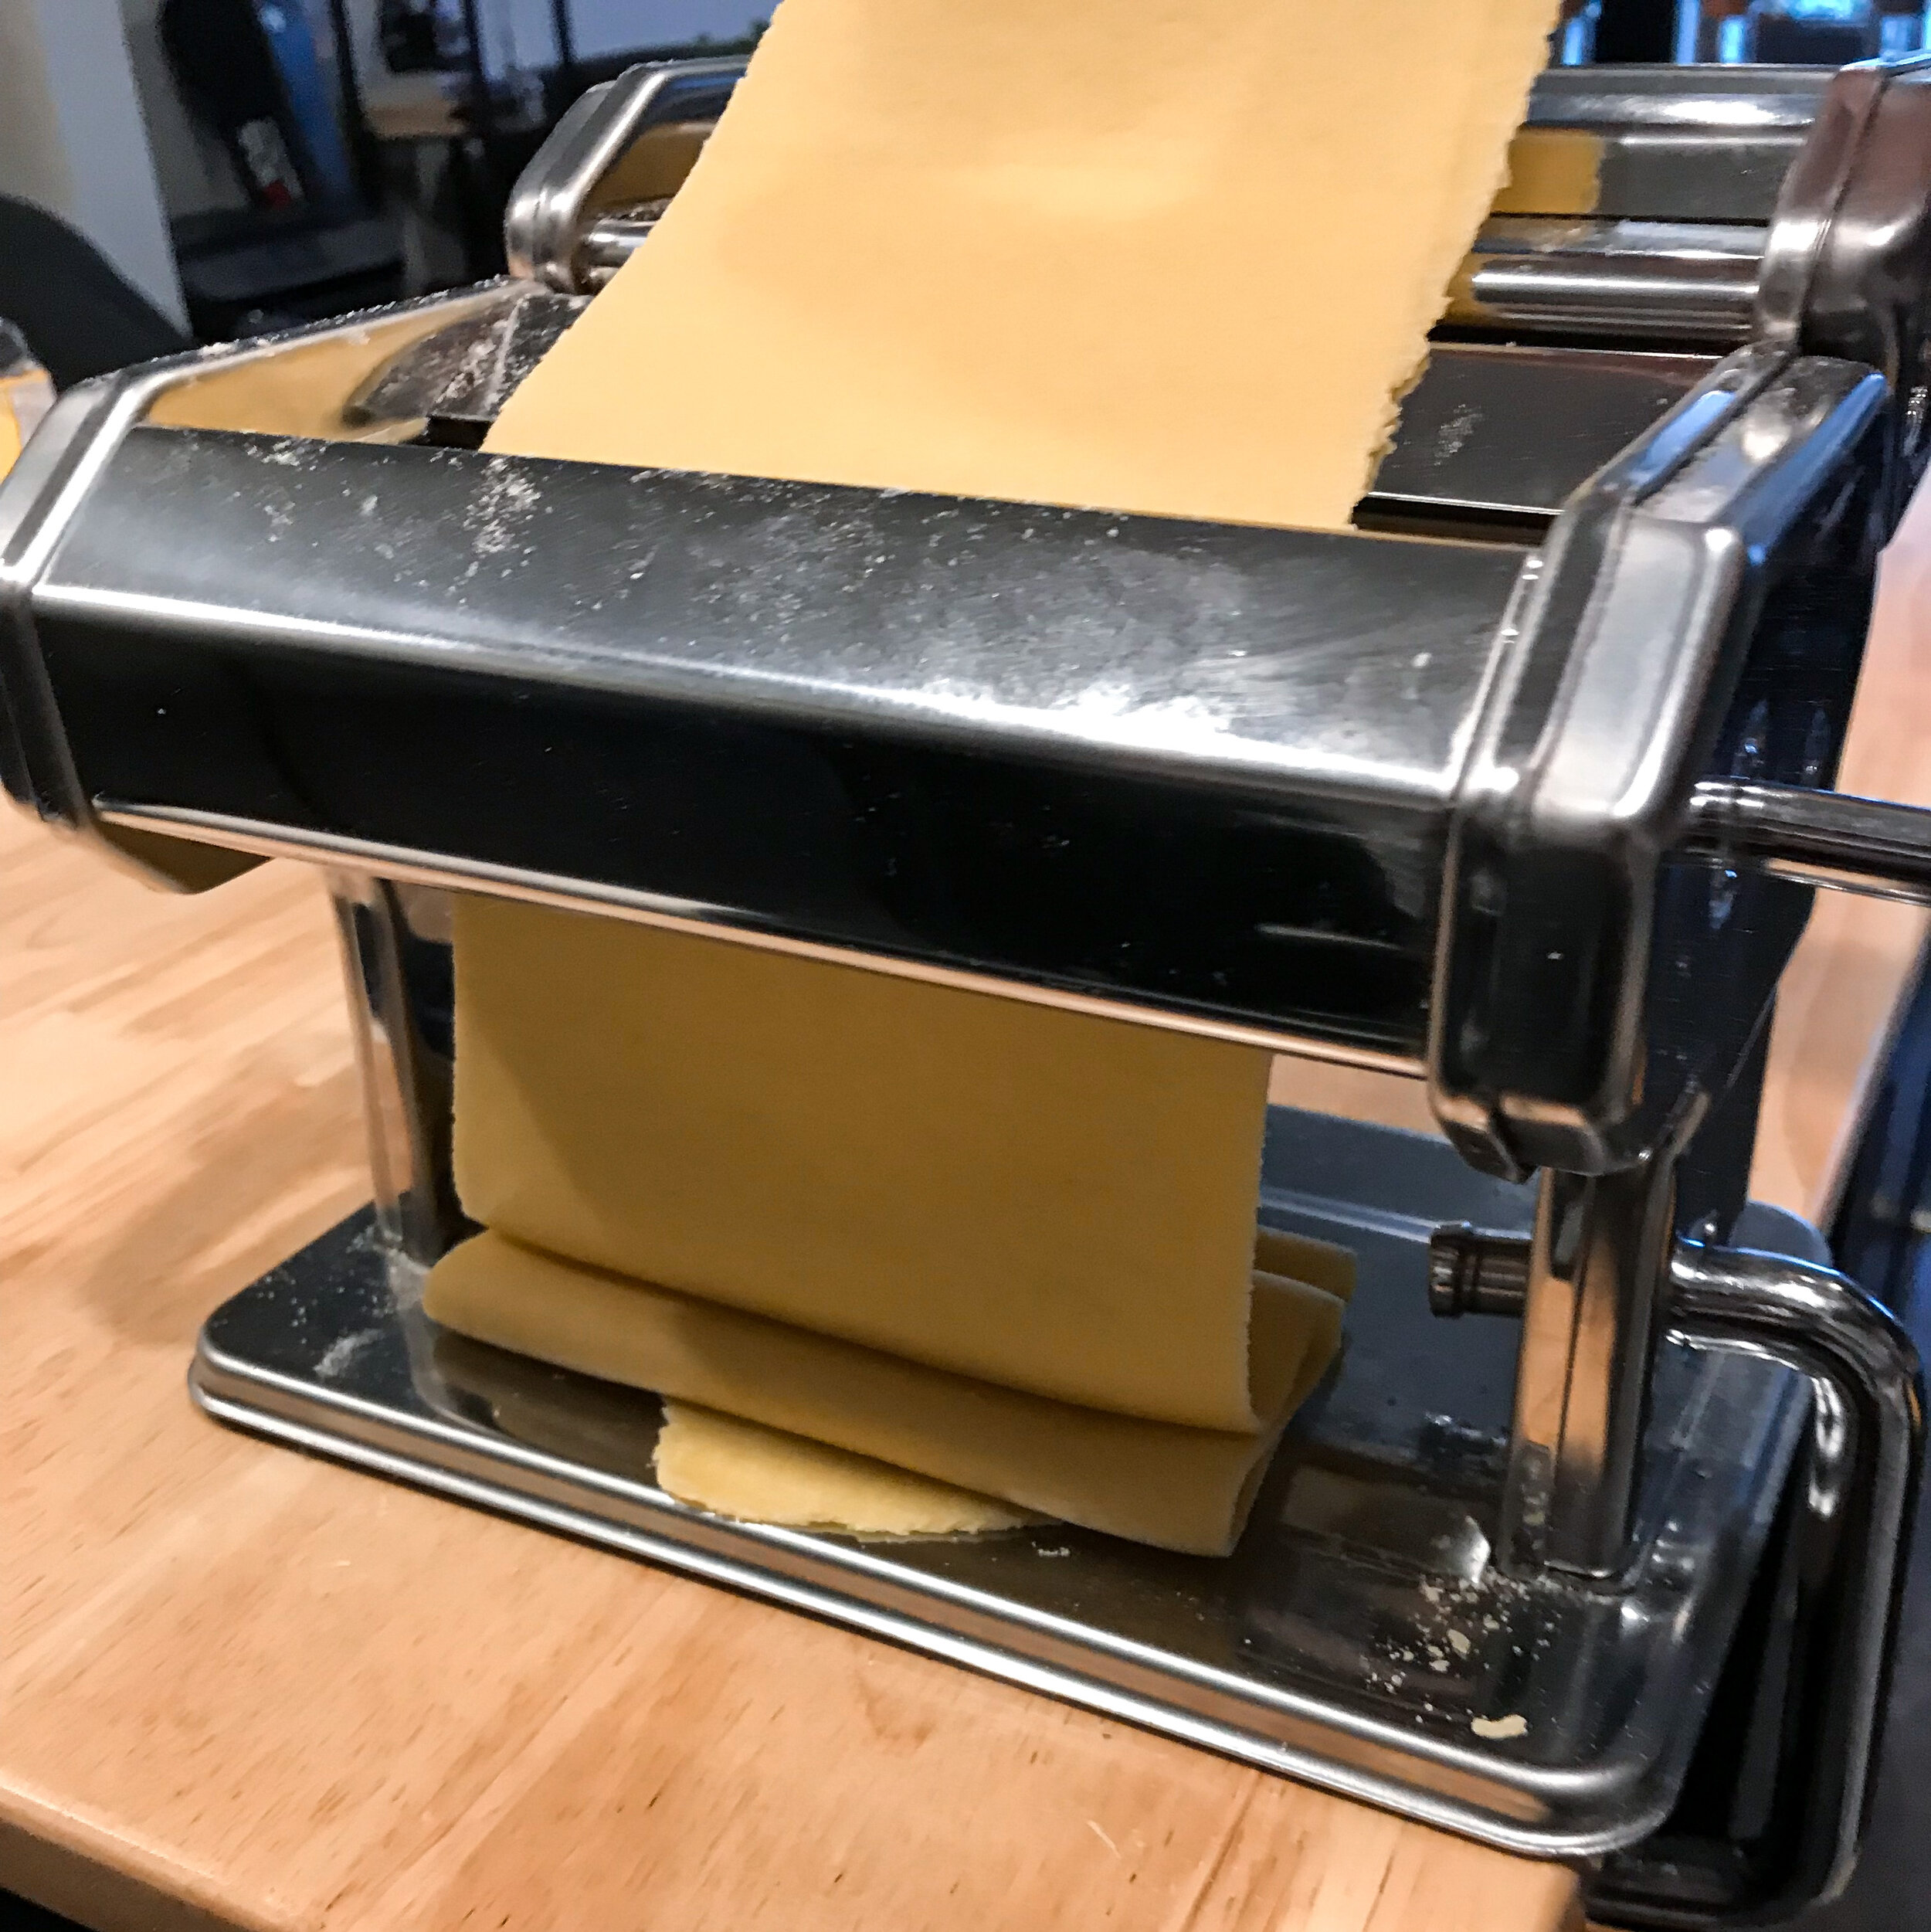
Now you can begin to flatten your sheet. You can adjust your thickness by one degree each pass, but I usually skip from 7 to 5 to 3. If you’re hand-rolling, just roll out your dough into thin, long sheets about 4-5 inches wide till you’ve reached your desired thickness.
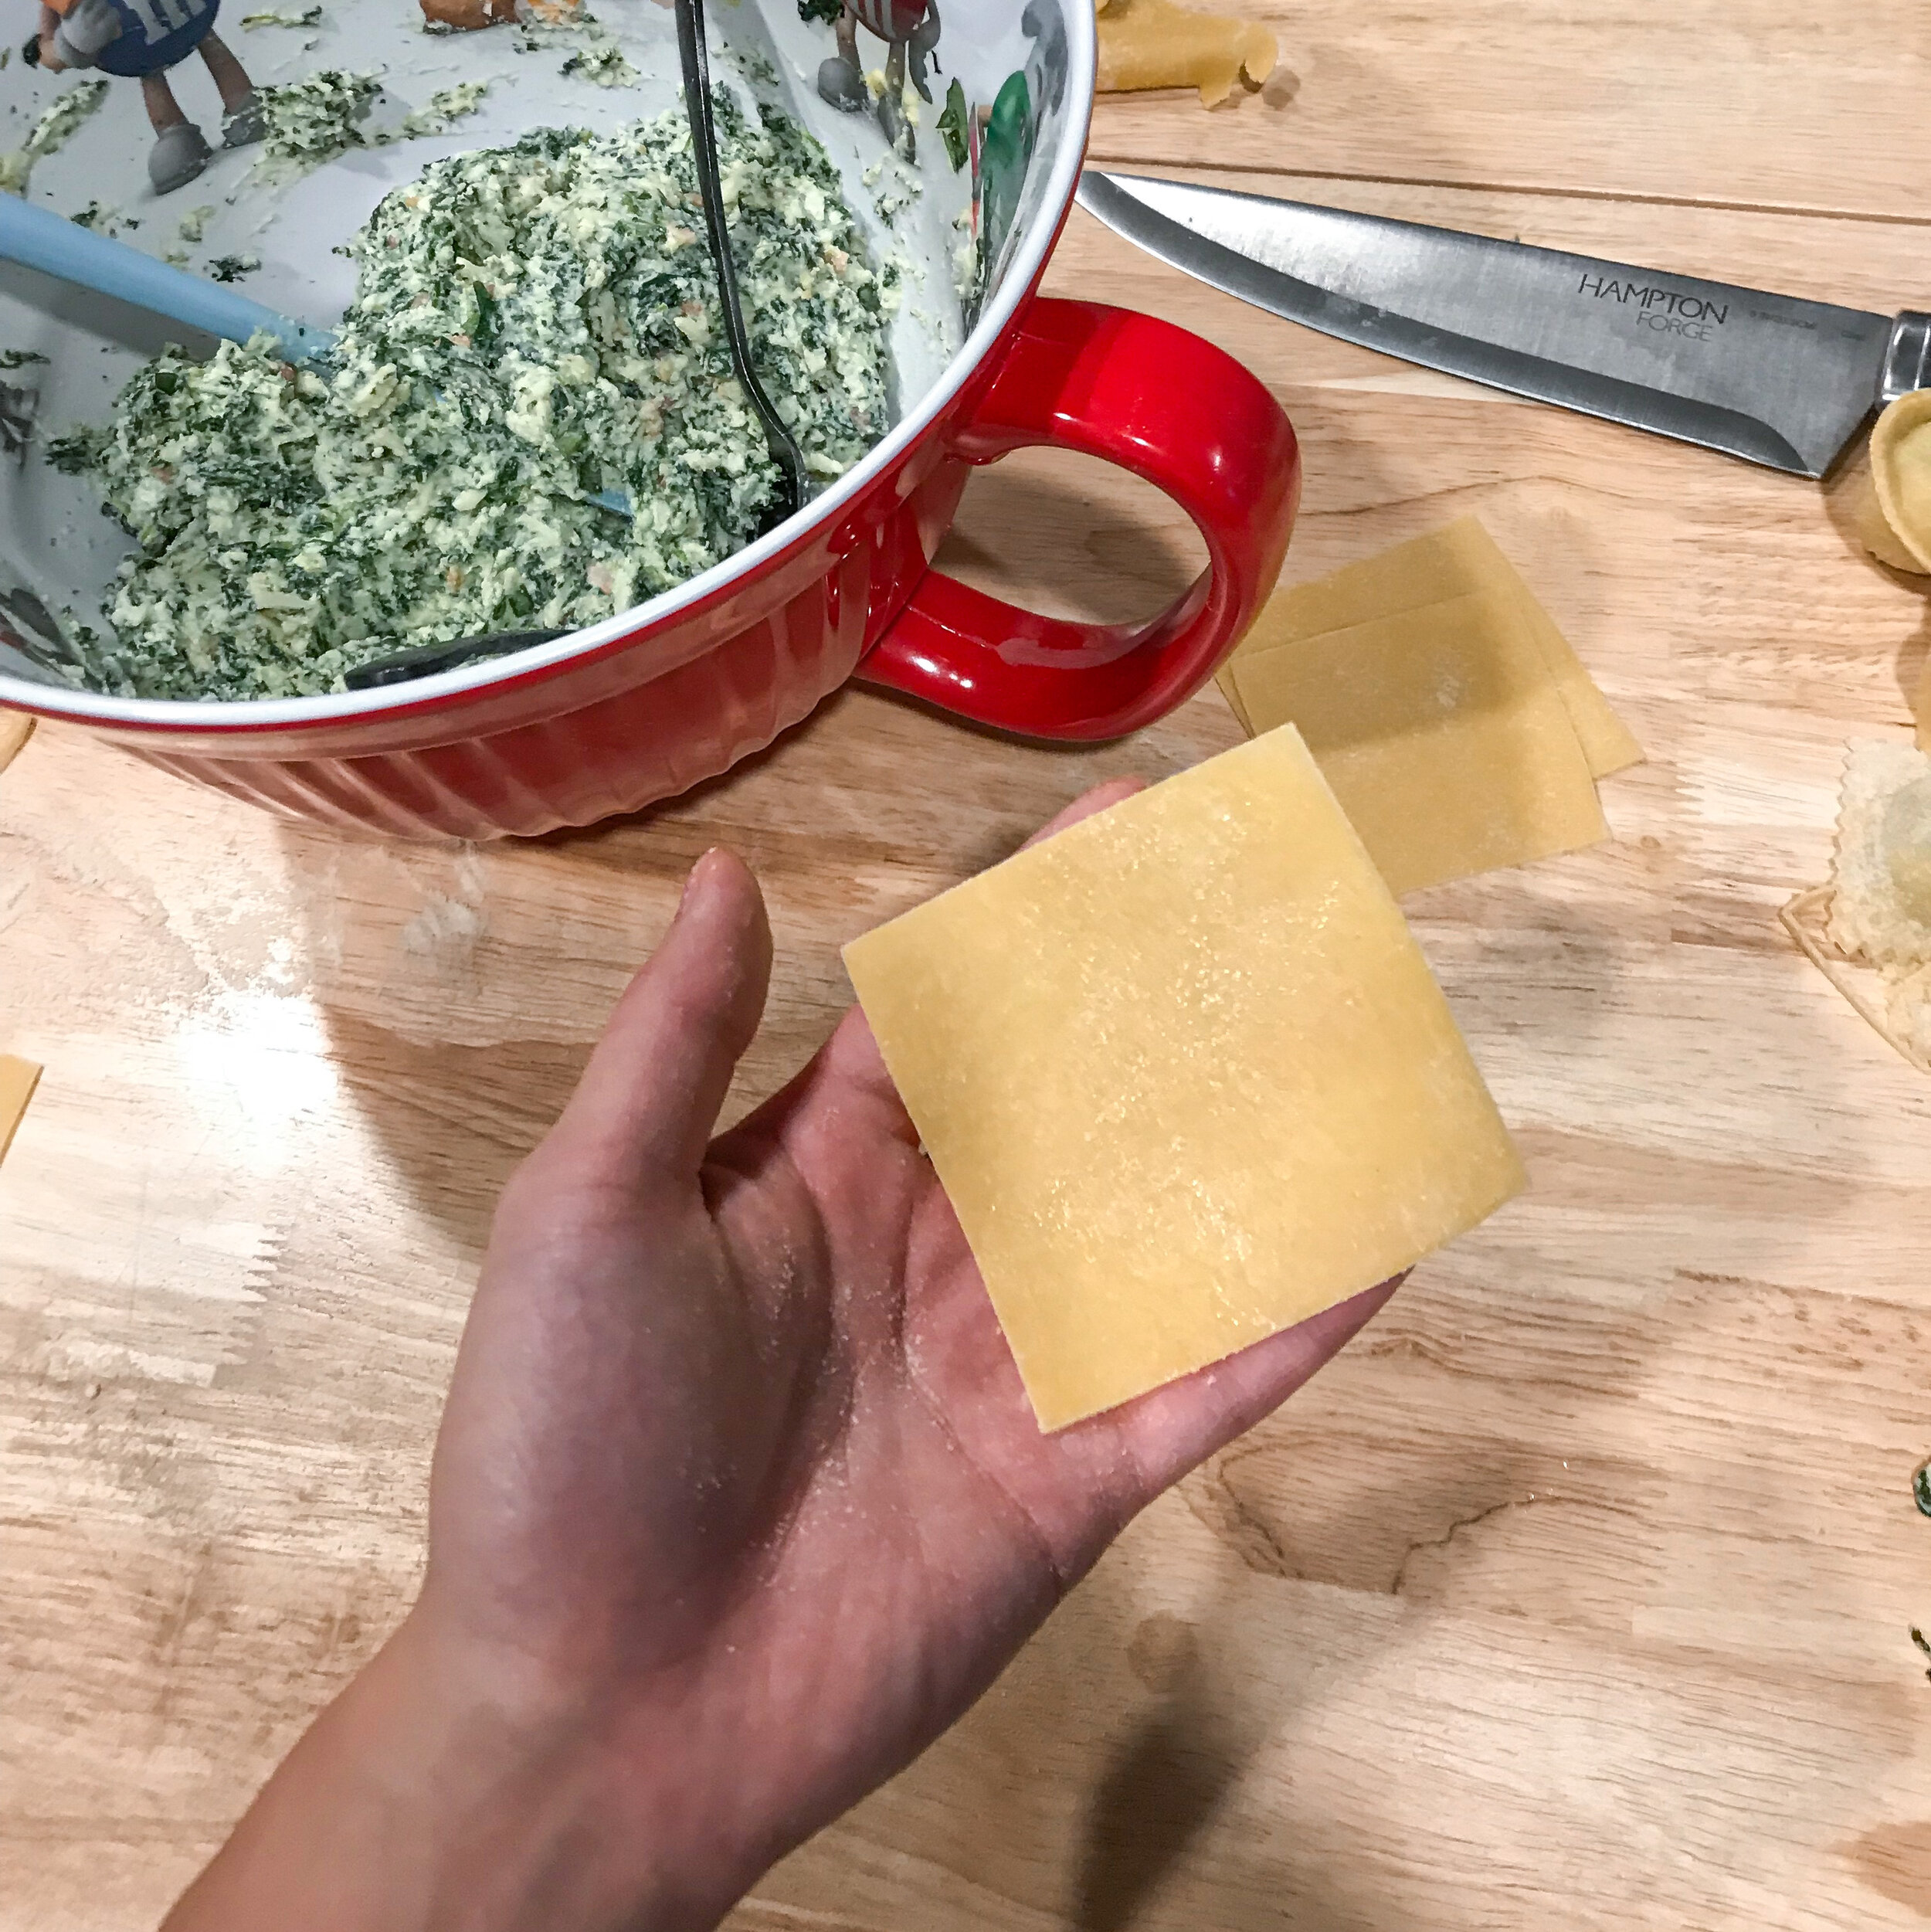
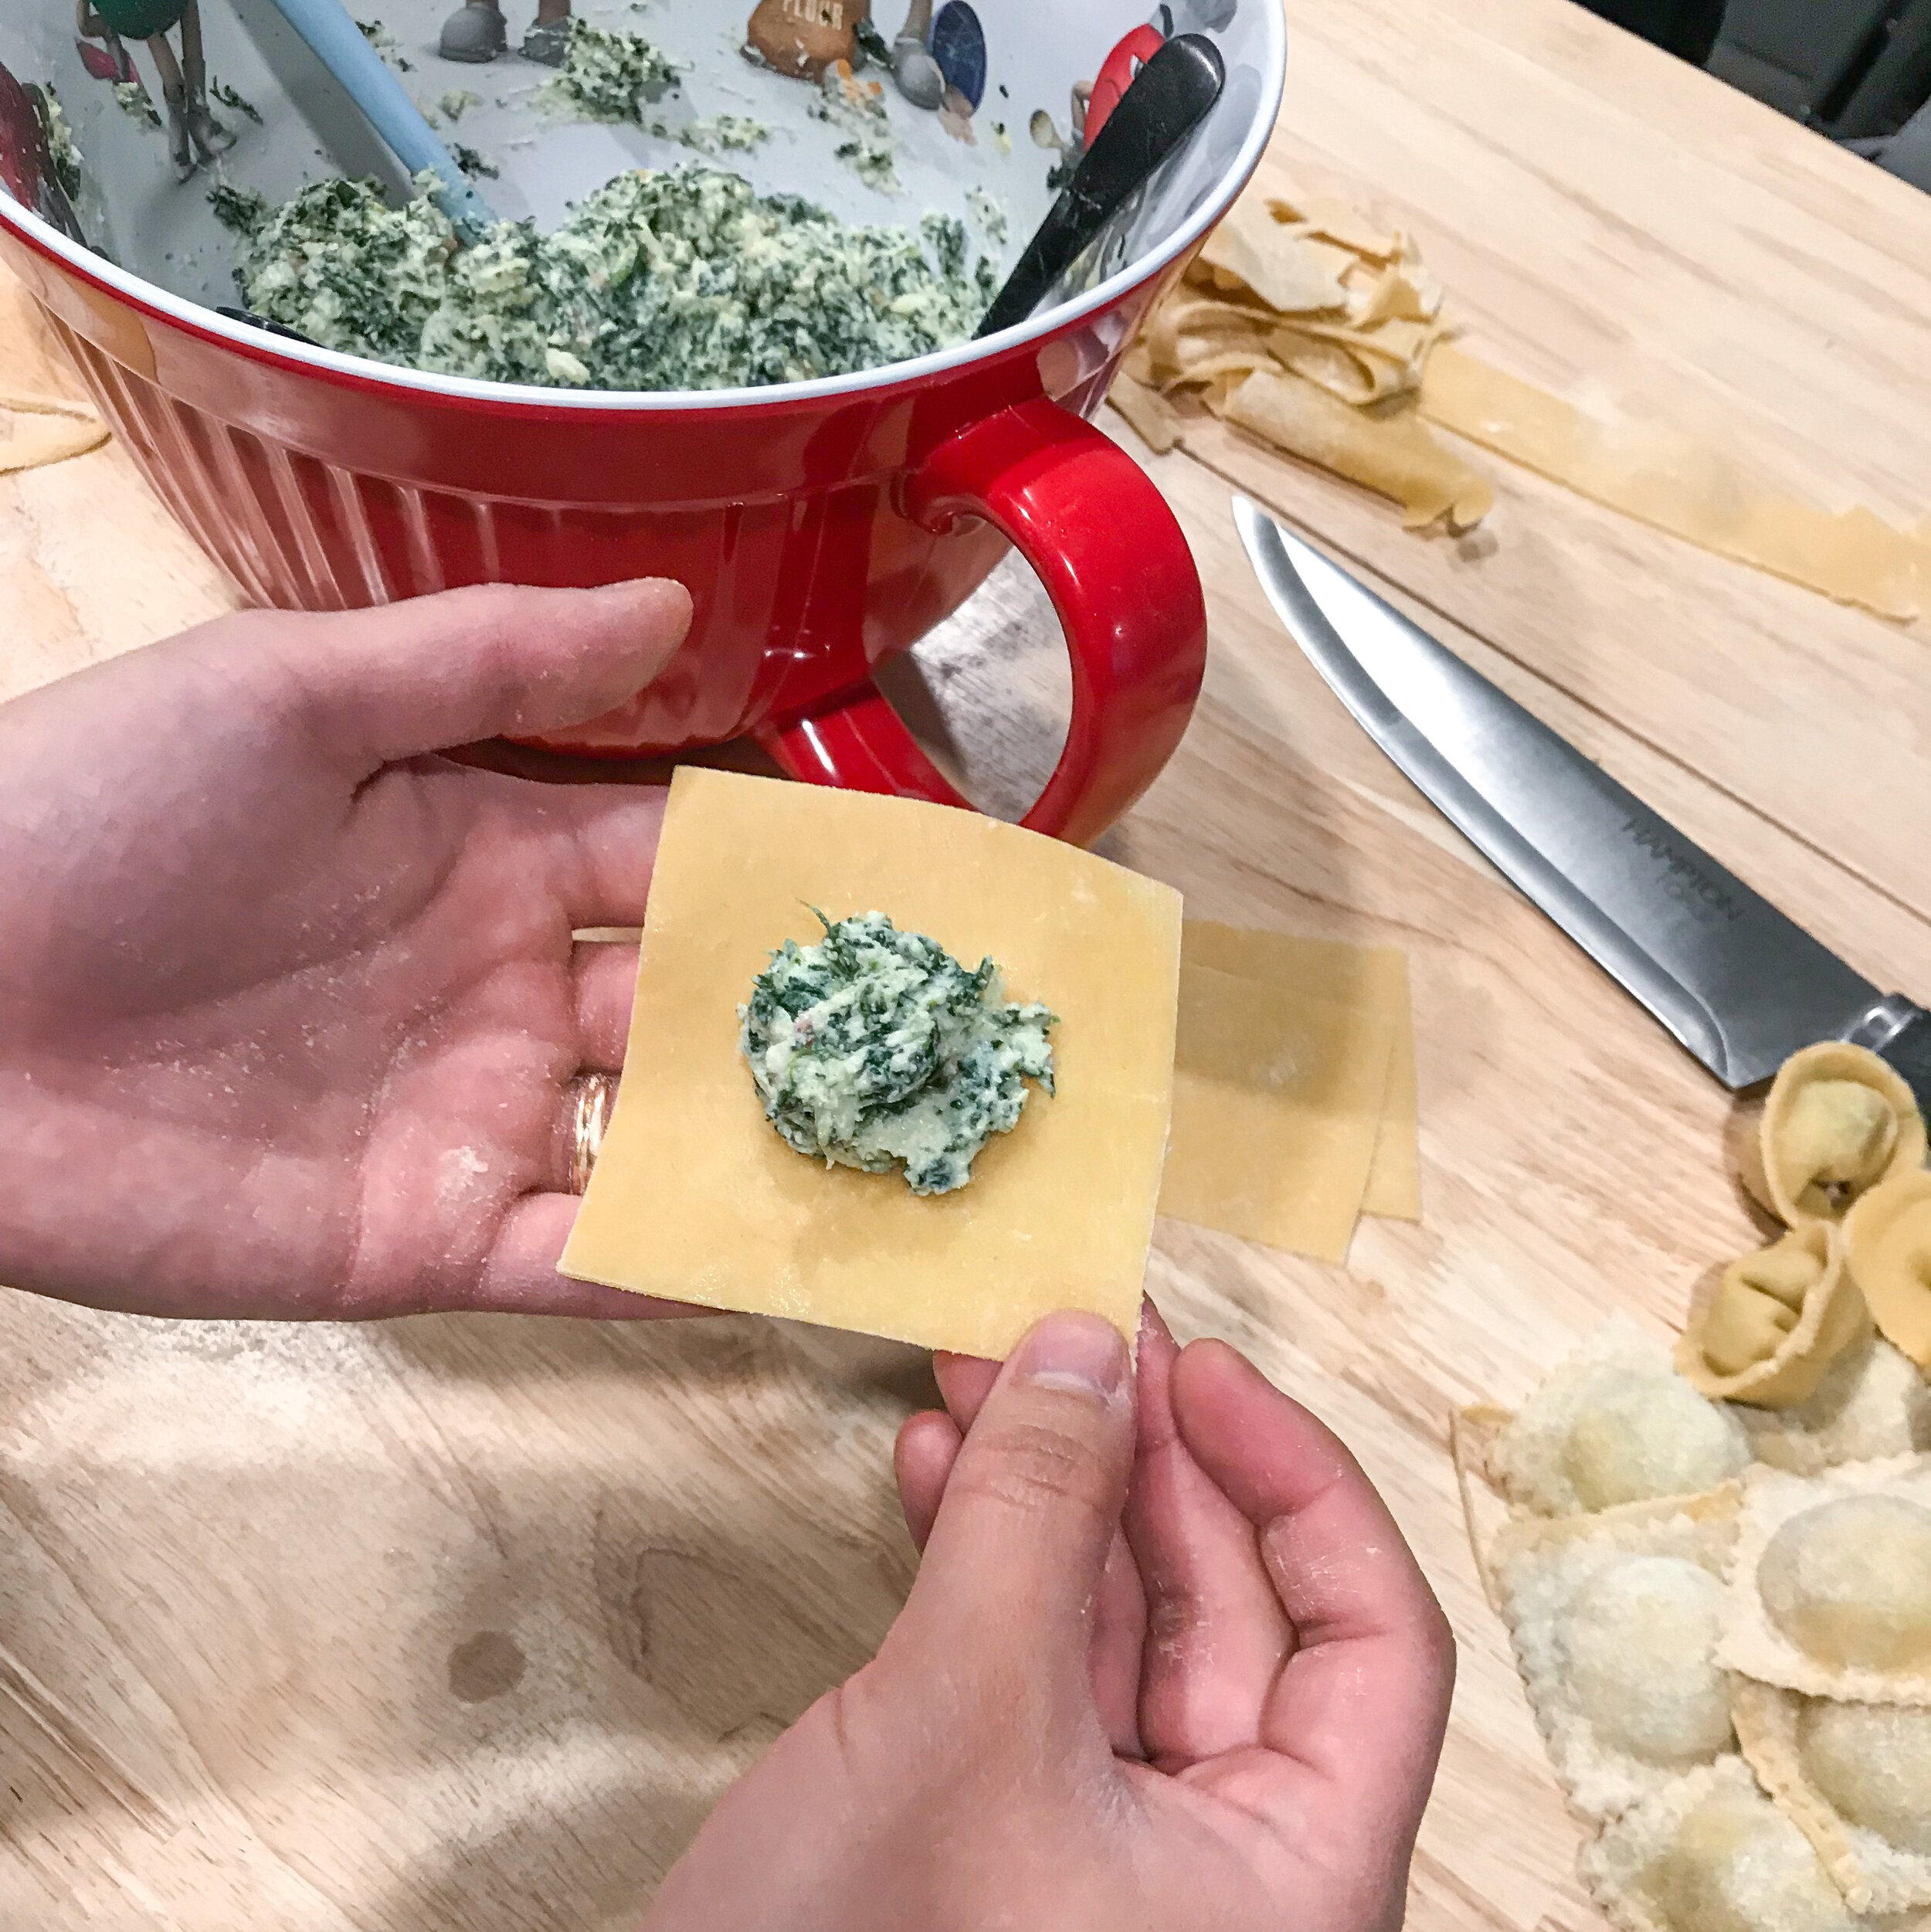
If you’re using a ravioli tray, cut each sheet to the length of the tray, fill, cover, and roll. You may also need to stretch the sheet with a rolling pin to match the width of the mold as well. There should be more detailed instructions with the tray. If you are hand-cutting, lay out a sheet and place filling in the middle, spaced out by 1 inch. You may even be able to fit 2 rows, depending on how wide you rolled your sheet. Wet the edges with a little bit of water, top with a second sheet, and press down around the filling to seal. Cut out squares with a pastry cutter.
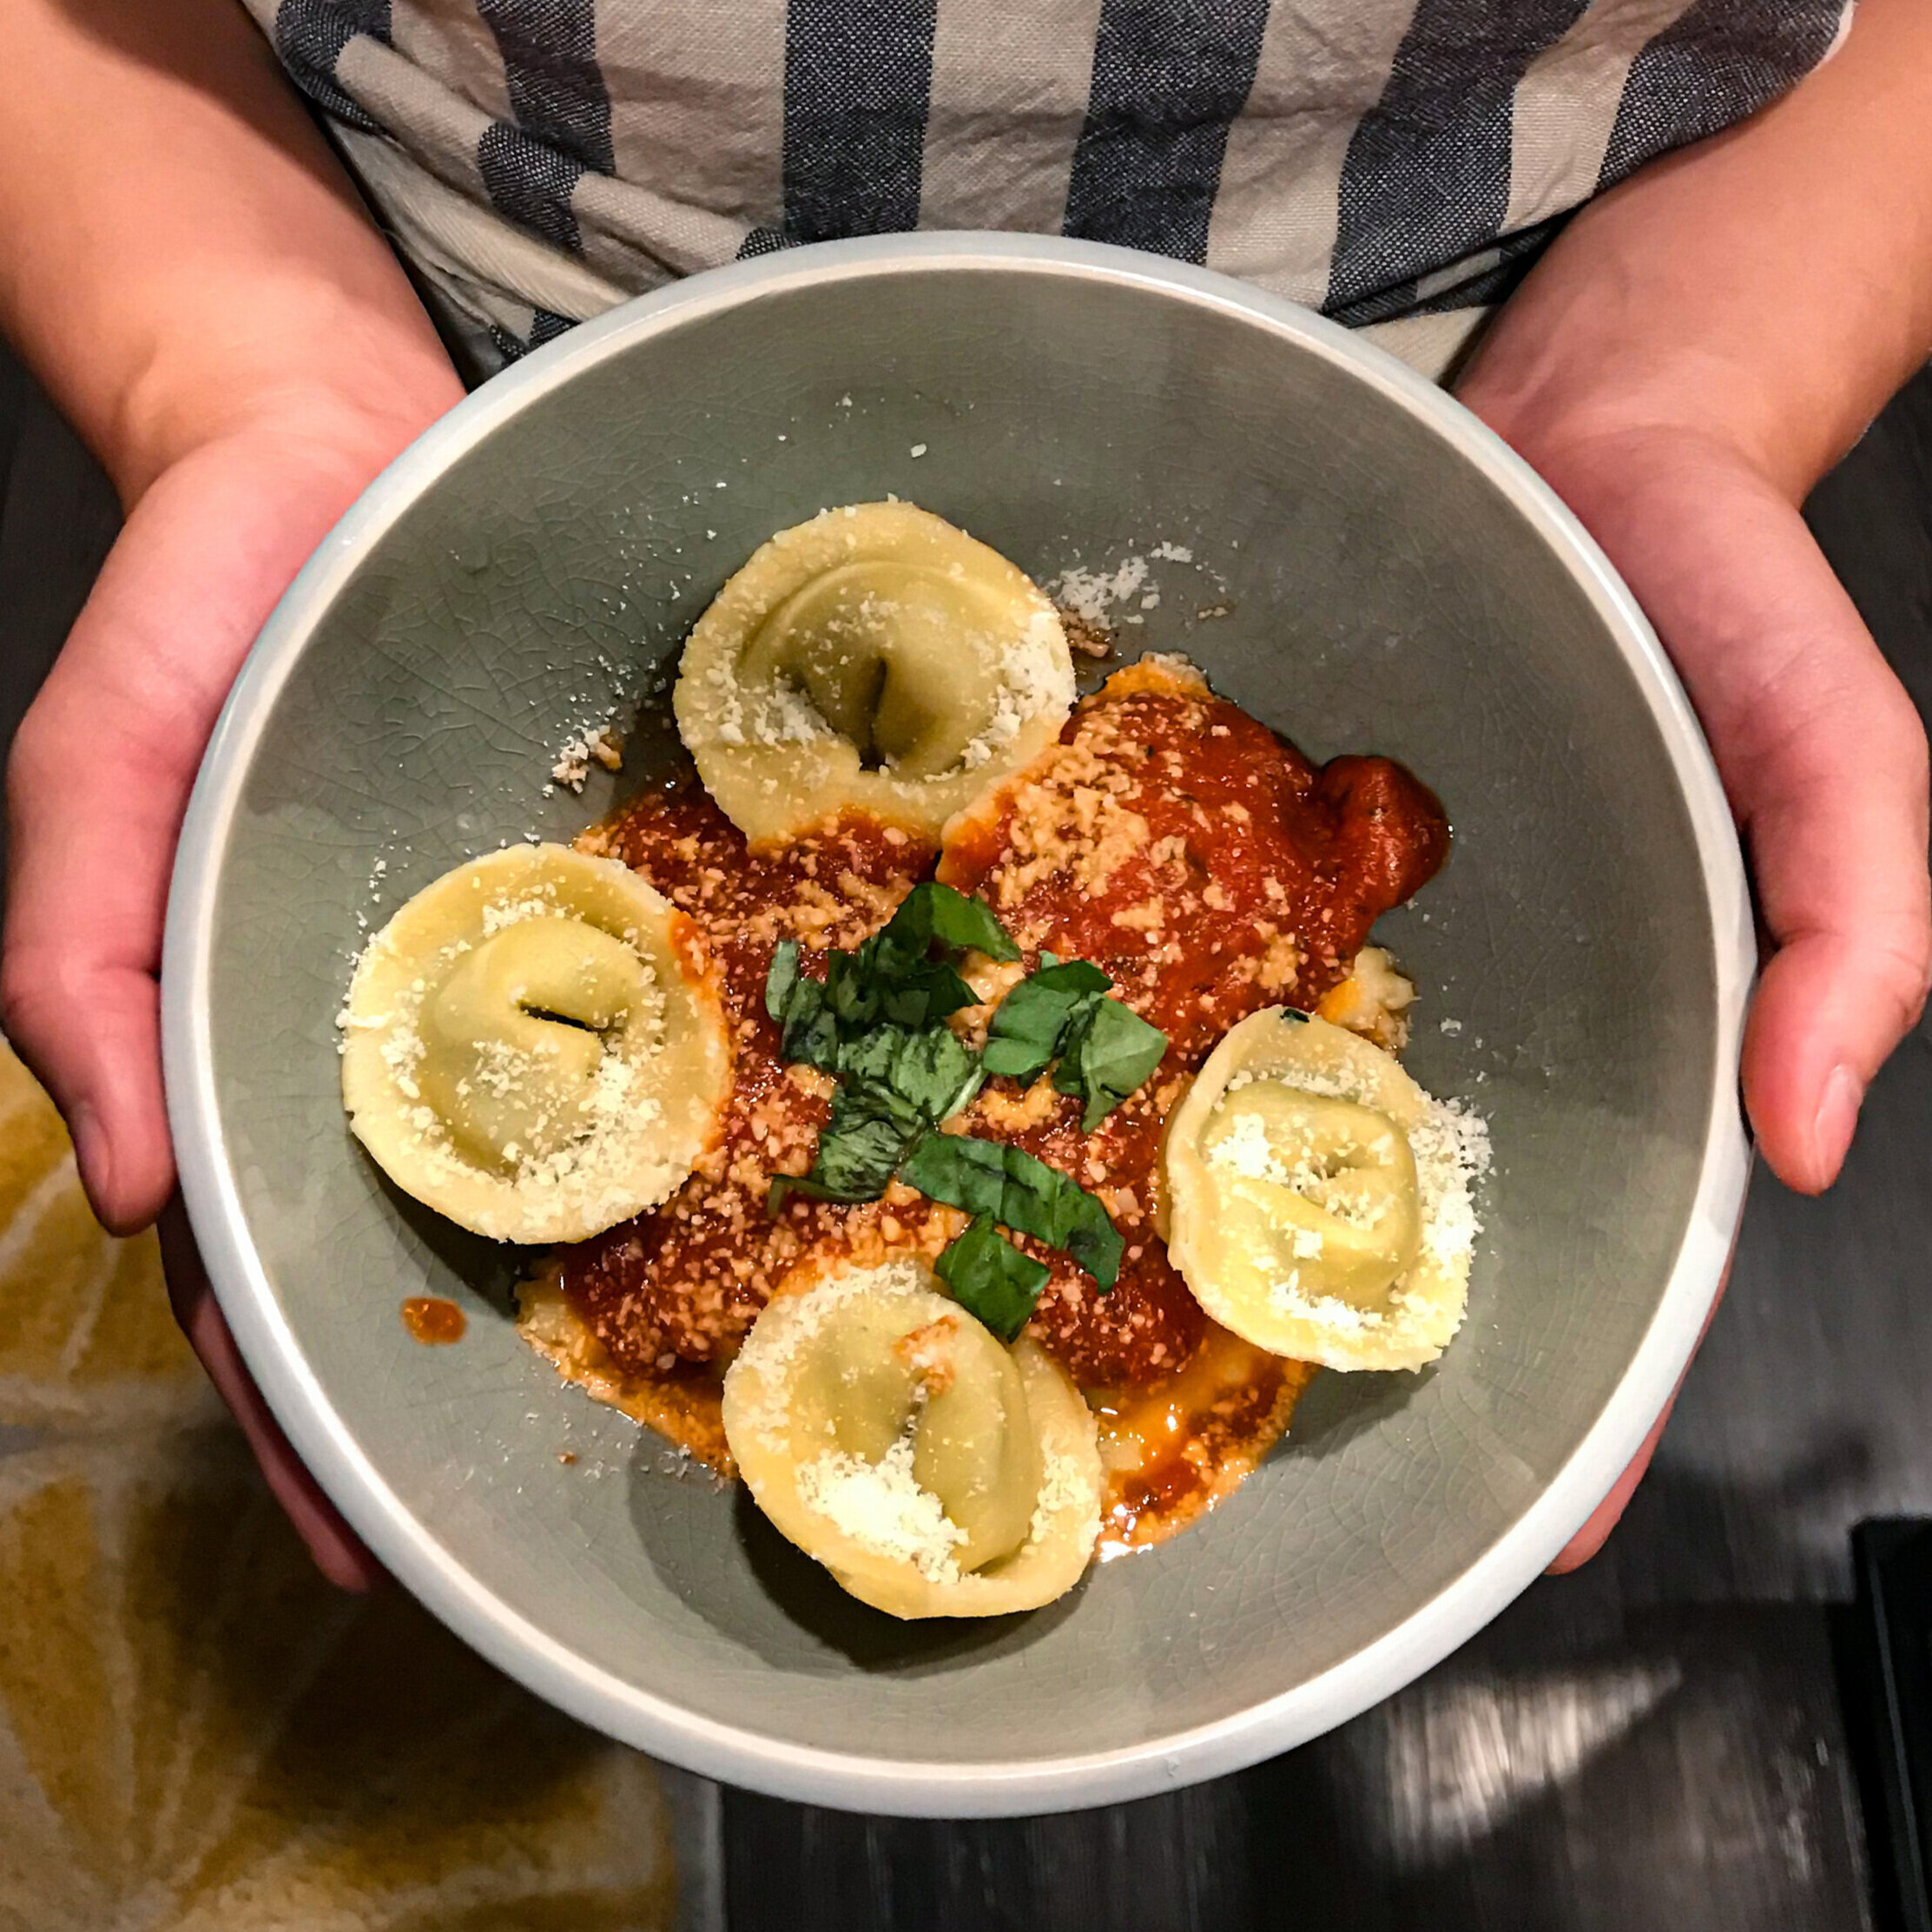
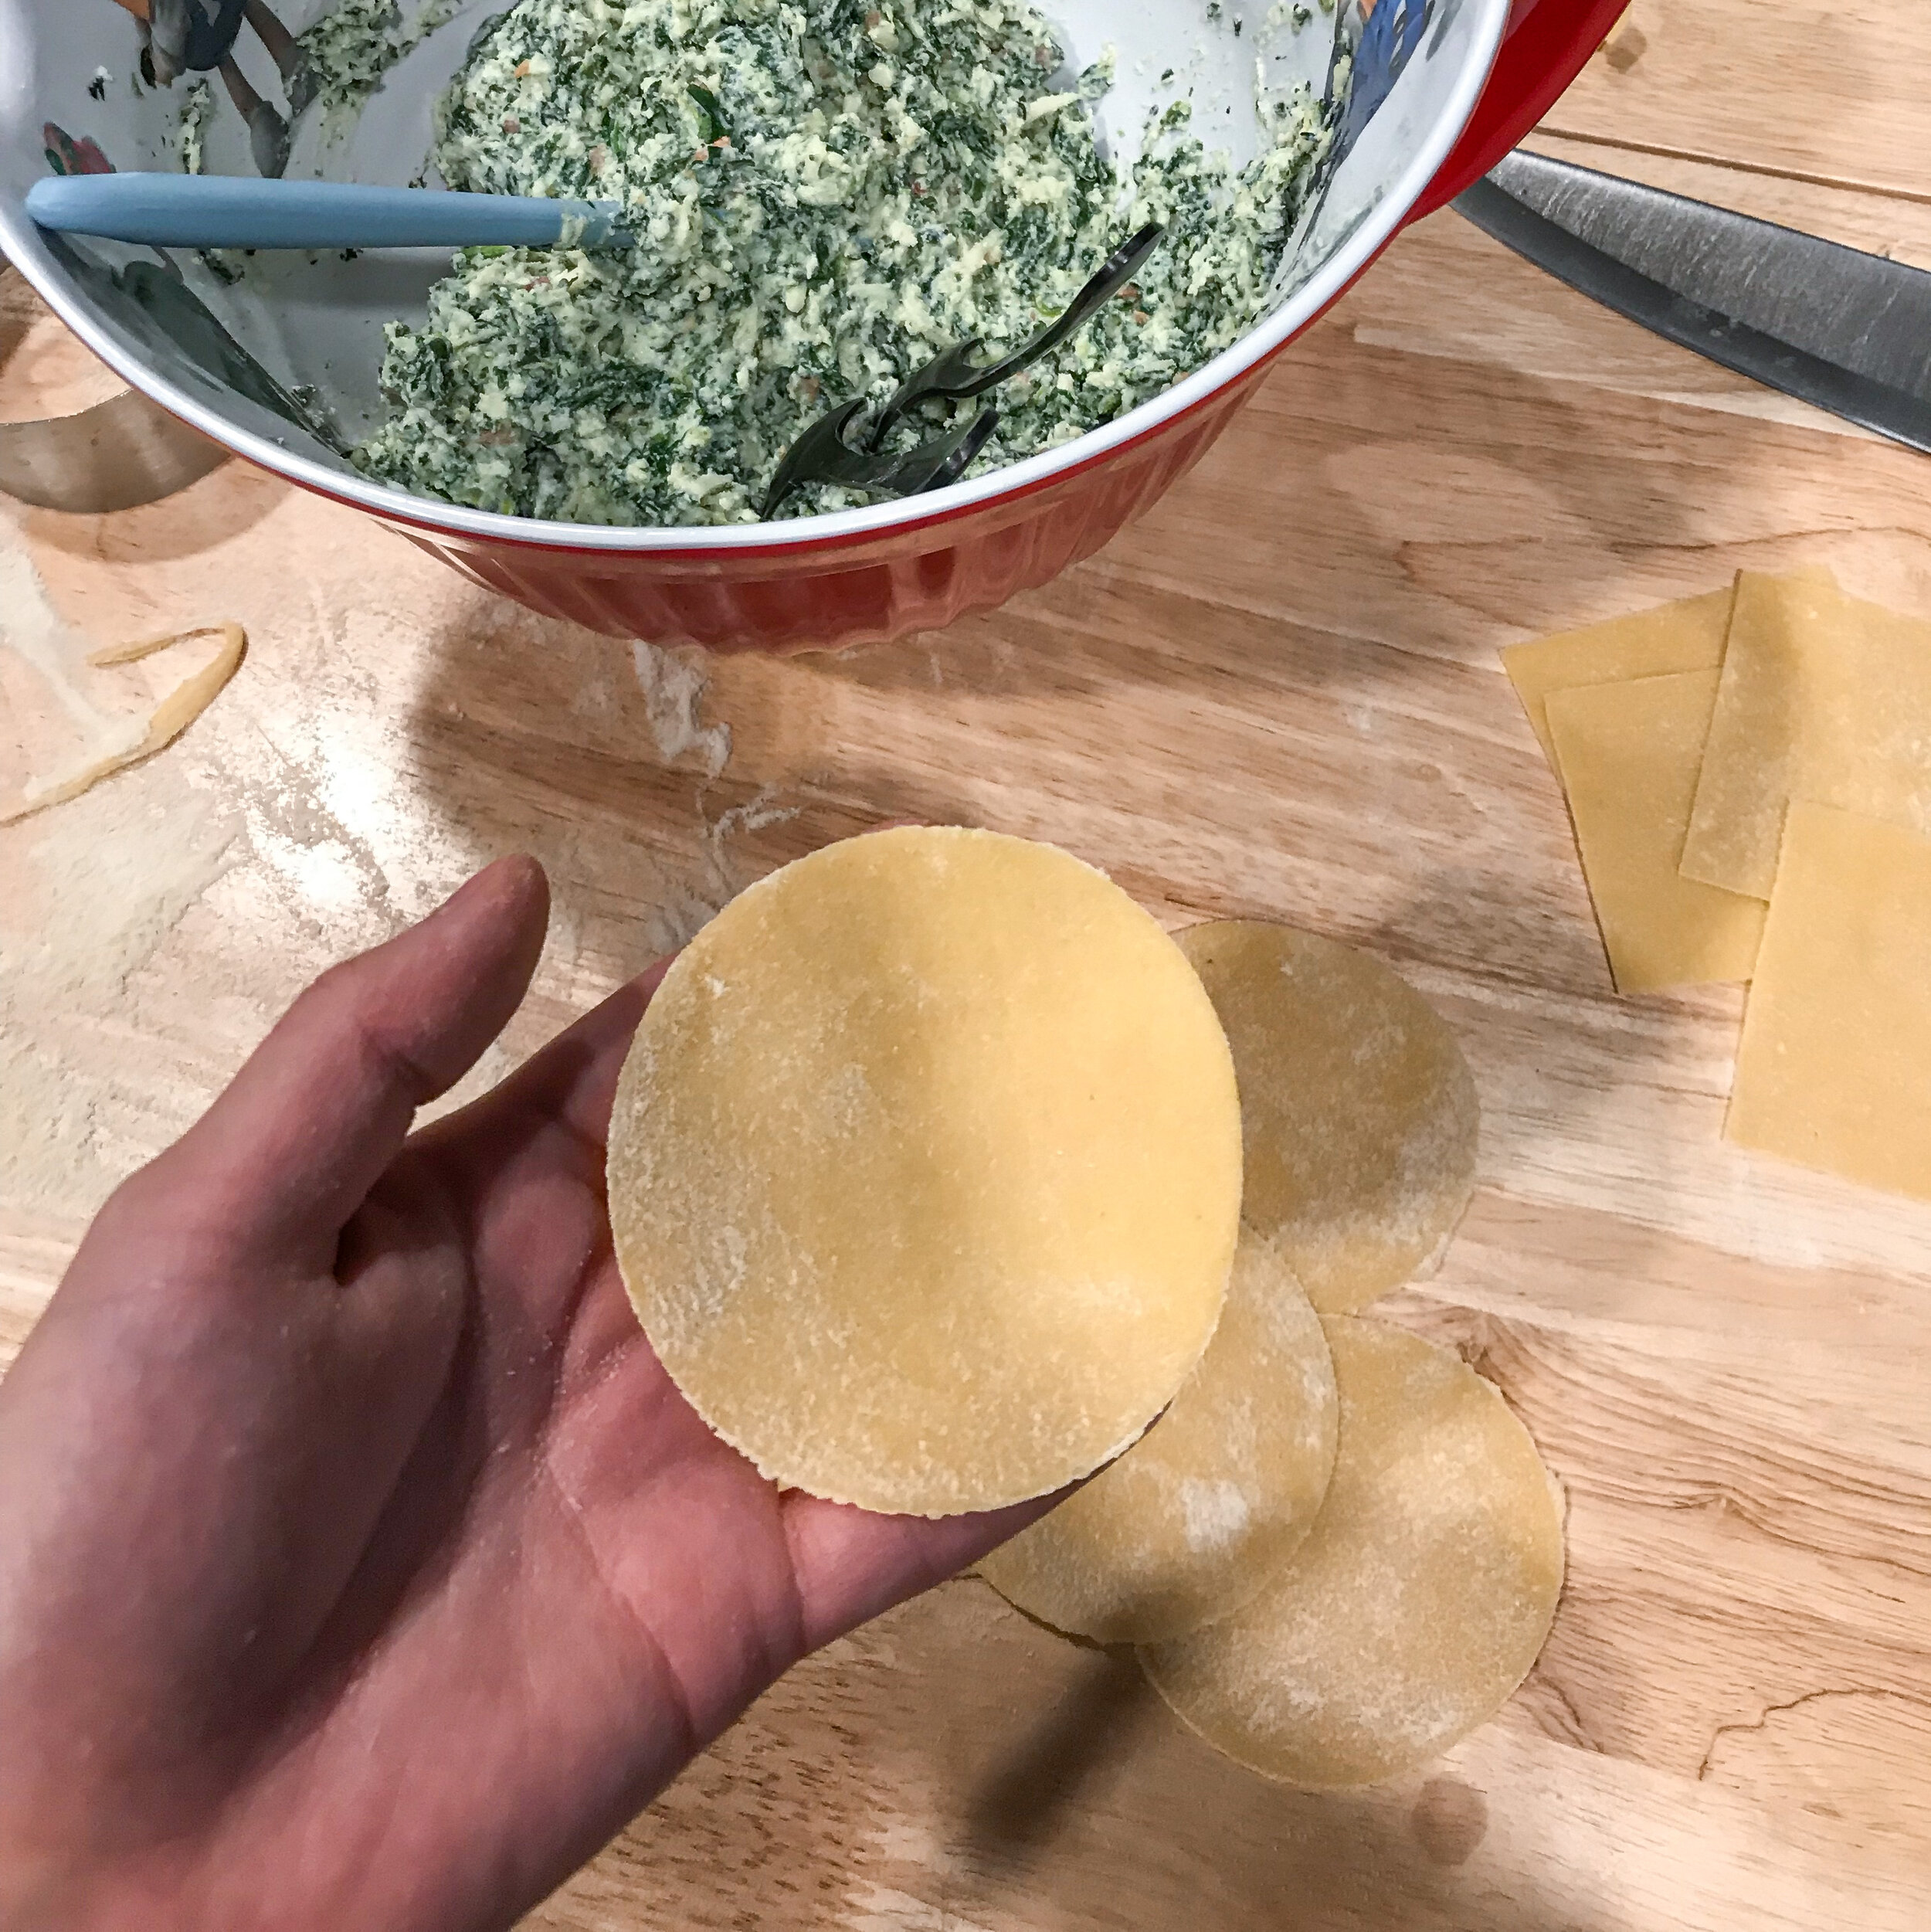
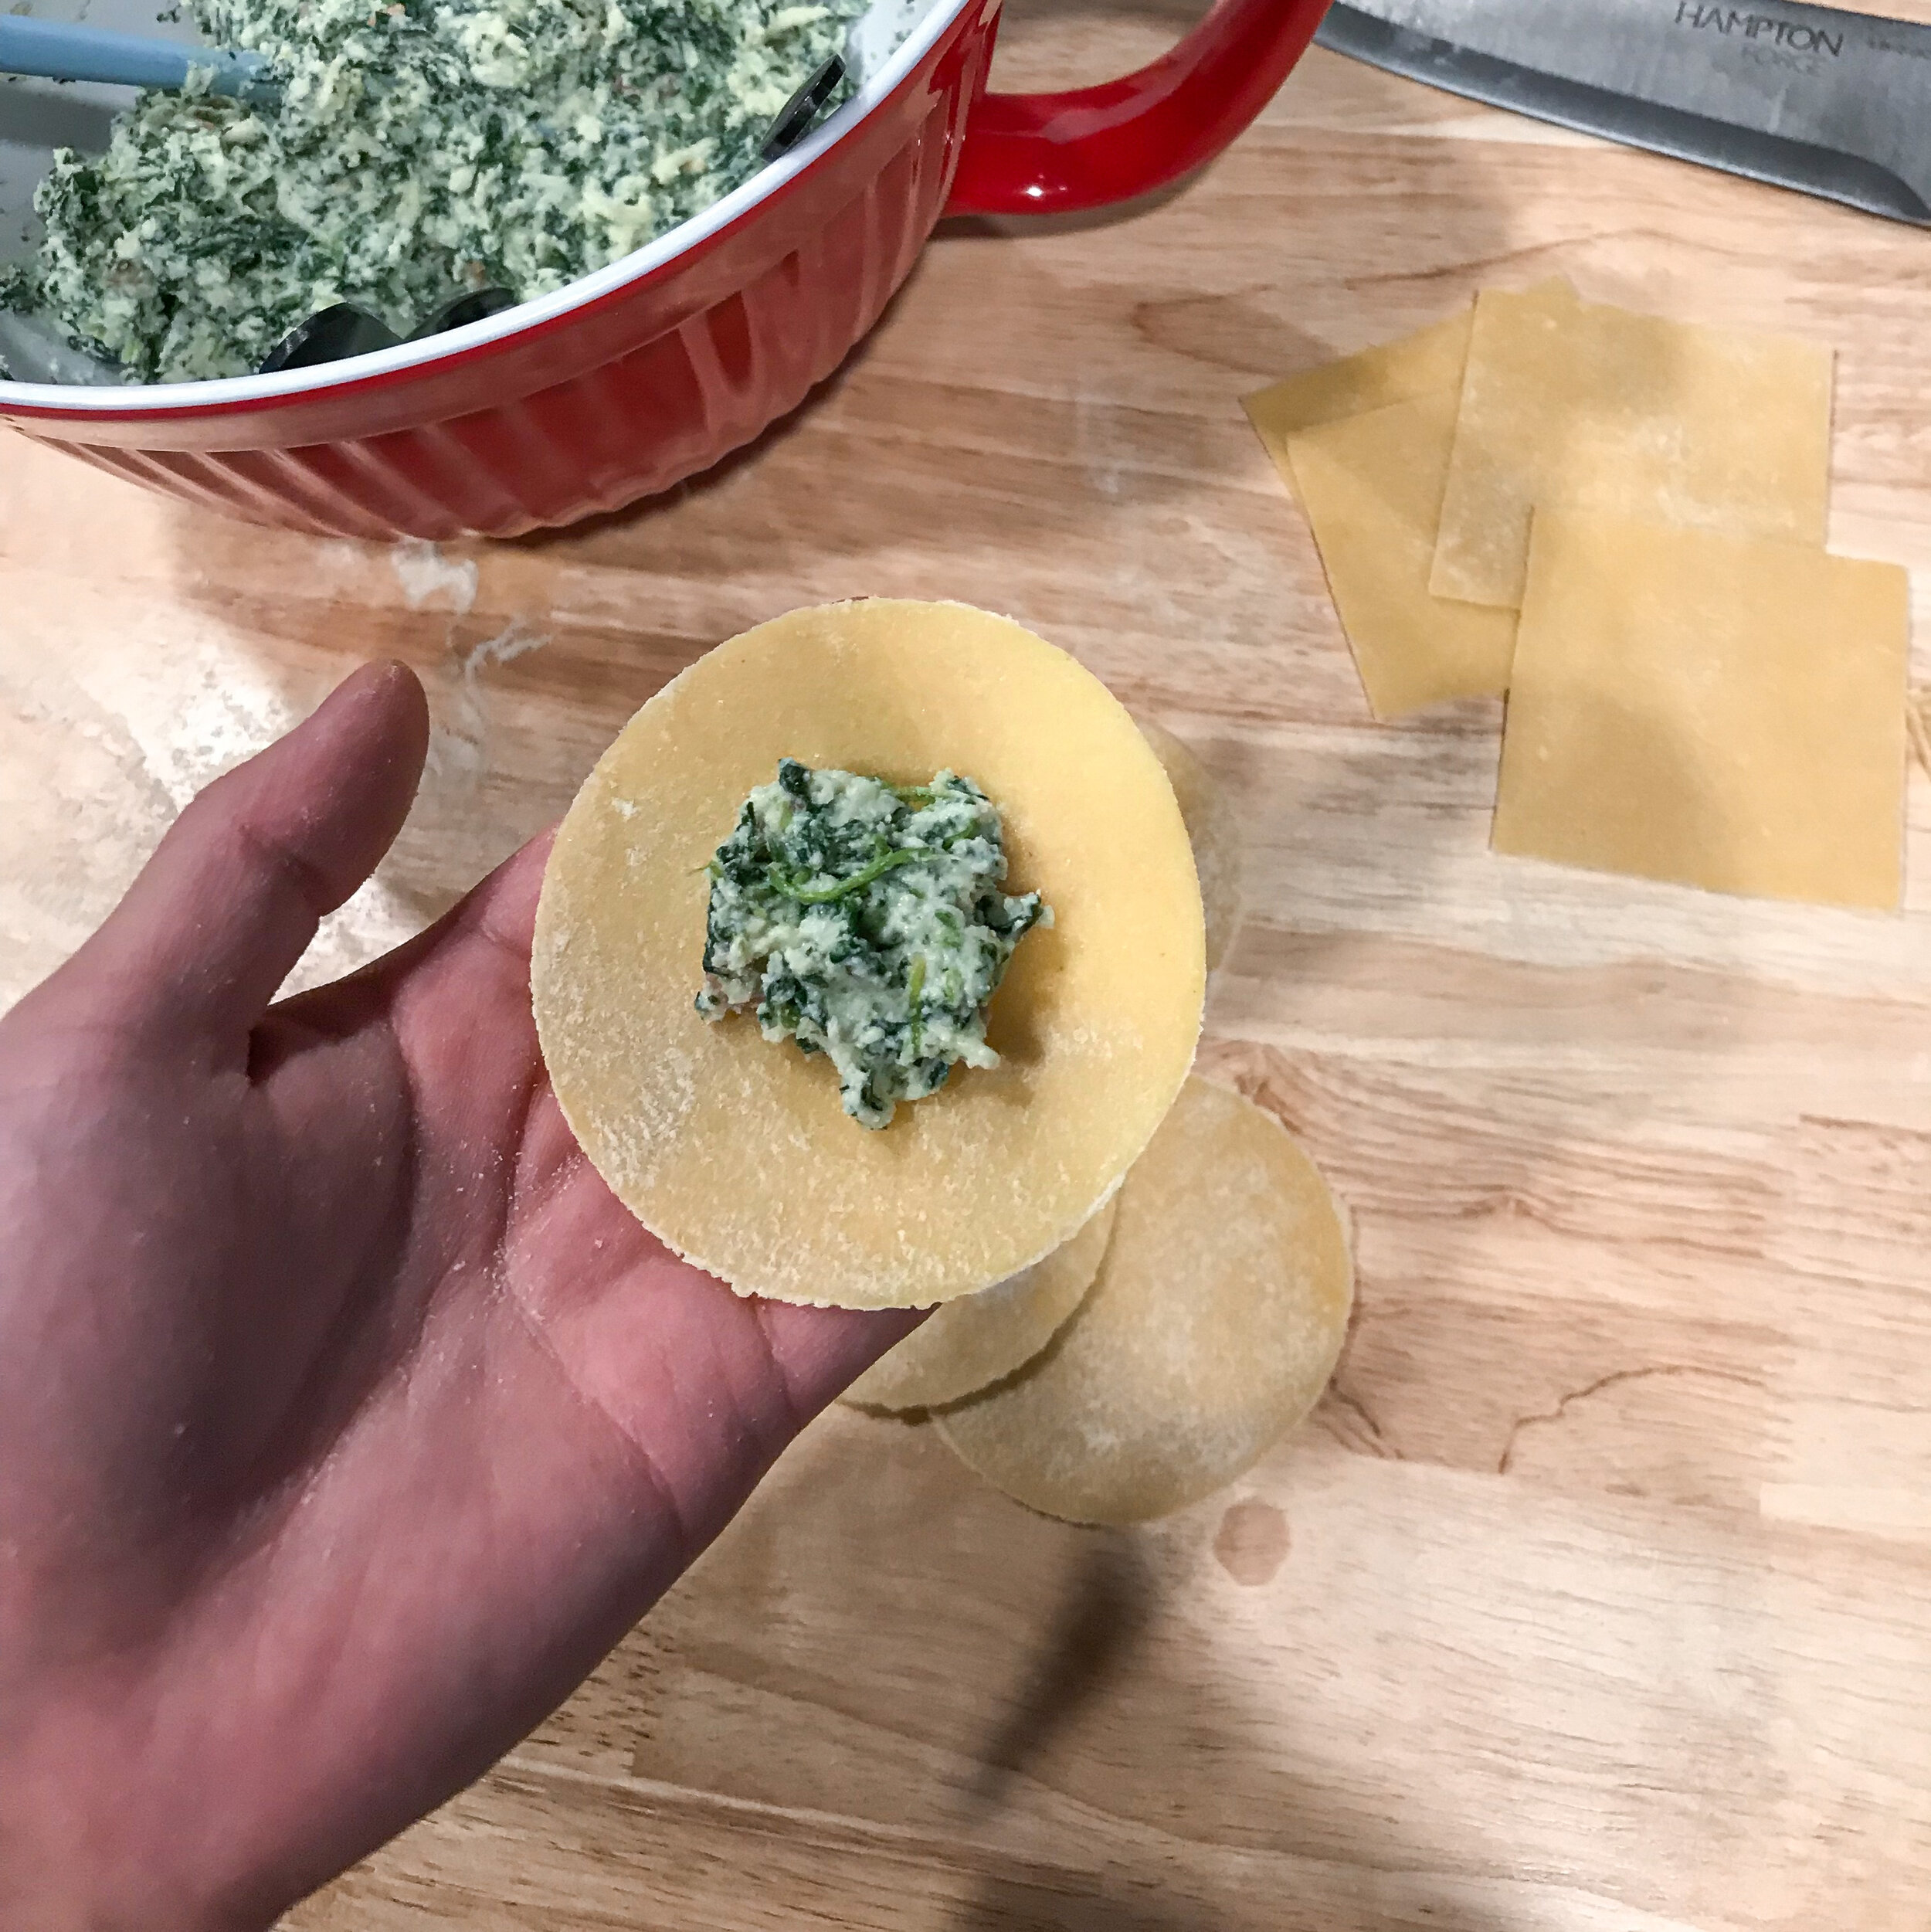
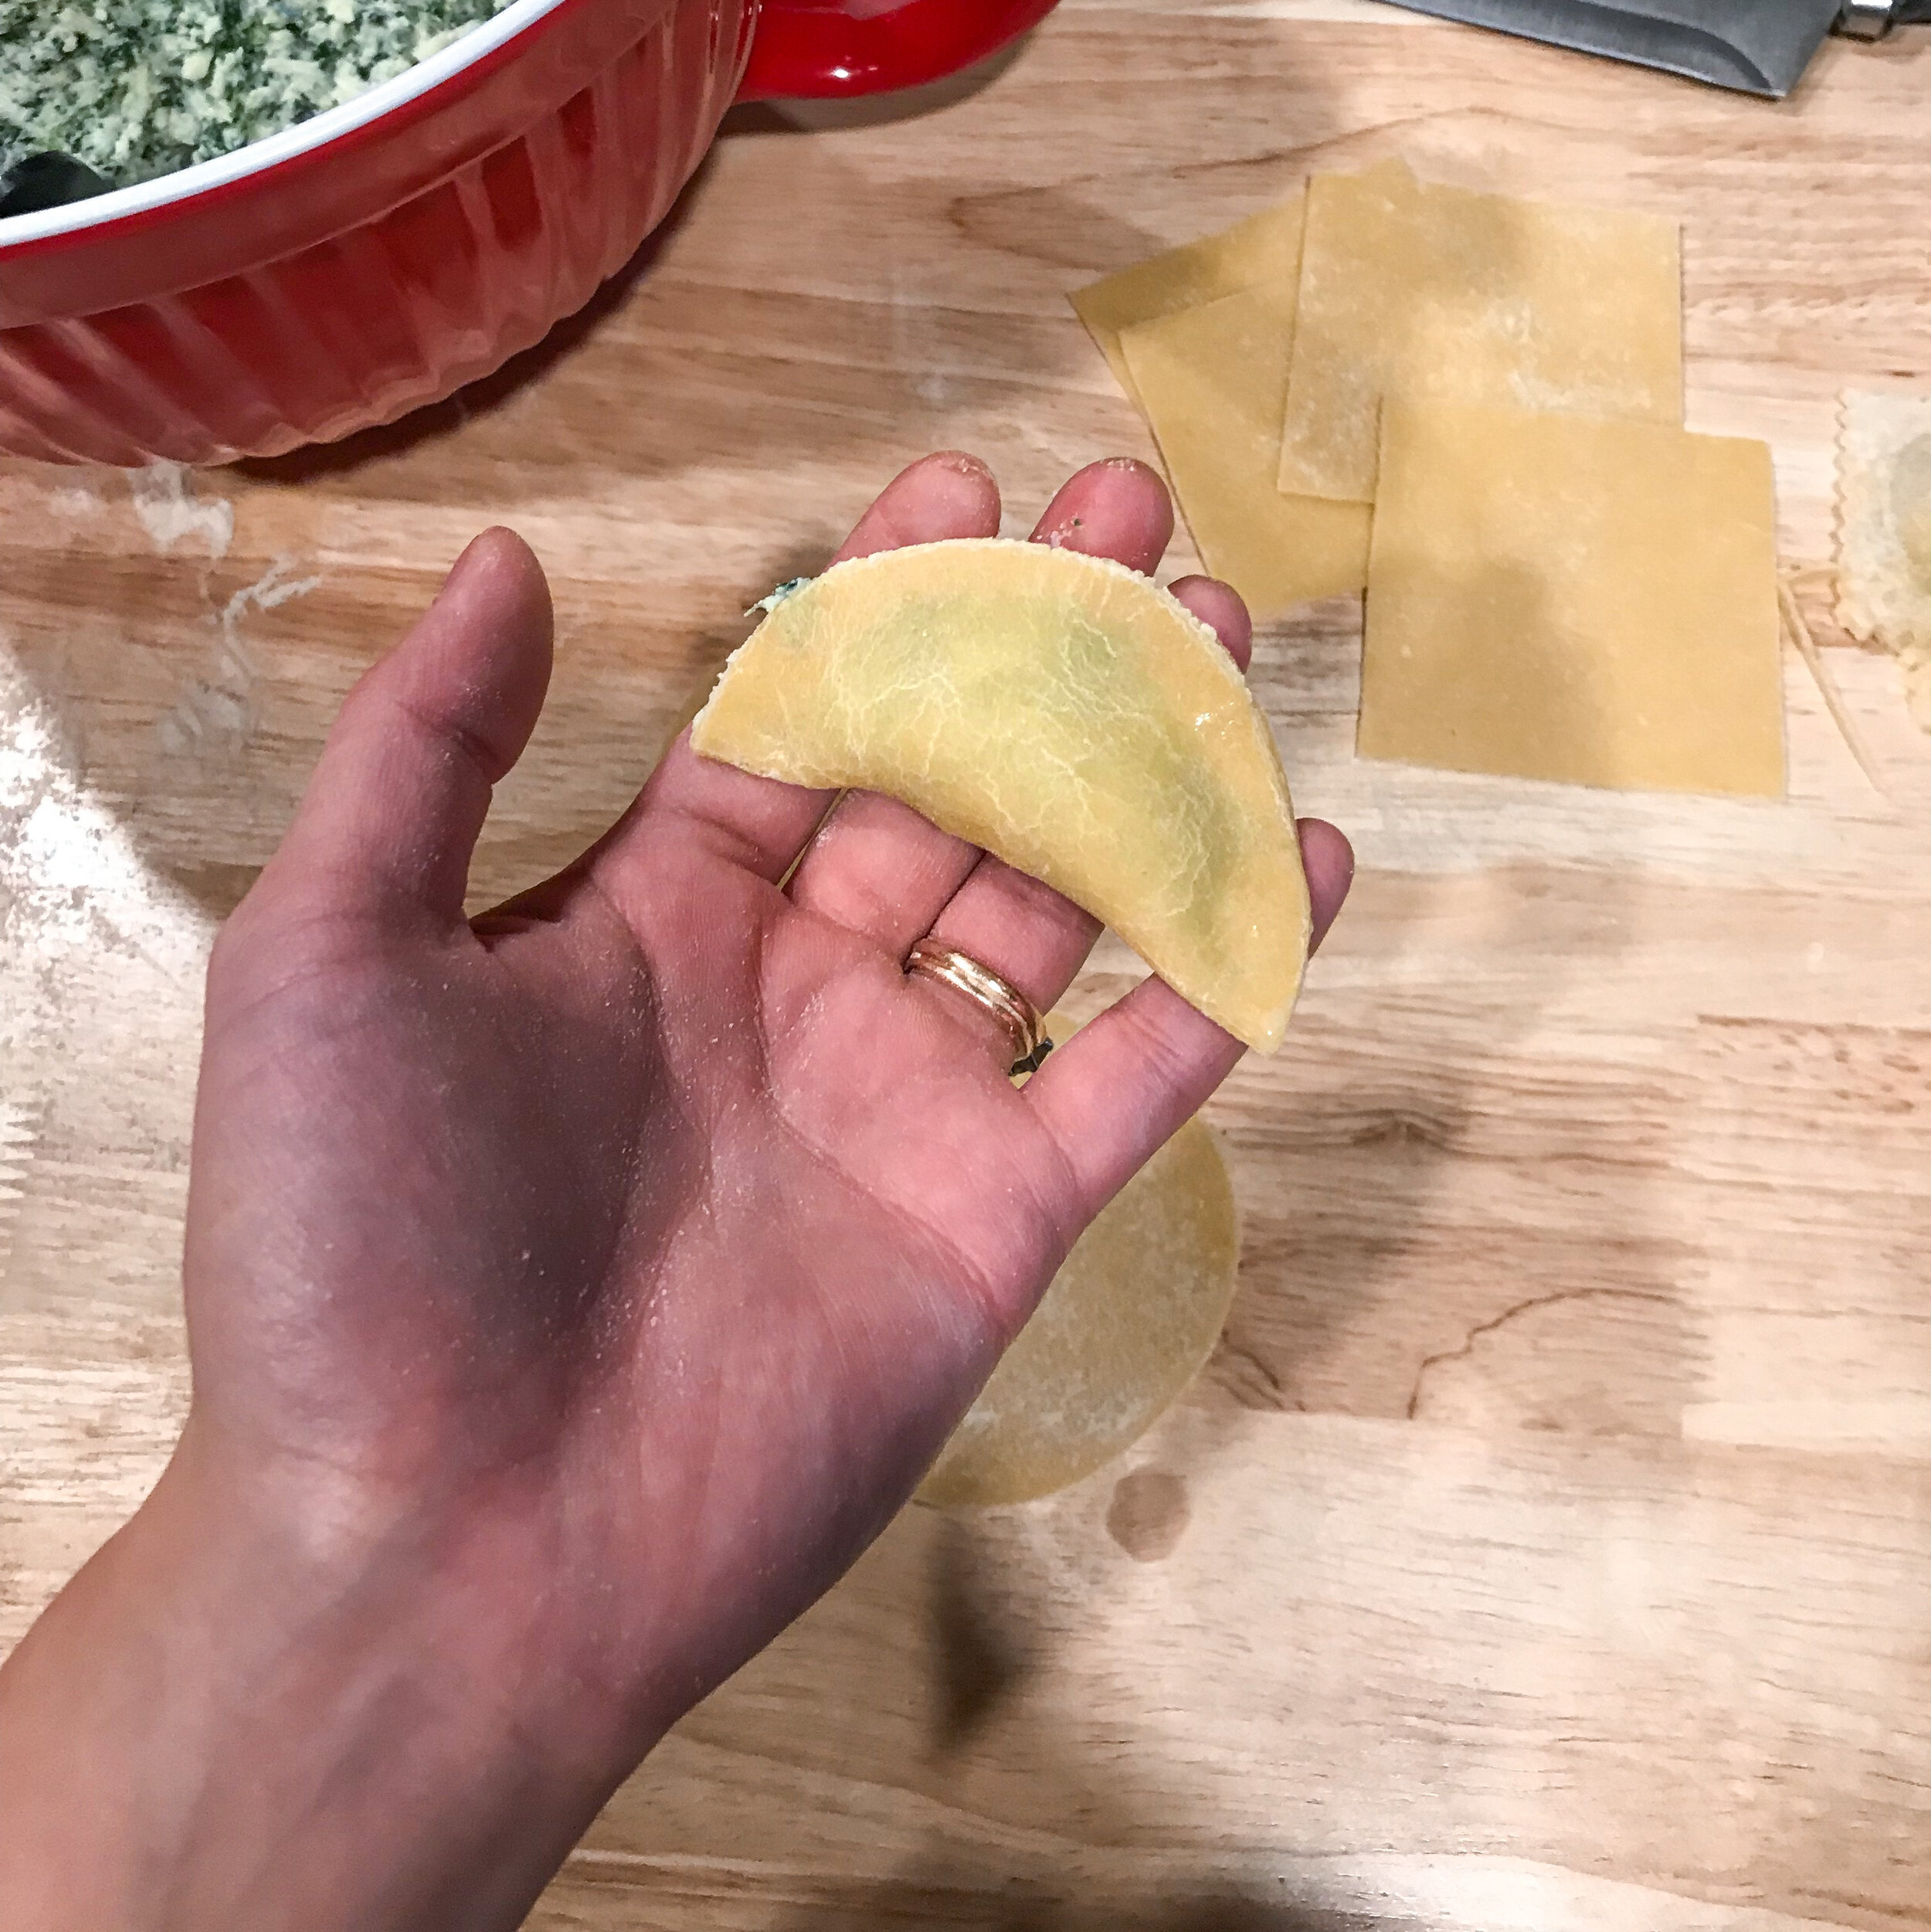
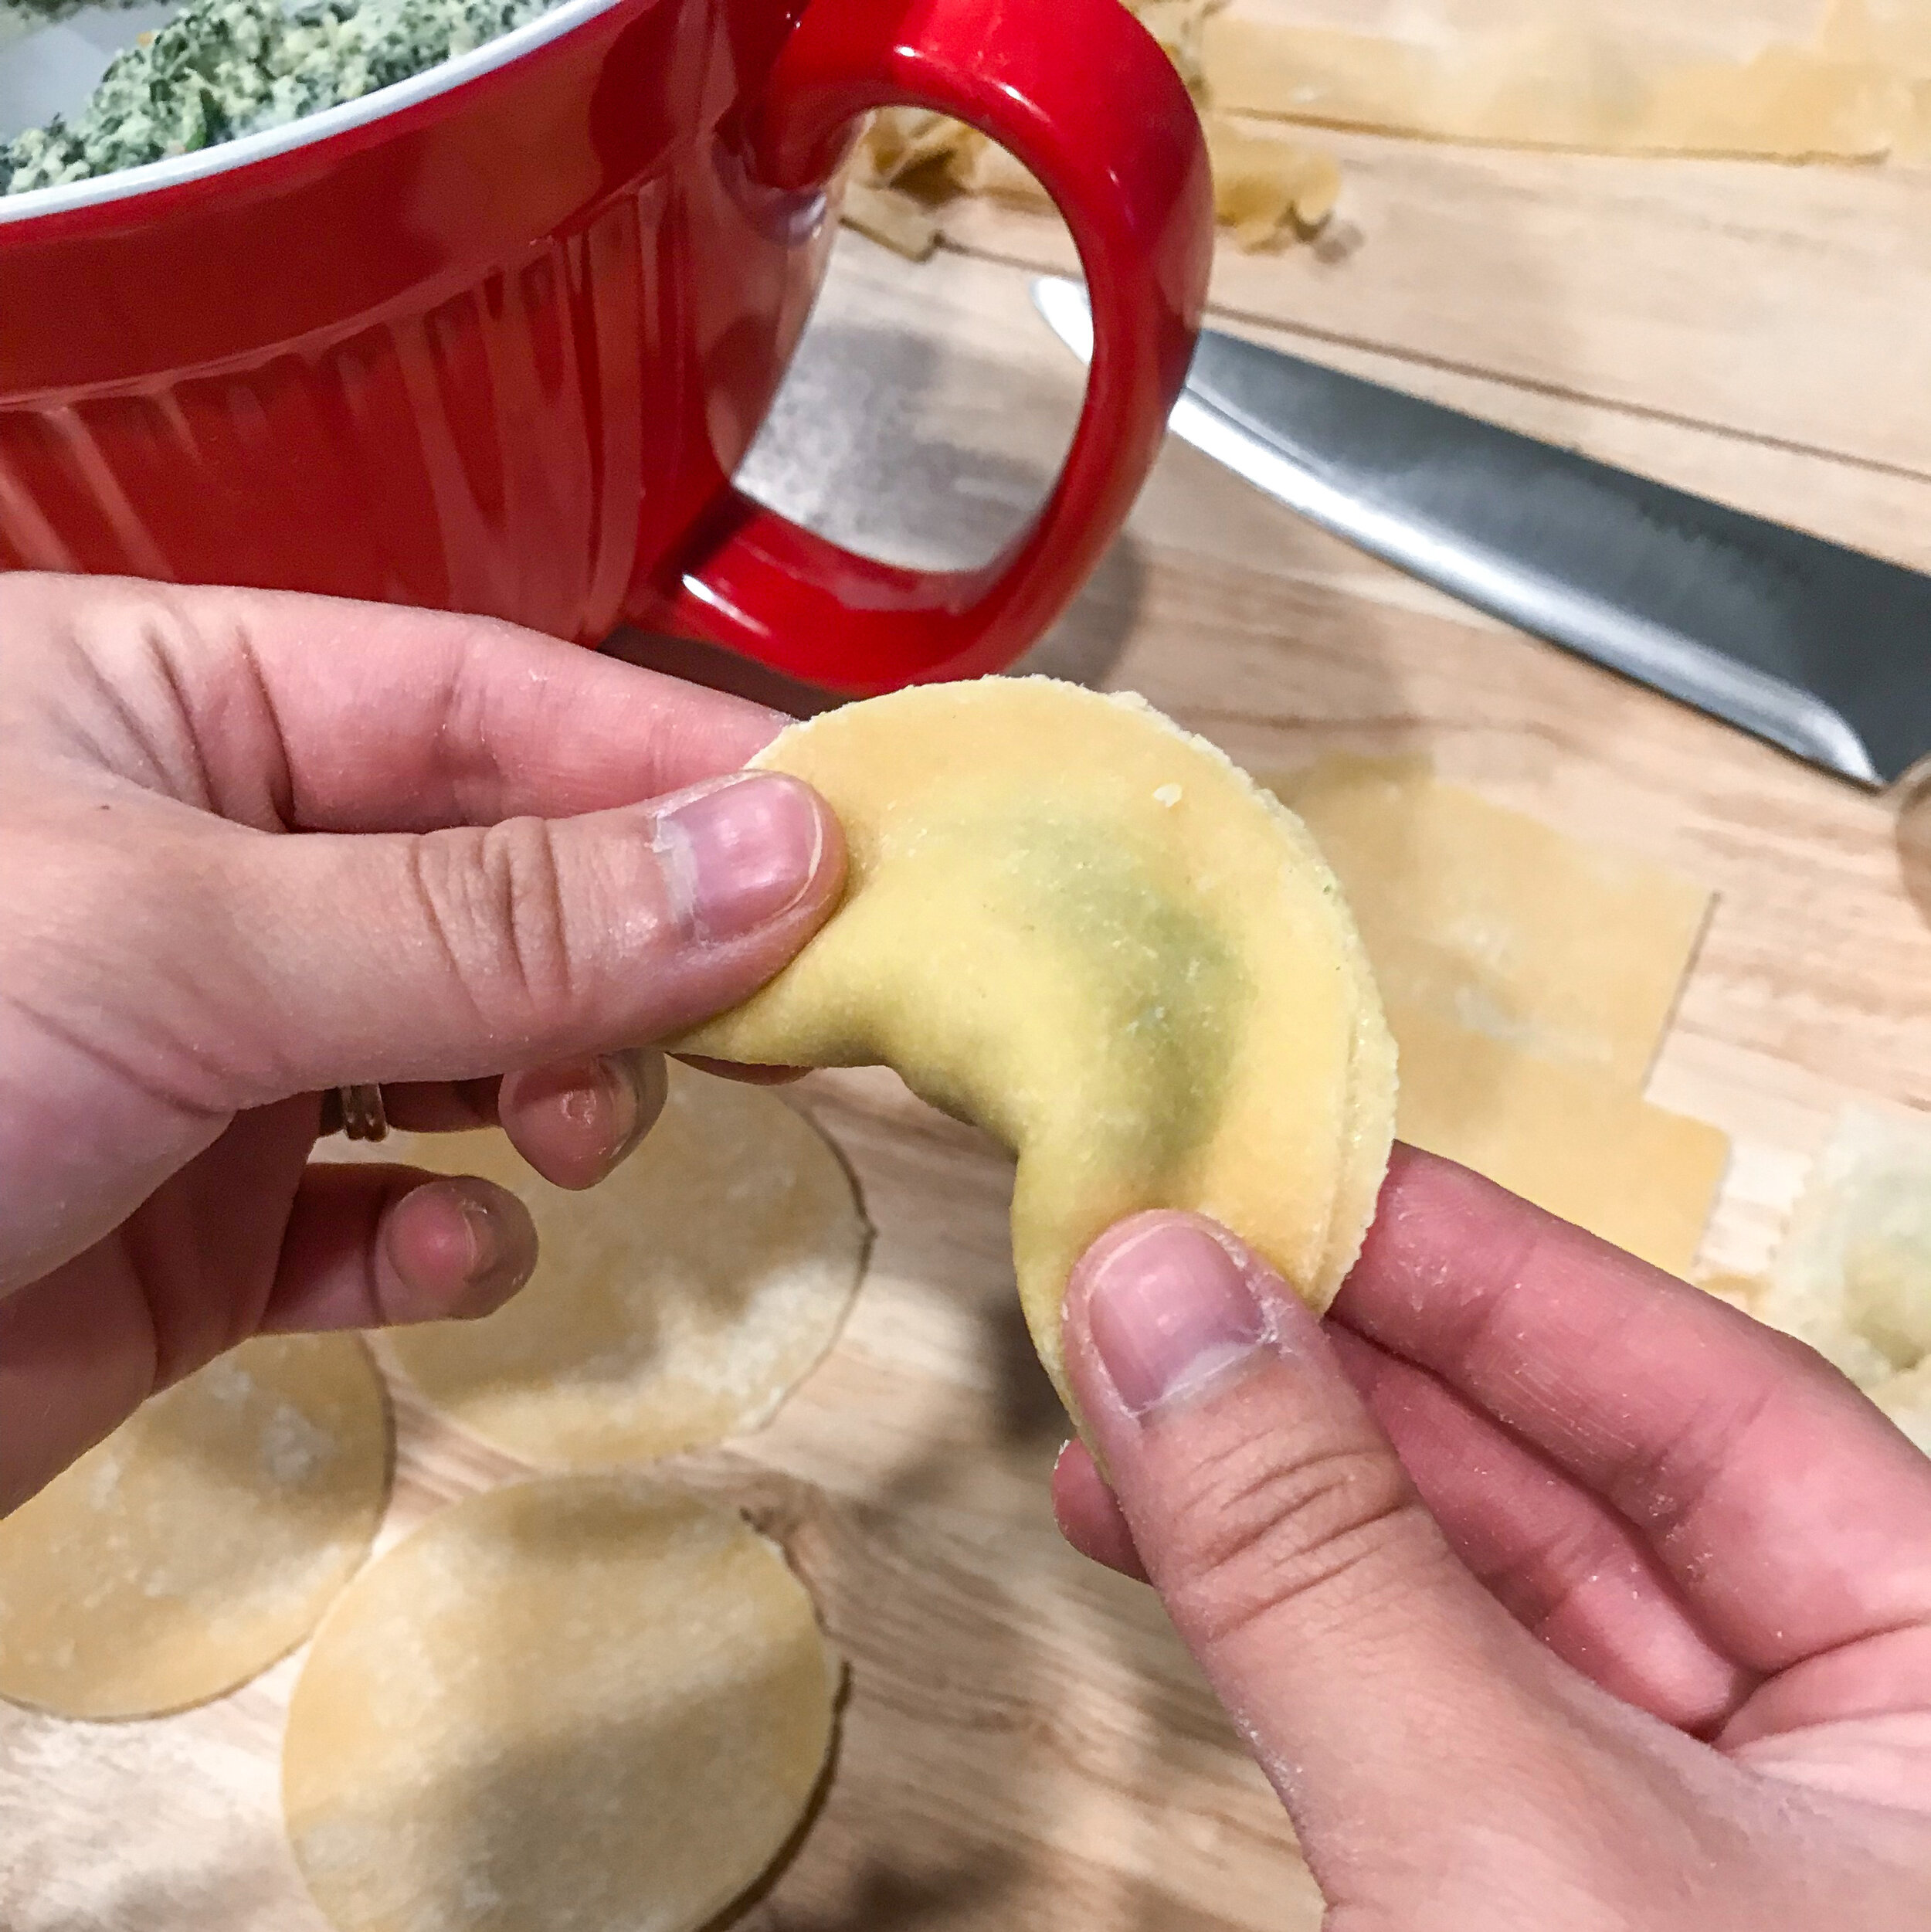
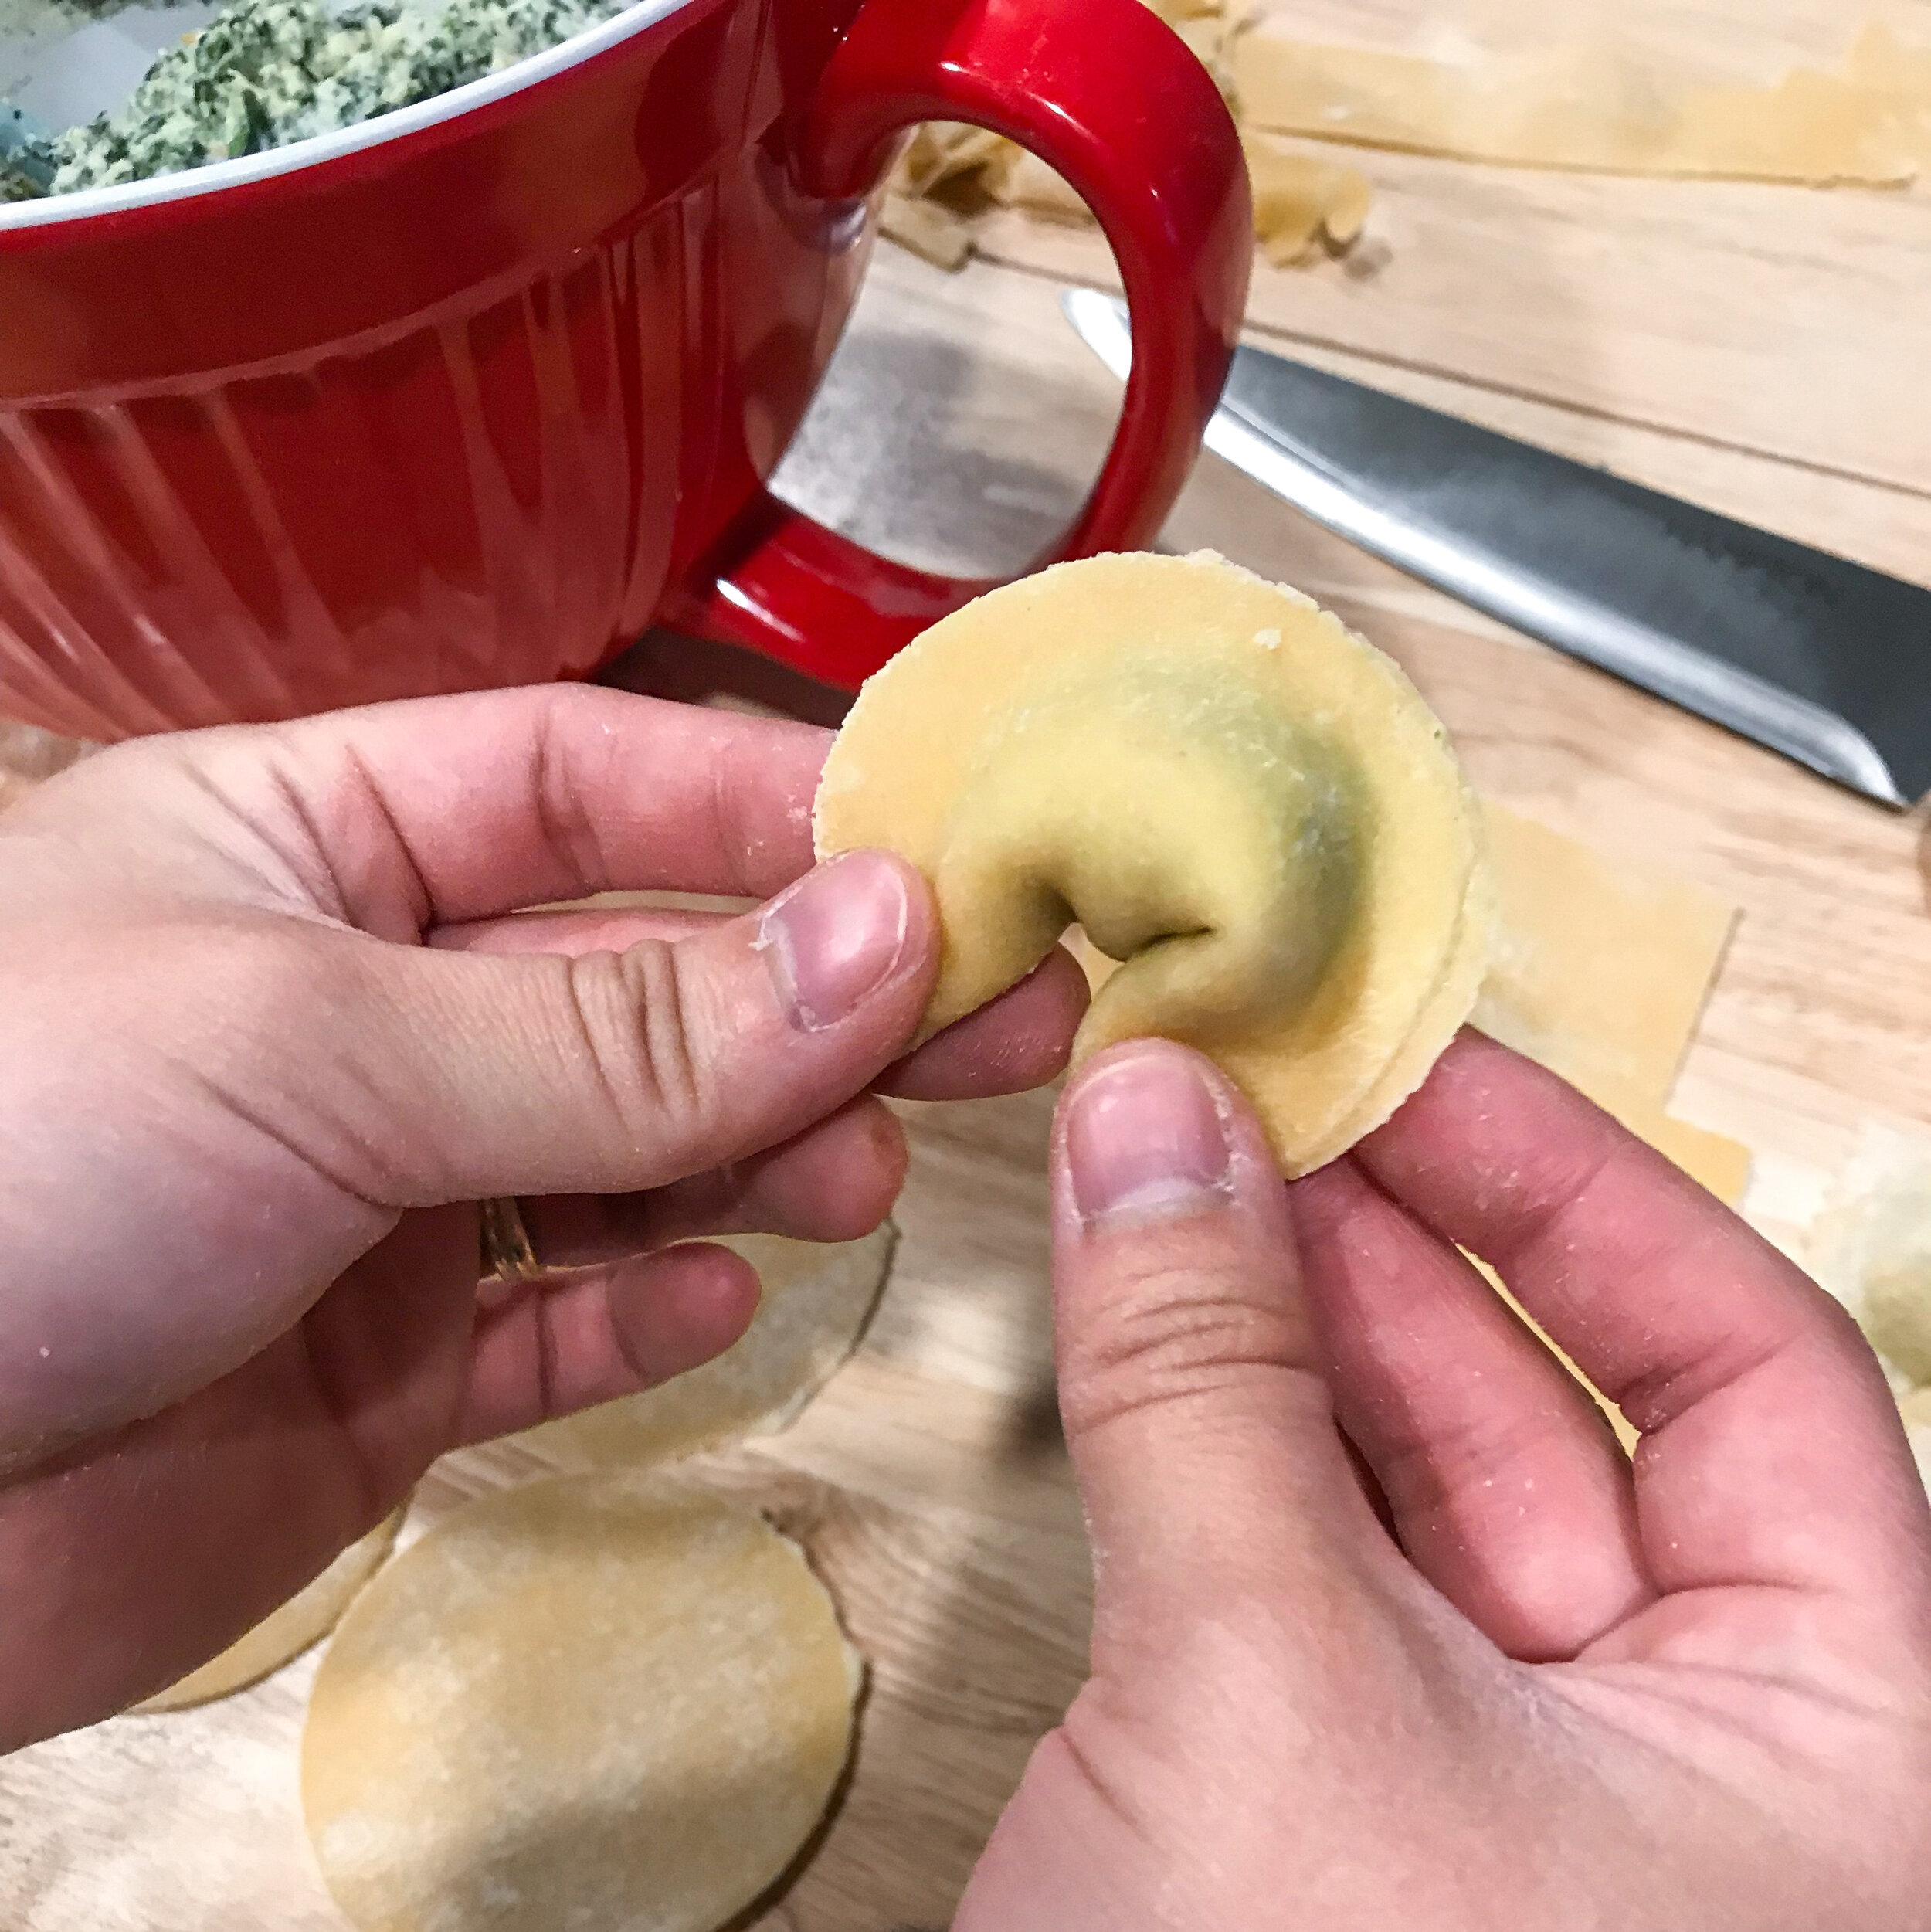
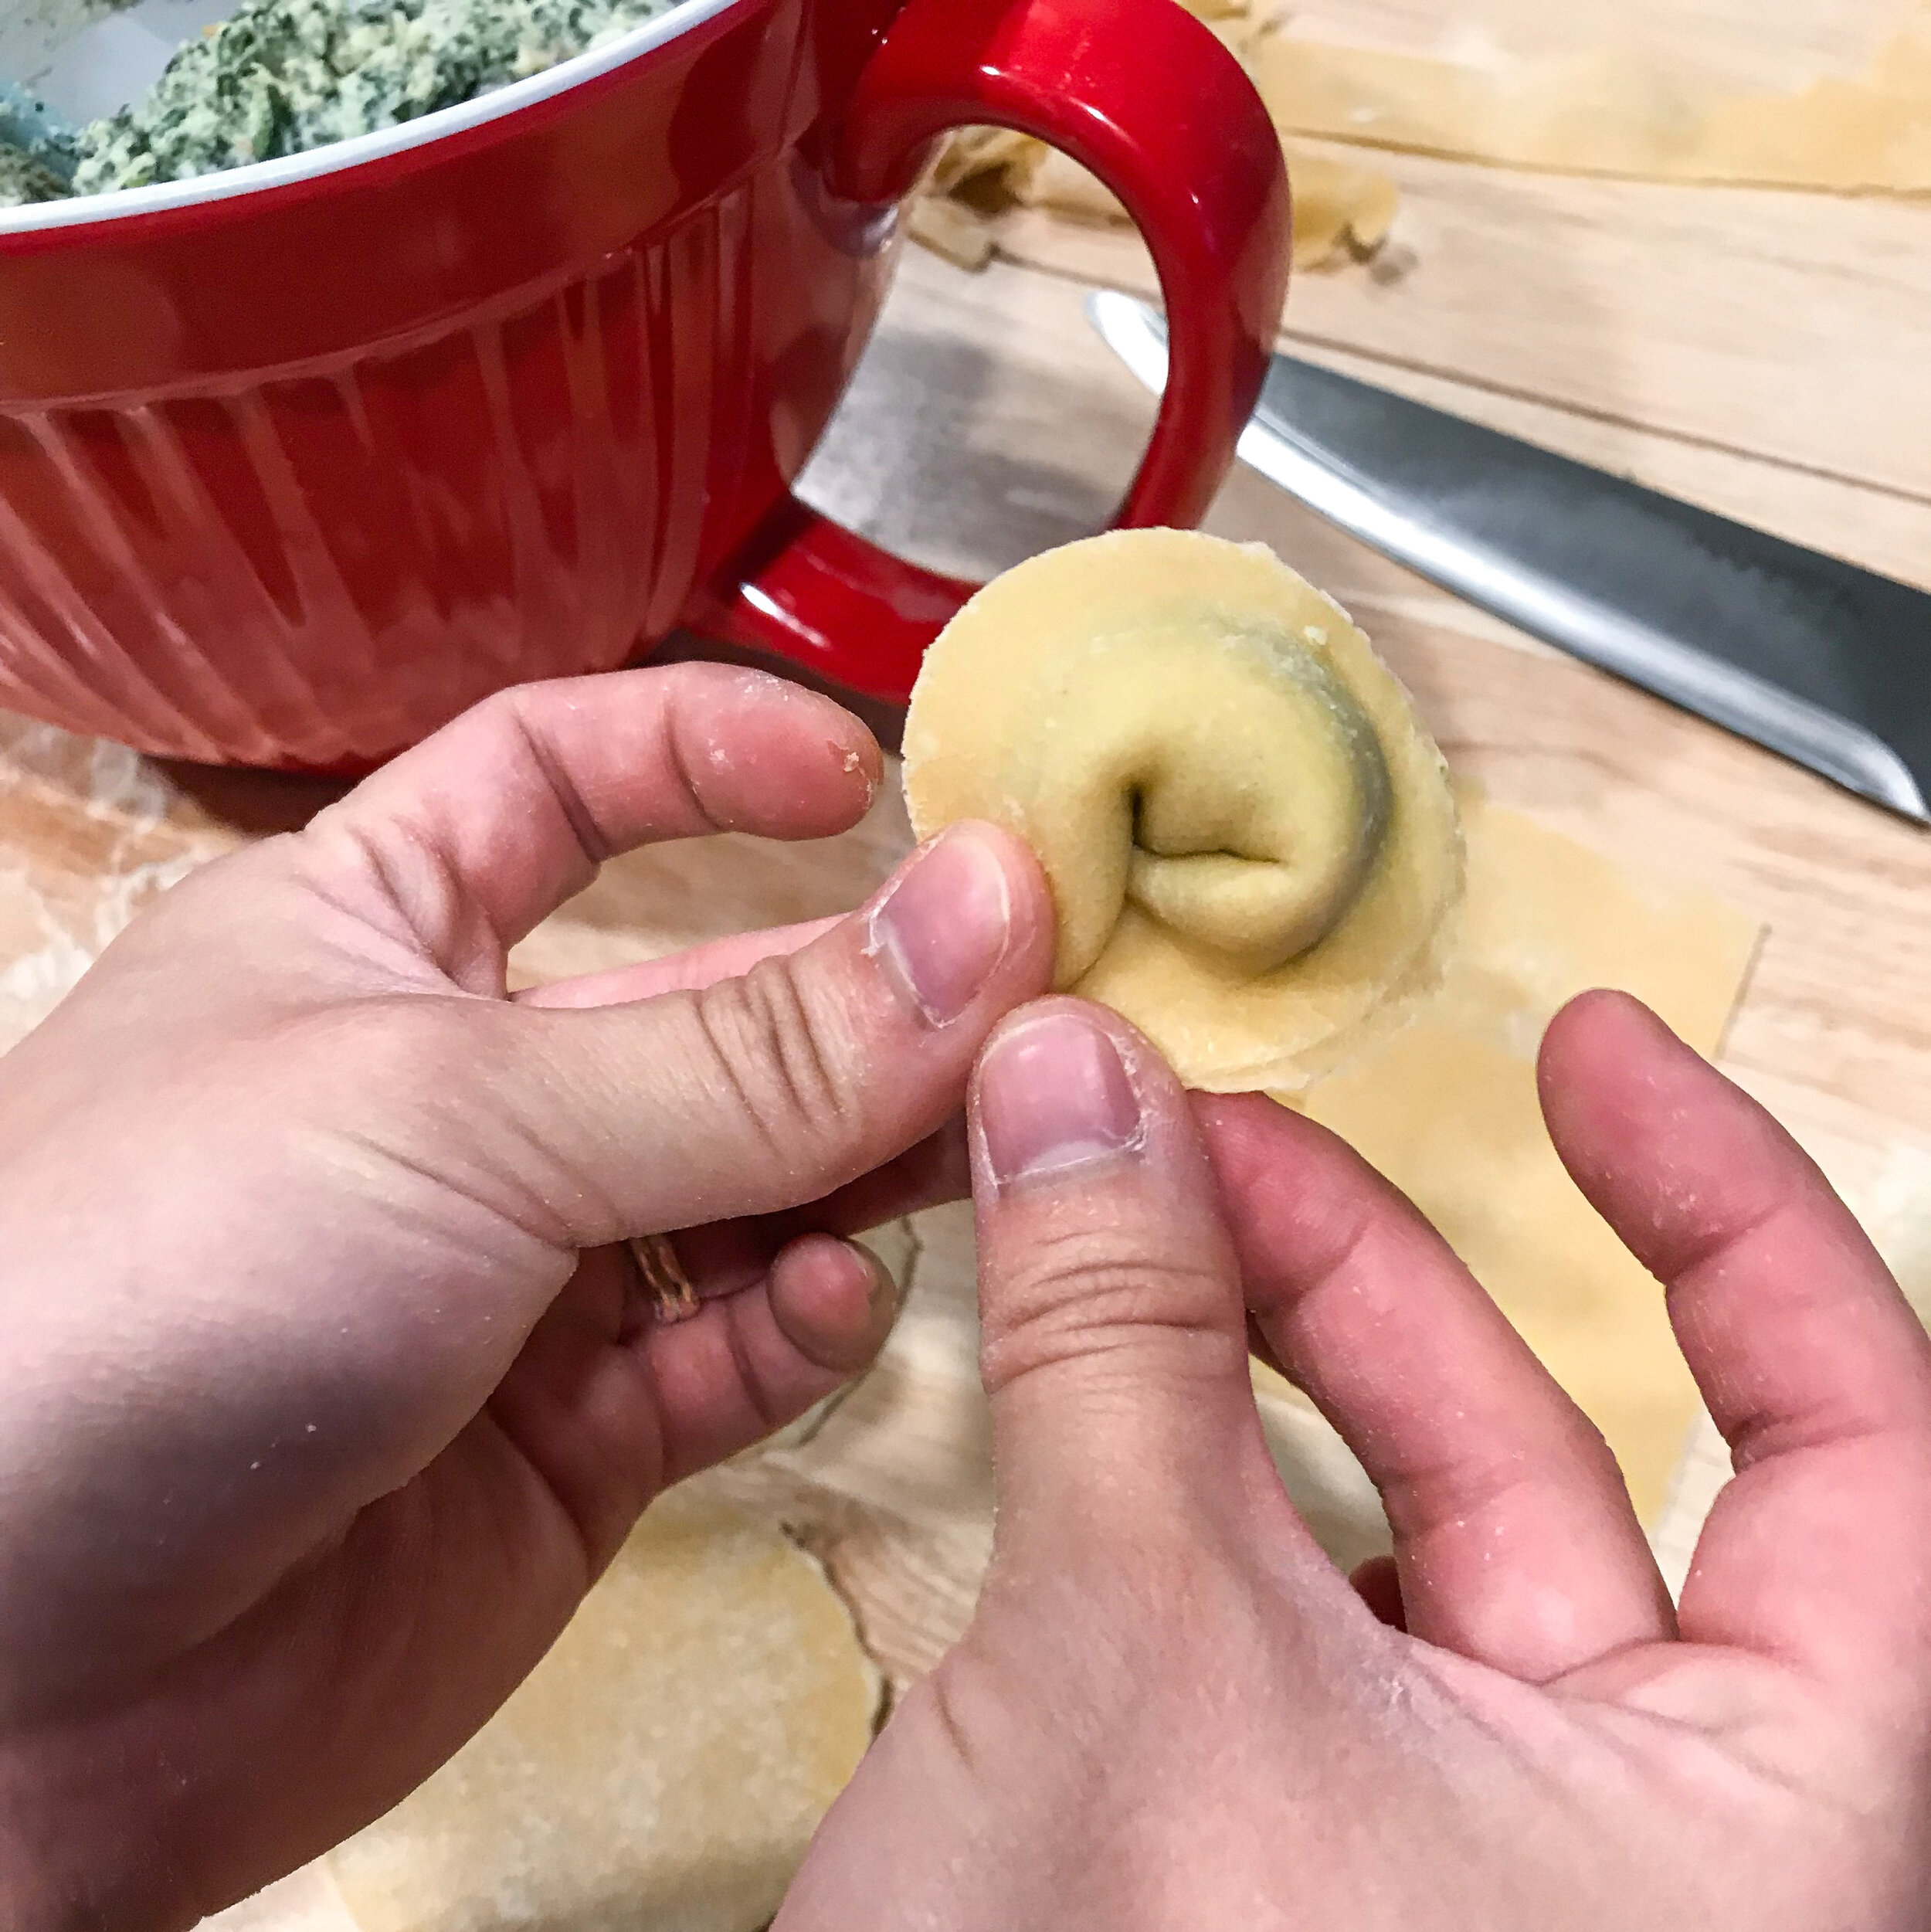
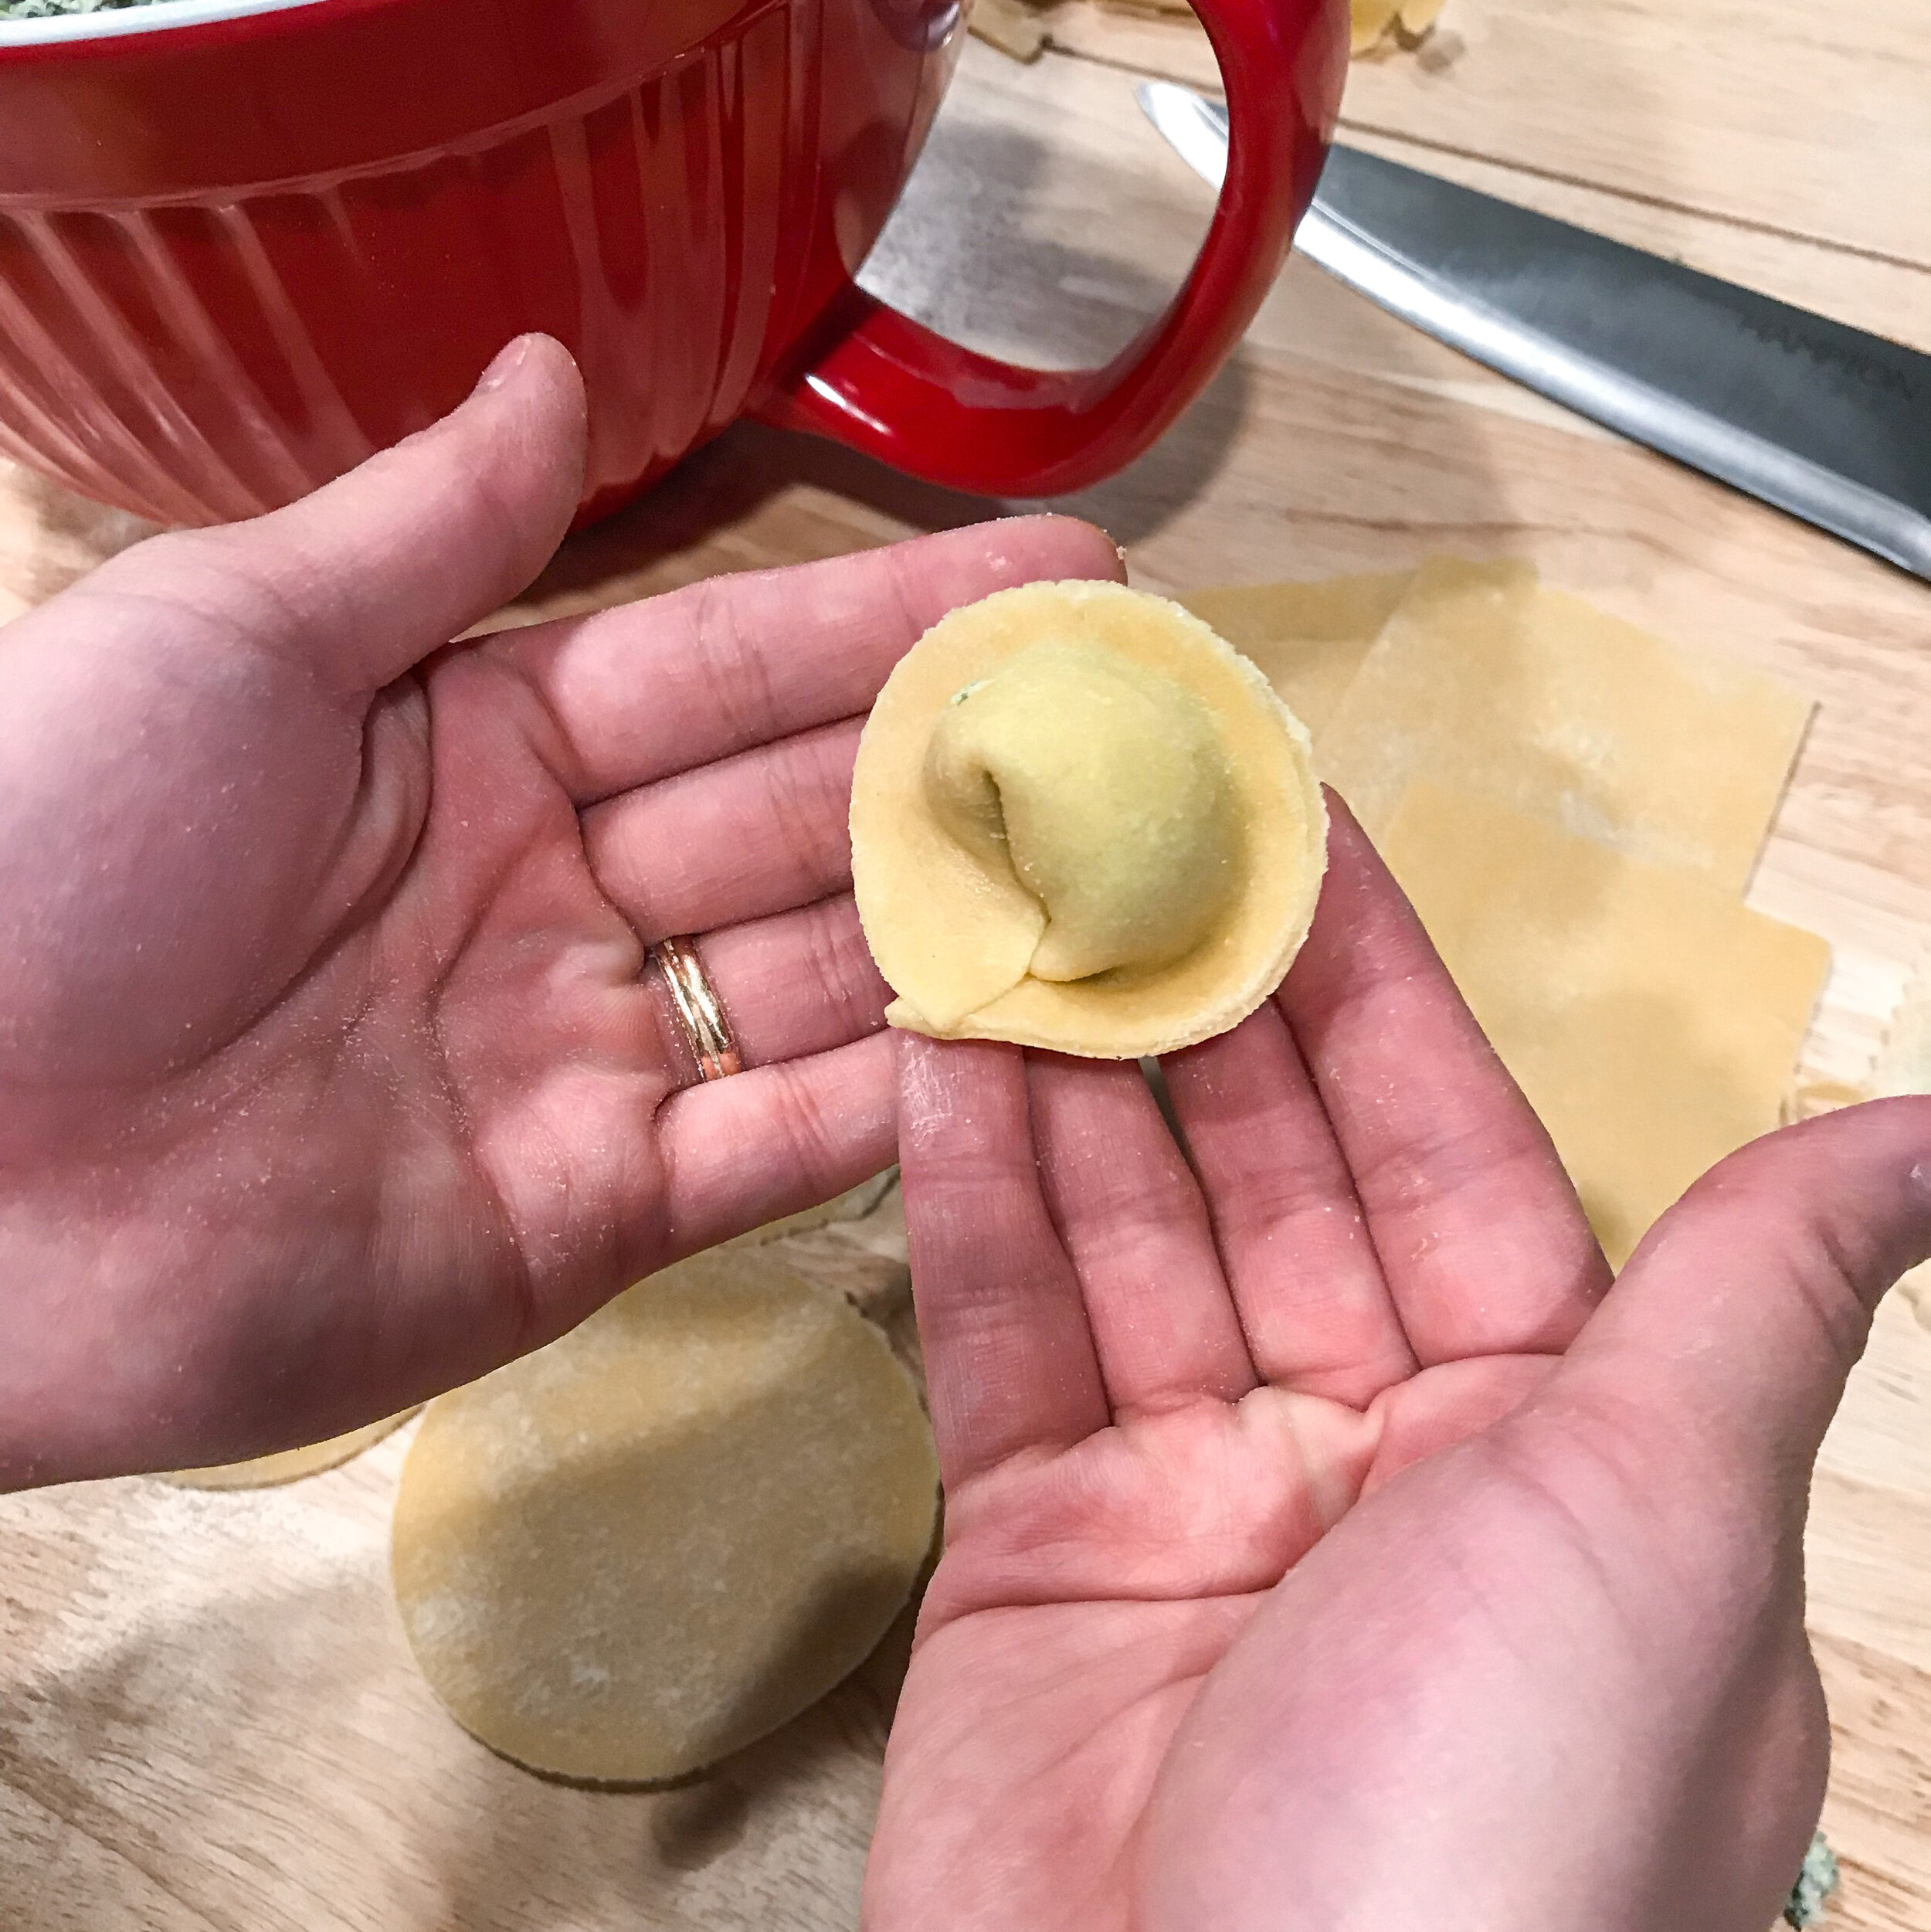
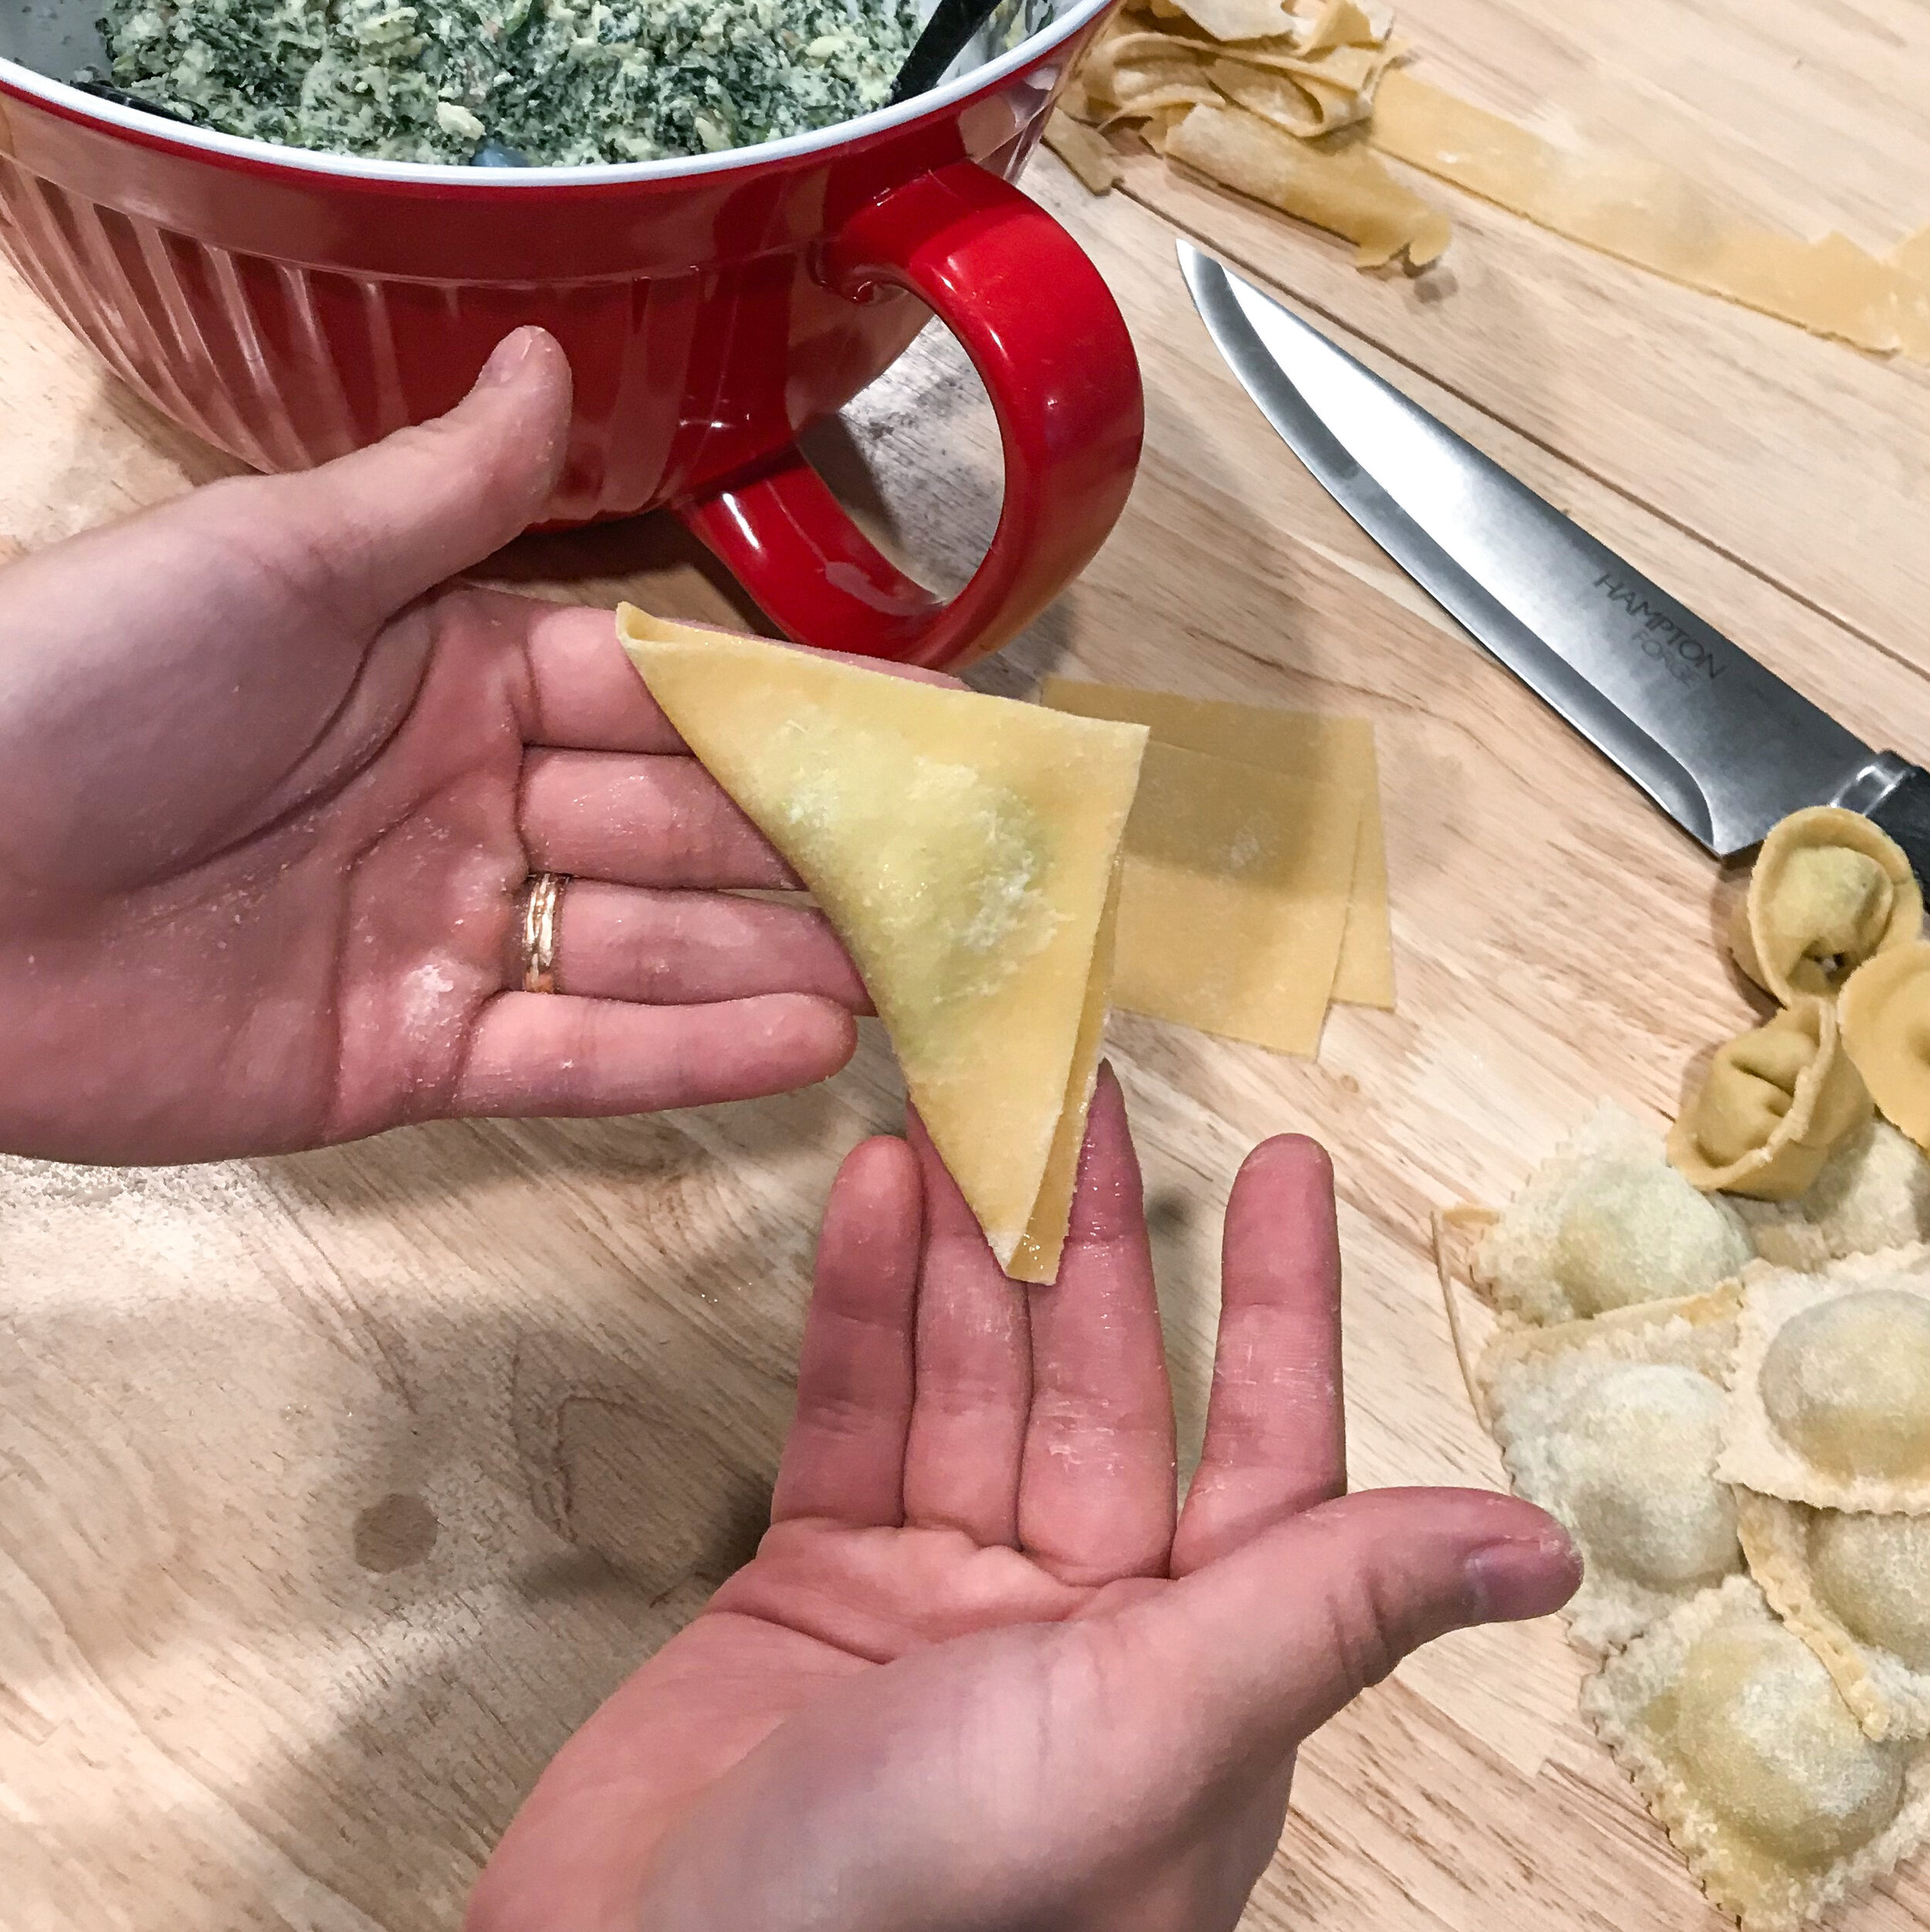
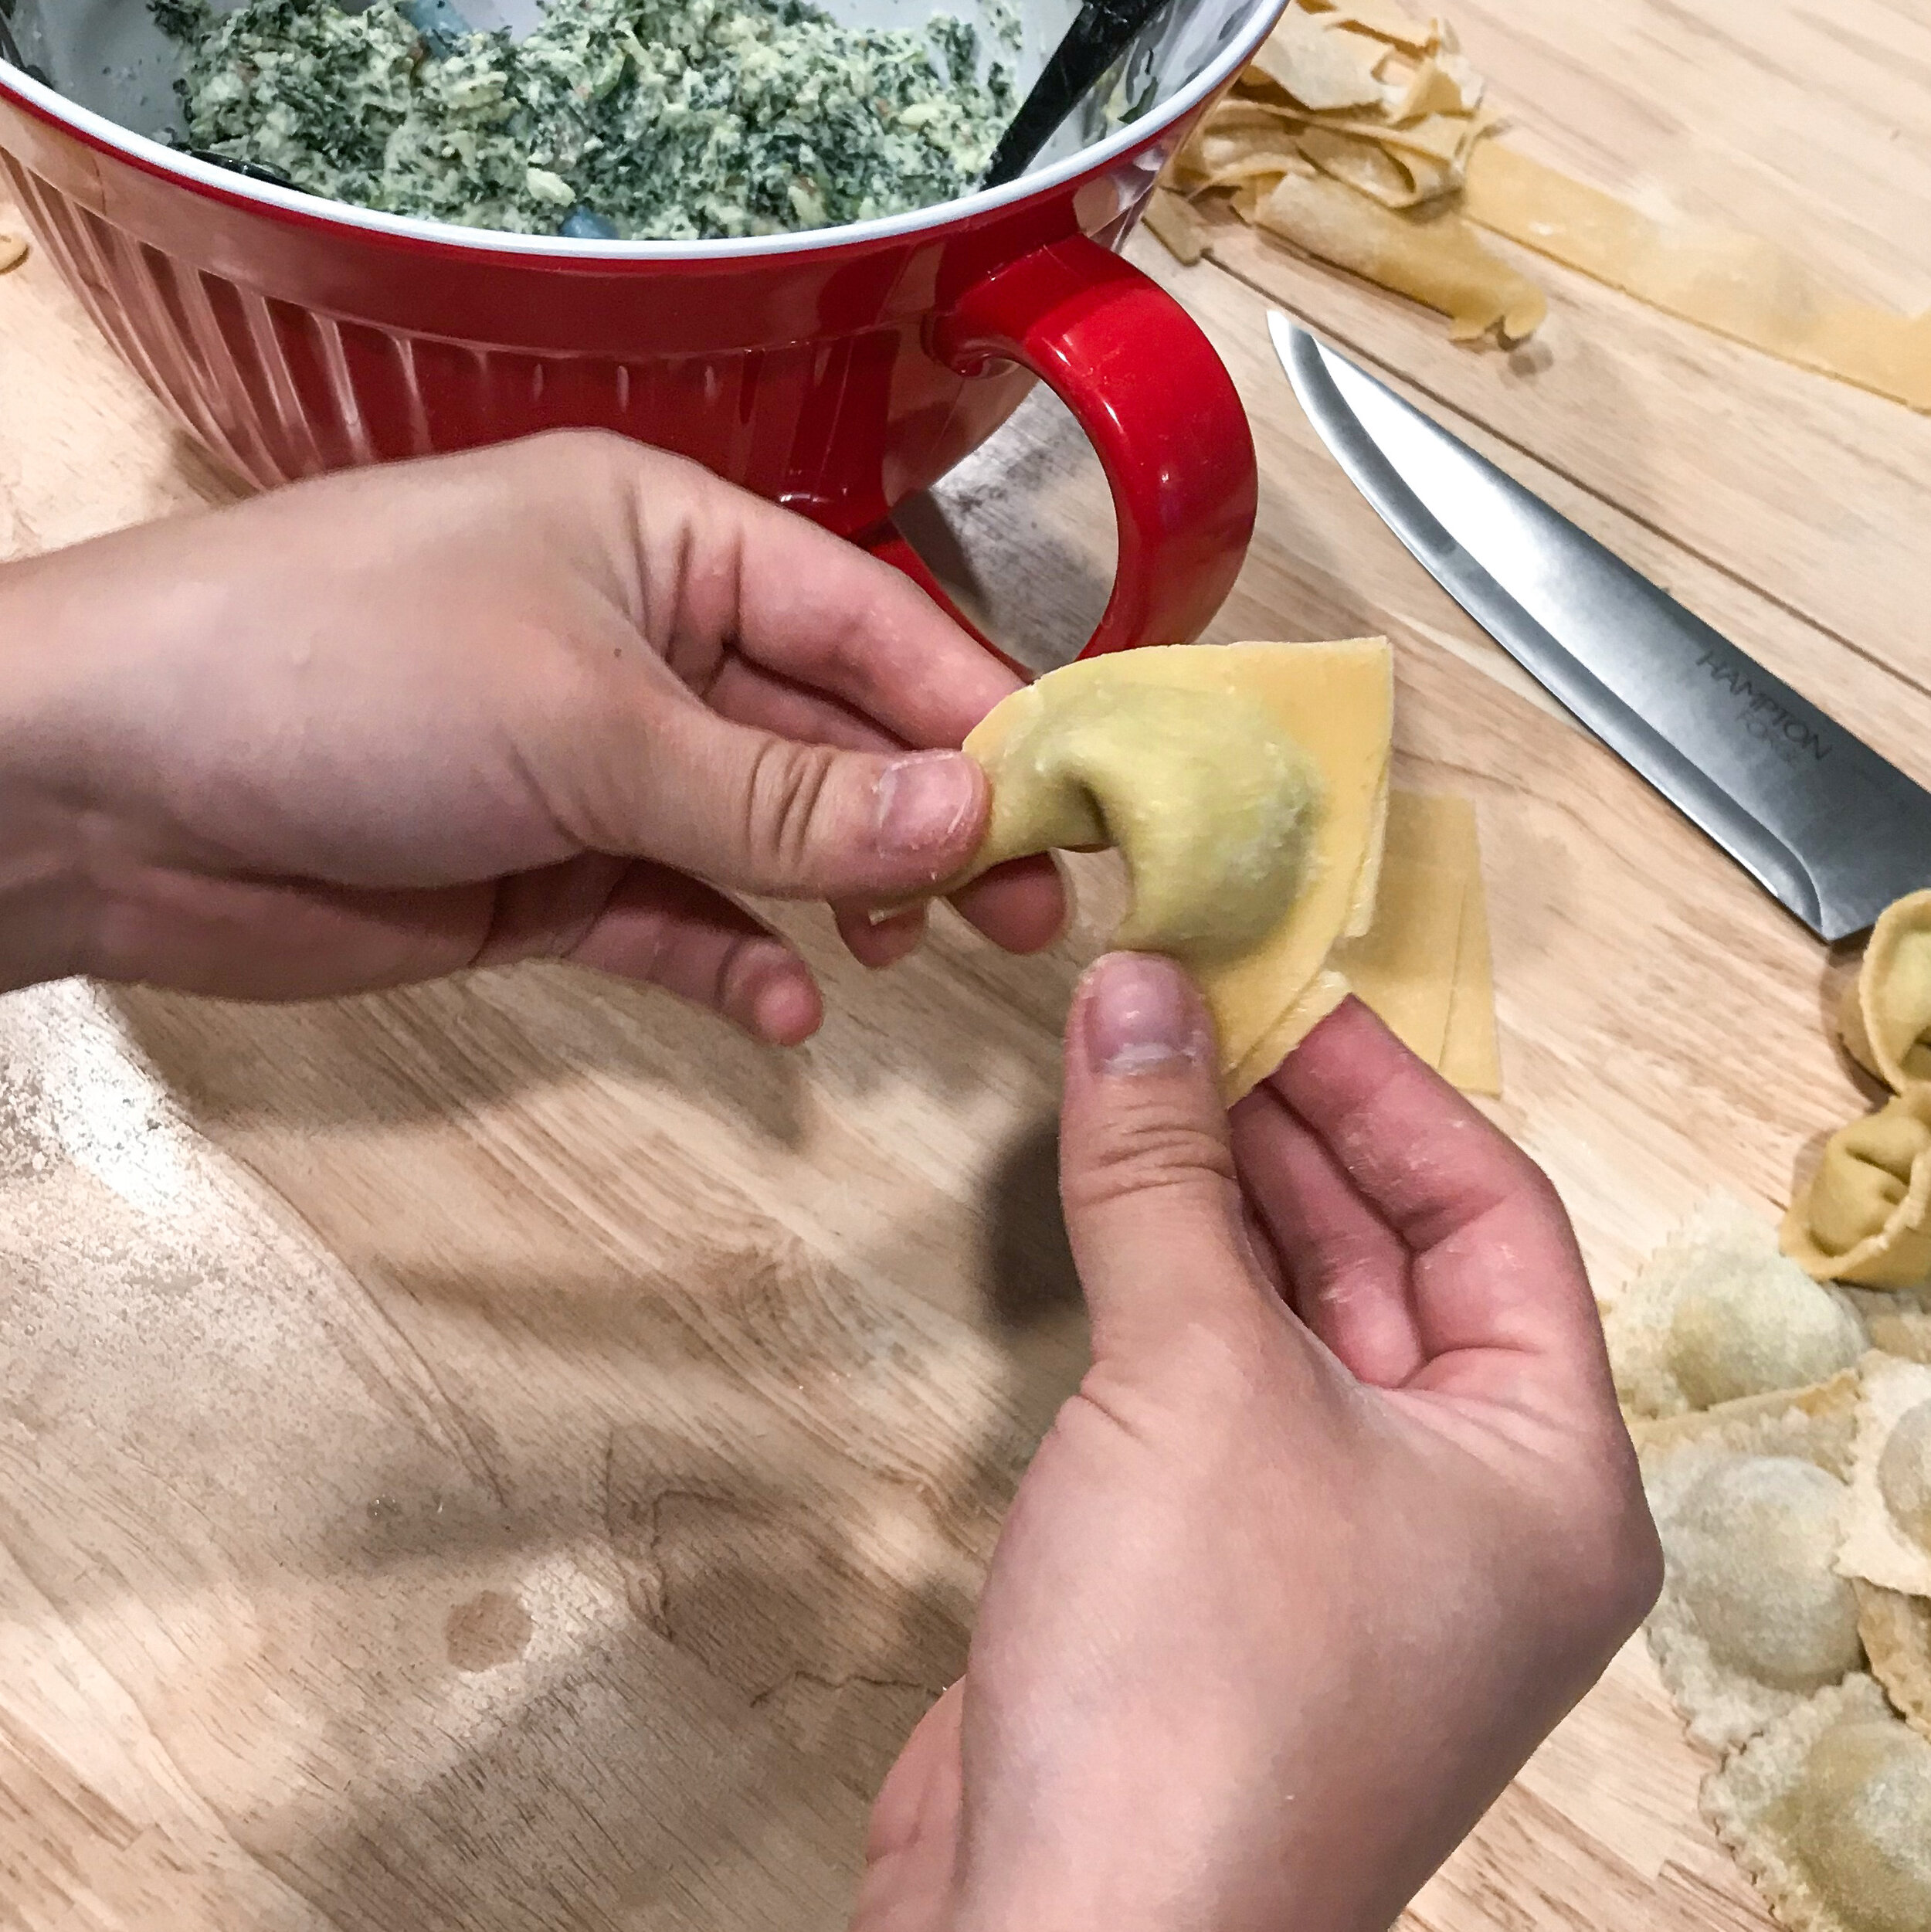
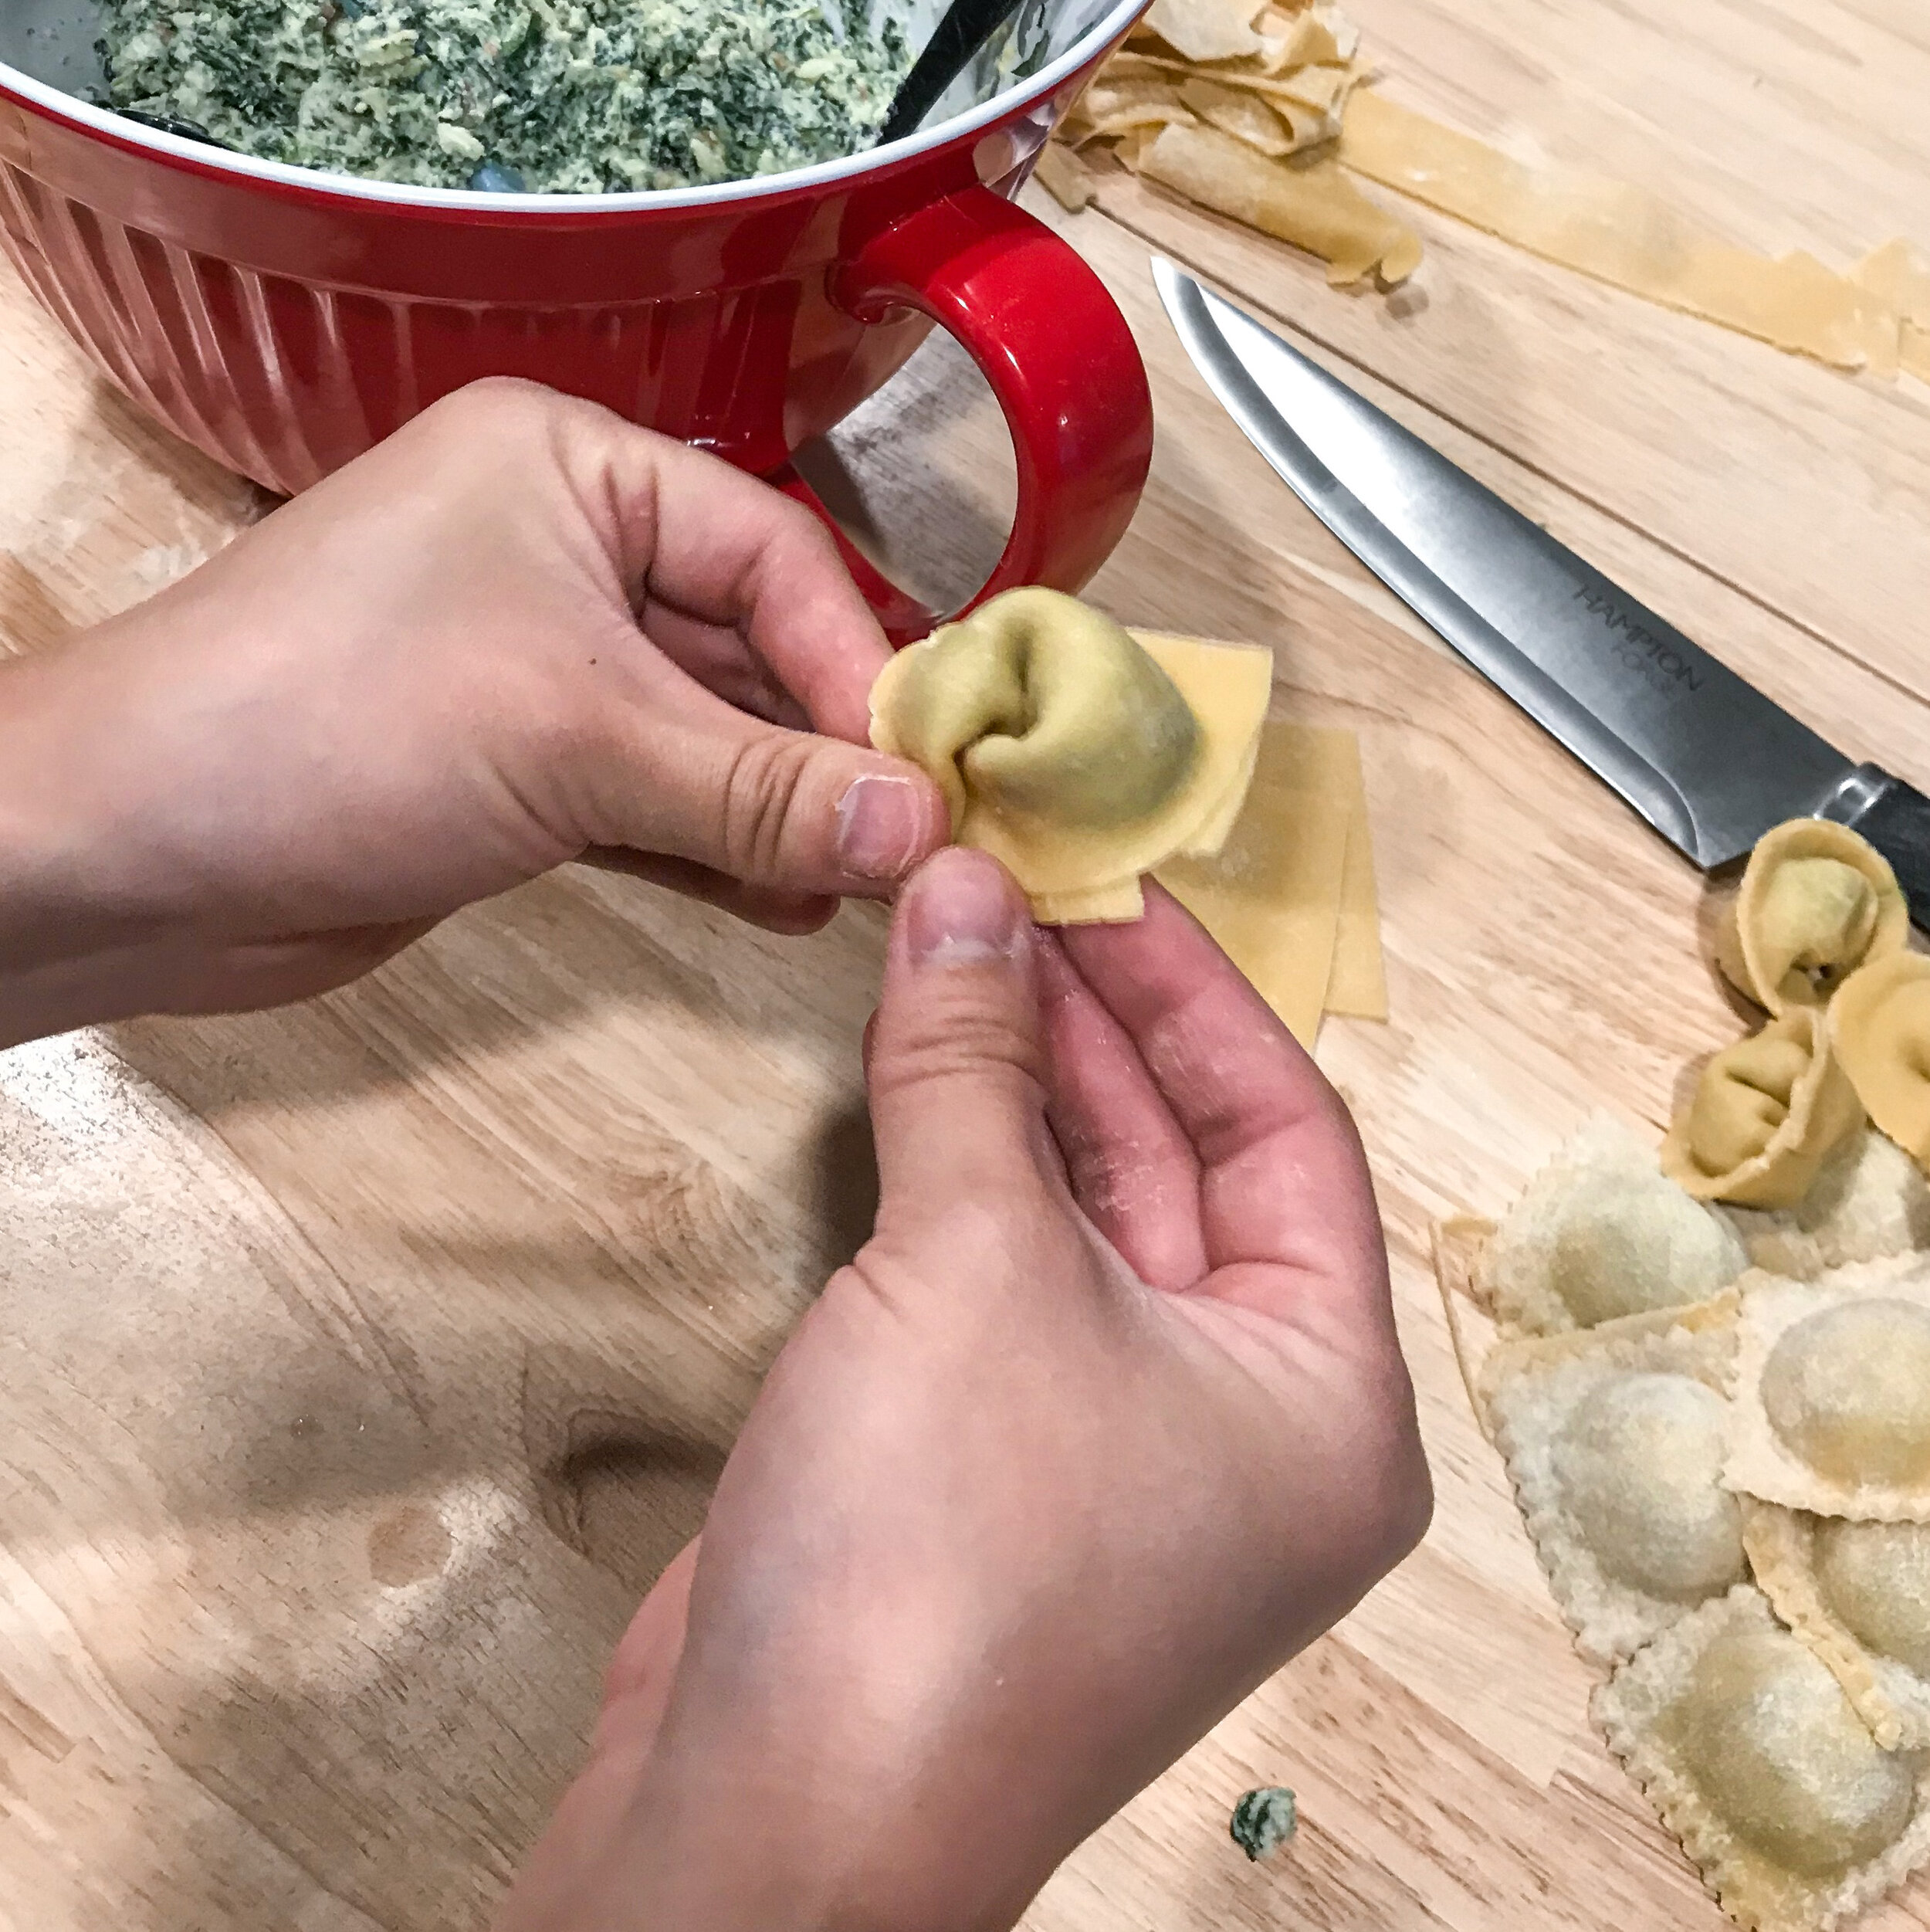
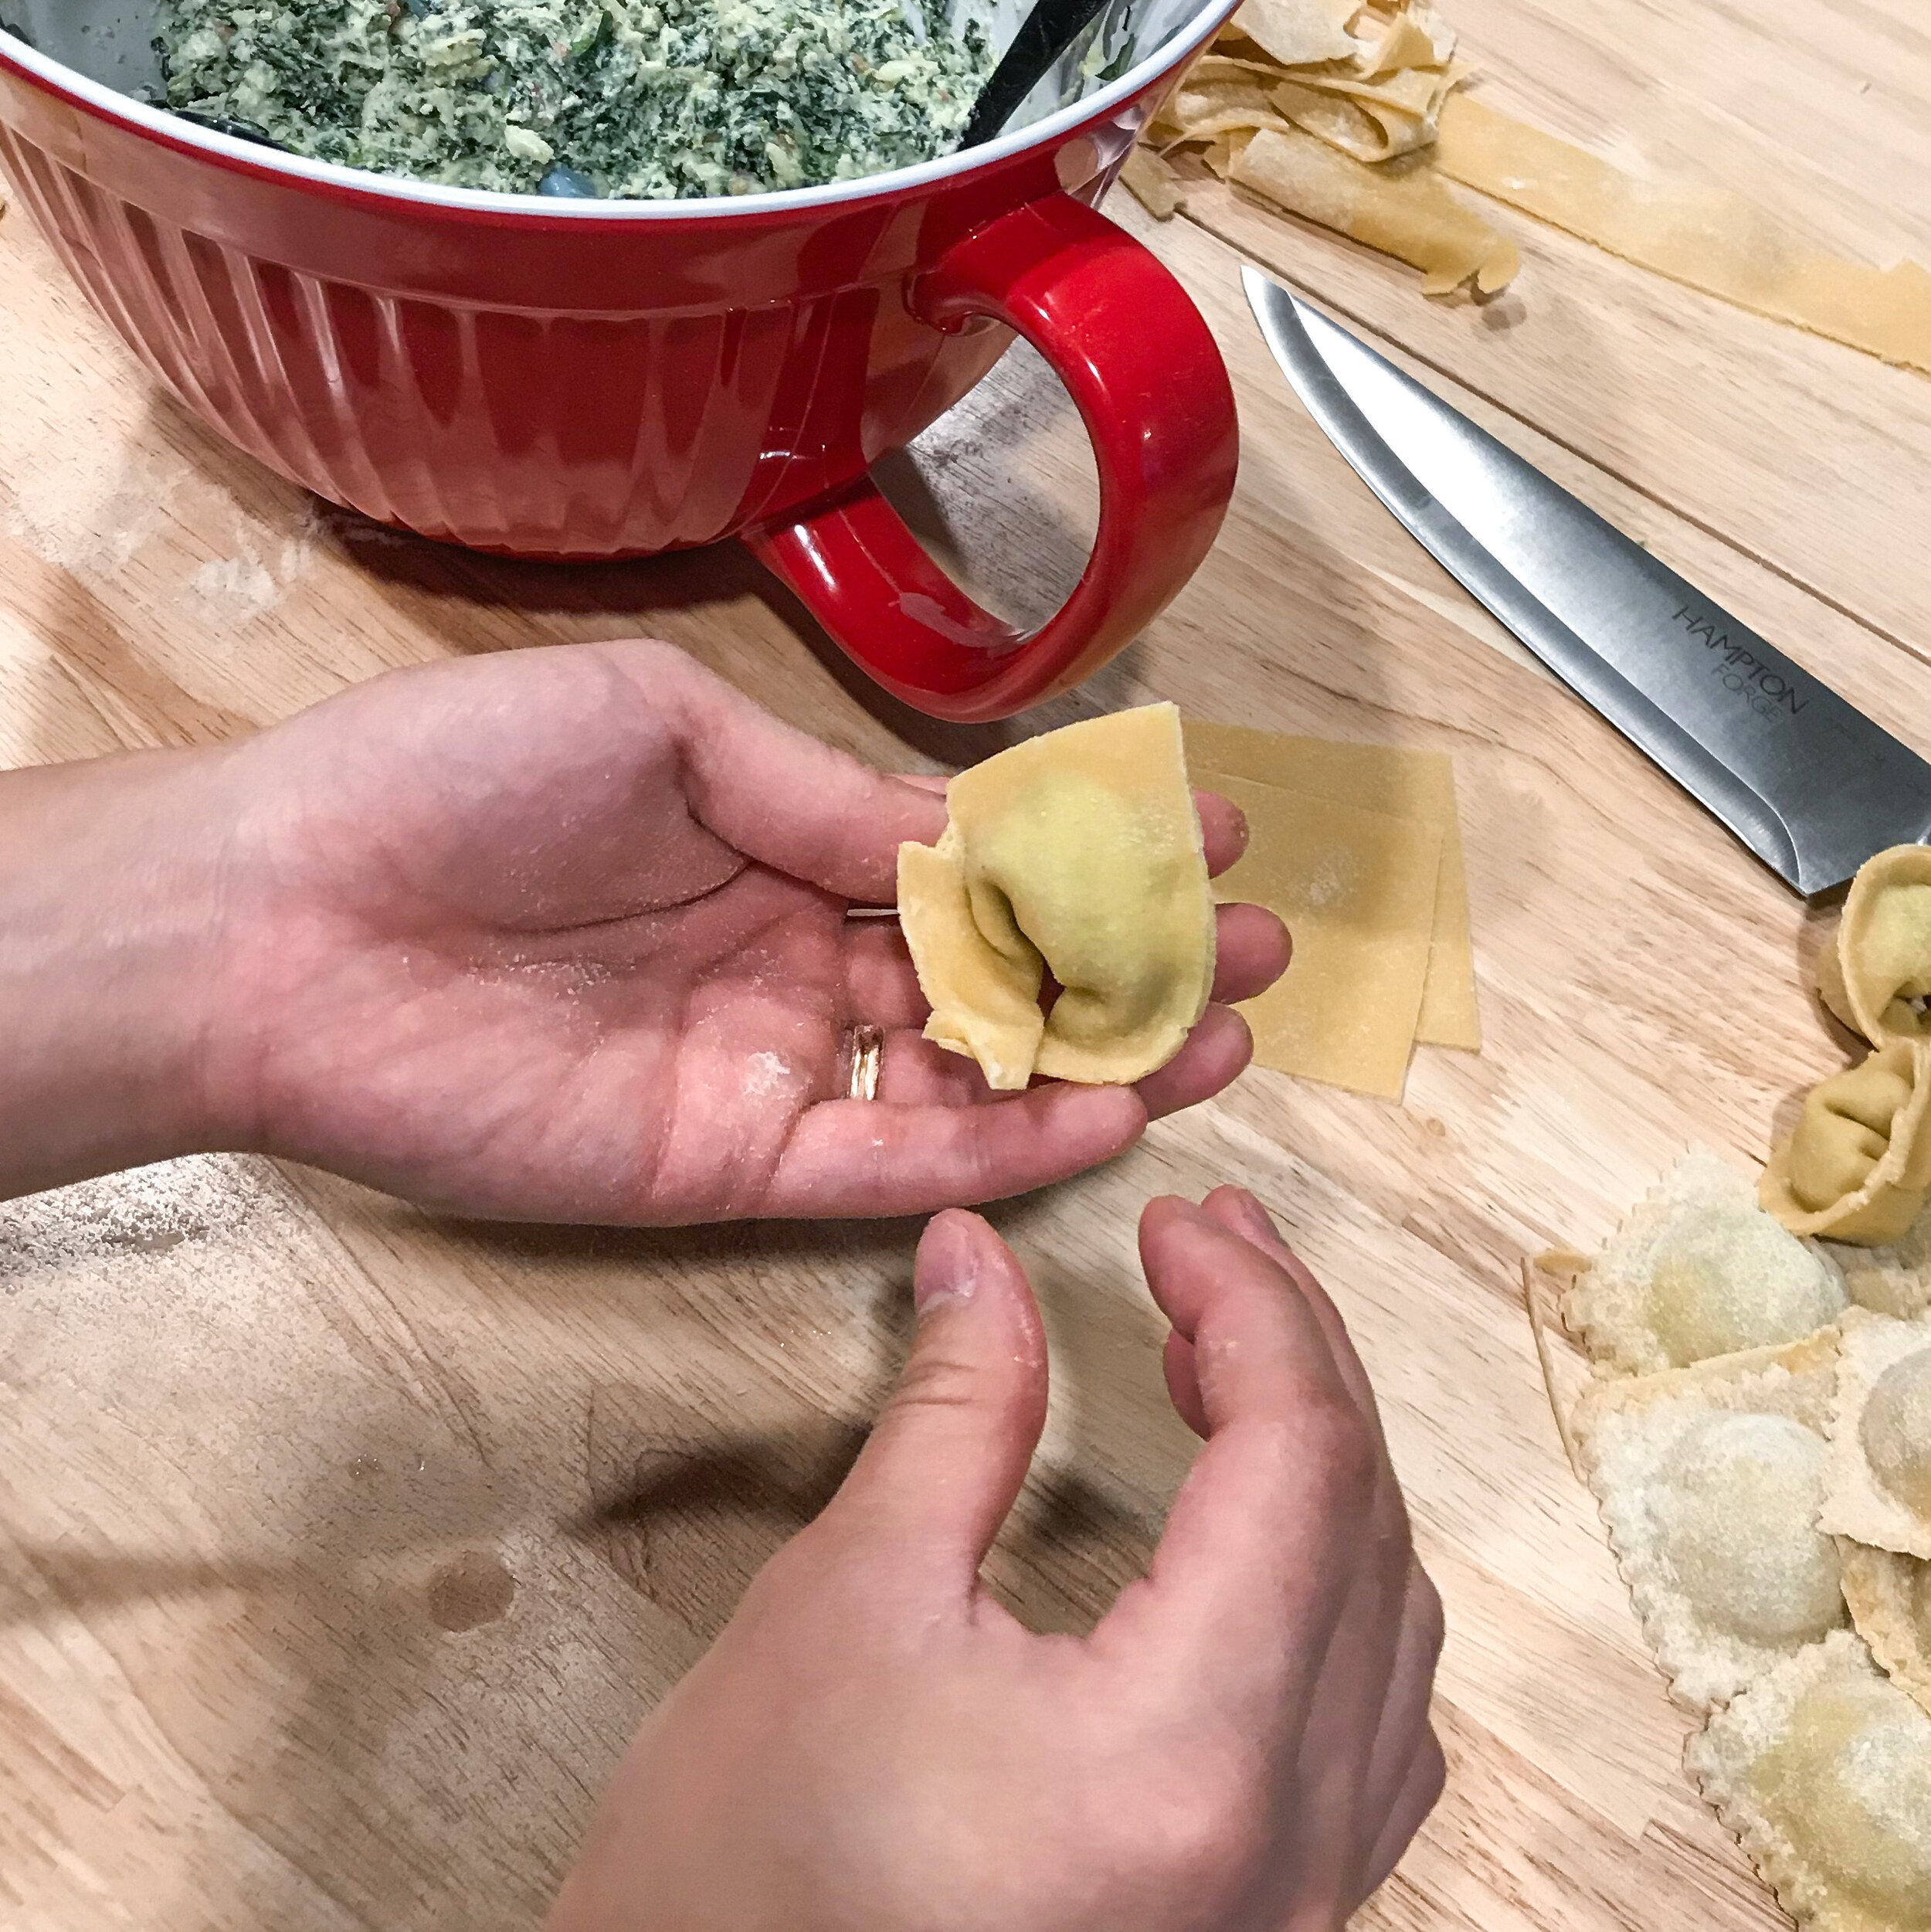
For other filled pastas, such as capelletti and tortellini, you will cut out 2-inch squares for capelletti, and 3-inch rounds using a cookie cutter for tortellini. For both, place your filling in the middle. Dab some water on one edge, and fold in half, folding your squares to make triangles. Pinch the edges to seal then bring the two corners together and pinch to seal.
To make straight noodles (fettuccine, tagliatelle, spaghetti, etc.) you can use the cutters if they’re included with your pasta roller, or you can cut by hand. I cut our tagliatelle by hand this time, but I have used the roller for spaghetti and it works perfectly. To cut by hand, cut your sheet to the desired length that you want the noodles to be. Mine usually just need to be cut in half. Dust your sheet with flour and fold the sheet up to the length of your knife. Using a floured knife, cut noodles at the desired width.
For bow-tie, you’ll want to cut your sheets to about 2 inches wide or smaller. Cut 1-inch strips with a pastry cutter then fold the middles and pinch to seal. I didn’t get any pictures of this, but the easiest way to describe this is to fold the strip in half, then fold each side back up.
This recipe is great to double or even triple and dry or freeze for later. I personally have not dried pasta yet, but I did freeze some of the tagliatelle. Coat your noodles with flour and shake off the excess. Form them into the little bird’s nests and place in a Zip-lock bag. Try to lock out as much air as you can, then stick in the freezer. You can freeze homemade pasta for up to a month; make sure you write the date on the bag. To cook frozen pasta, you don’t need to change anything except adding a minute or two to the cooking time. Like I said earlier, just trust the floating test.
Troubleshooting: The day I made the filled pastas, Denver felt particularly dry so my pasta sheets were becoming brittle and hard to work with very quickly. If you know the air is drier than usual, add a little more liquid to your dough when mixing. If you get to the point where you’ve rolled out already, like I did, and you still need to shape your dough, dip your fingers in water and spread a thin layer over your sheet as you go. This will make them soft enough to be pliable.
*If you came from my Instagram, don’t worry! The pasta filling will be in another recipe!
Simple Pasta Dough
===========
* prep time: 60 minutes
* cook time:1-3 minutes
* passive time: 30 minutes
* total time: 1 hour 30 minutes
* servings: 8-10===========
Ingredients:
– 1 1/2 cups semolina flour
– 1 1/2 cups all-purpose flour
– 4 eggs
– 4 tbsp olive oil
– 4 tbsp water
– 1 tsp salt===========
Instructions:
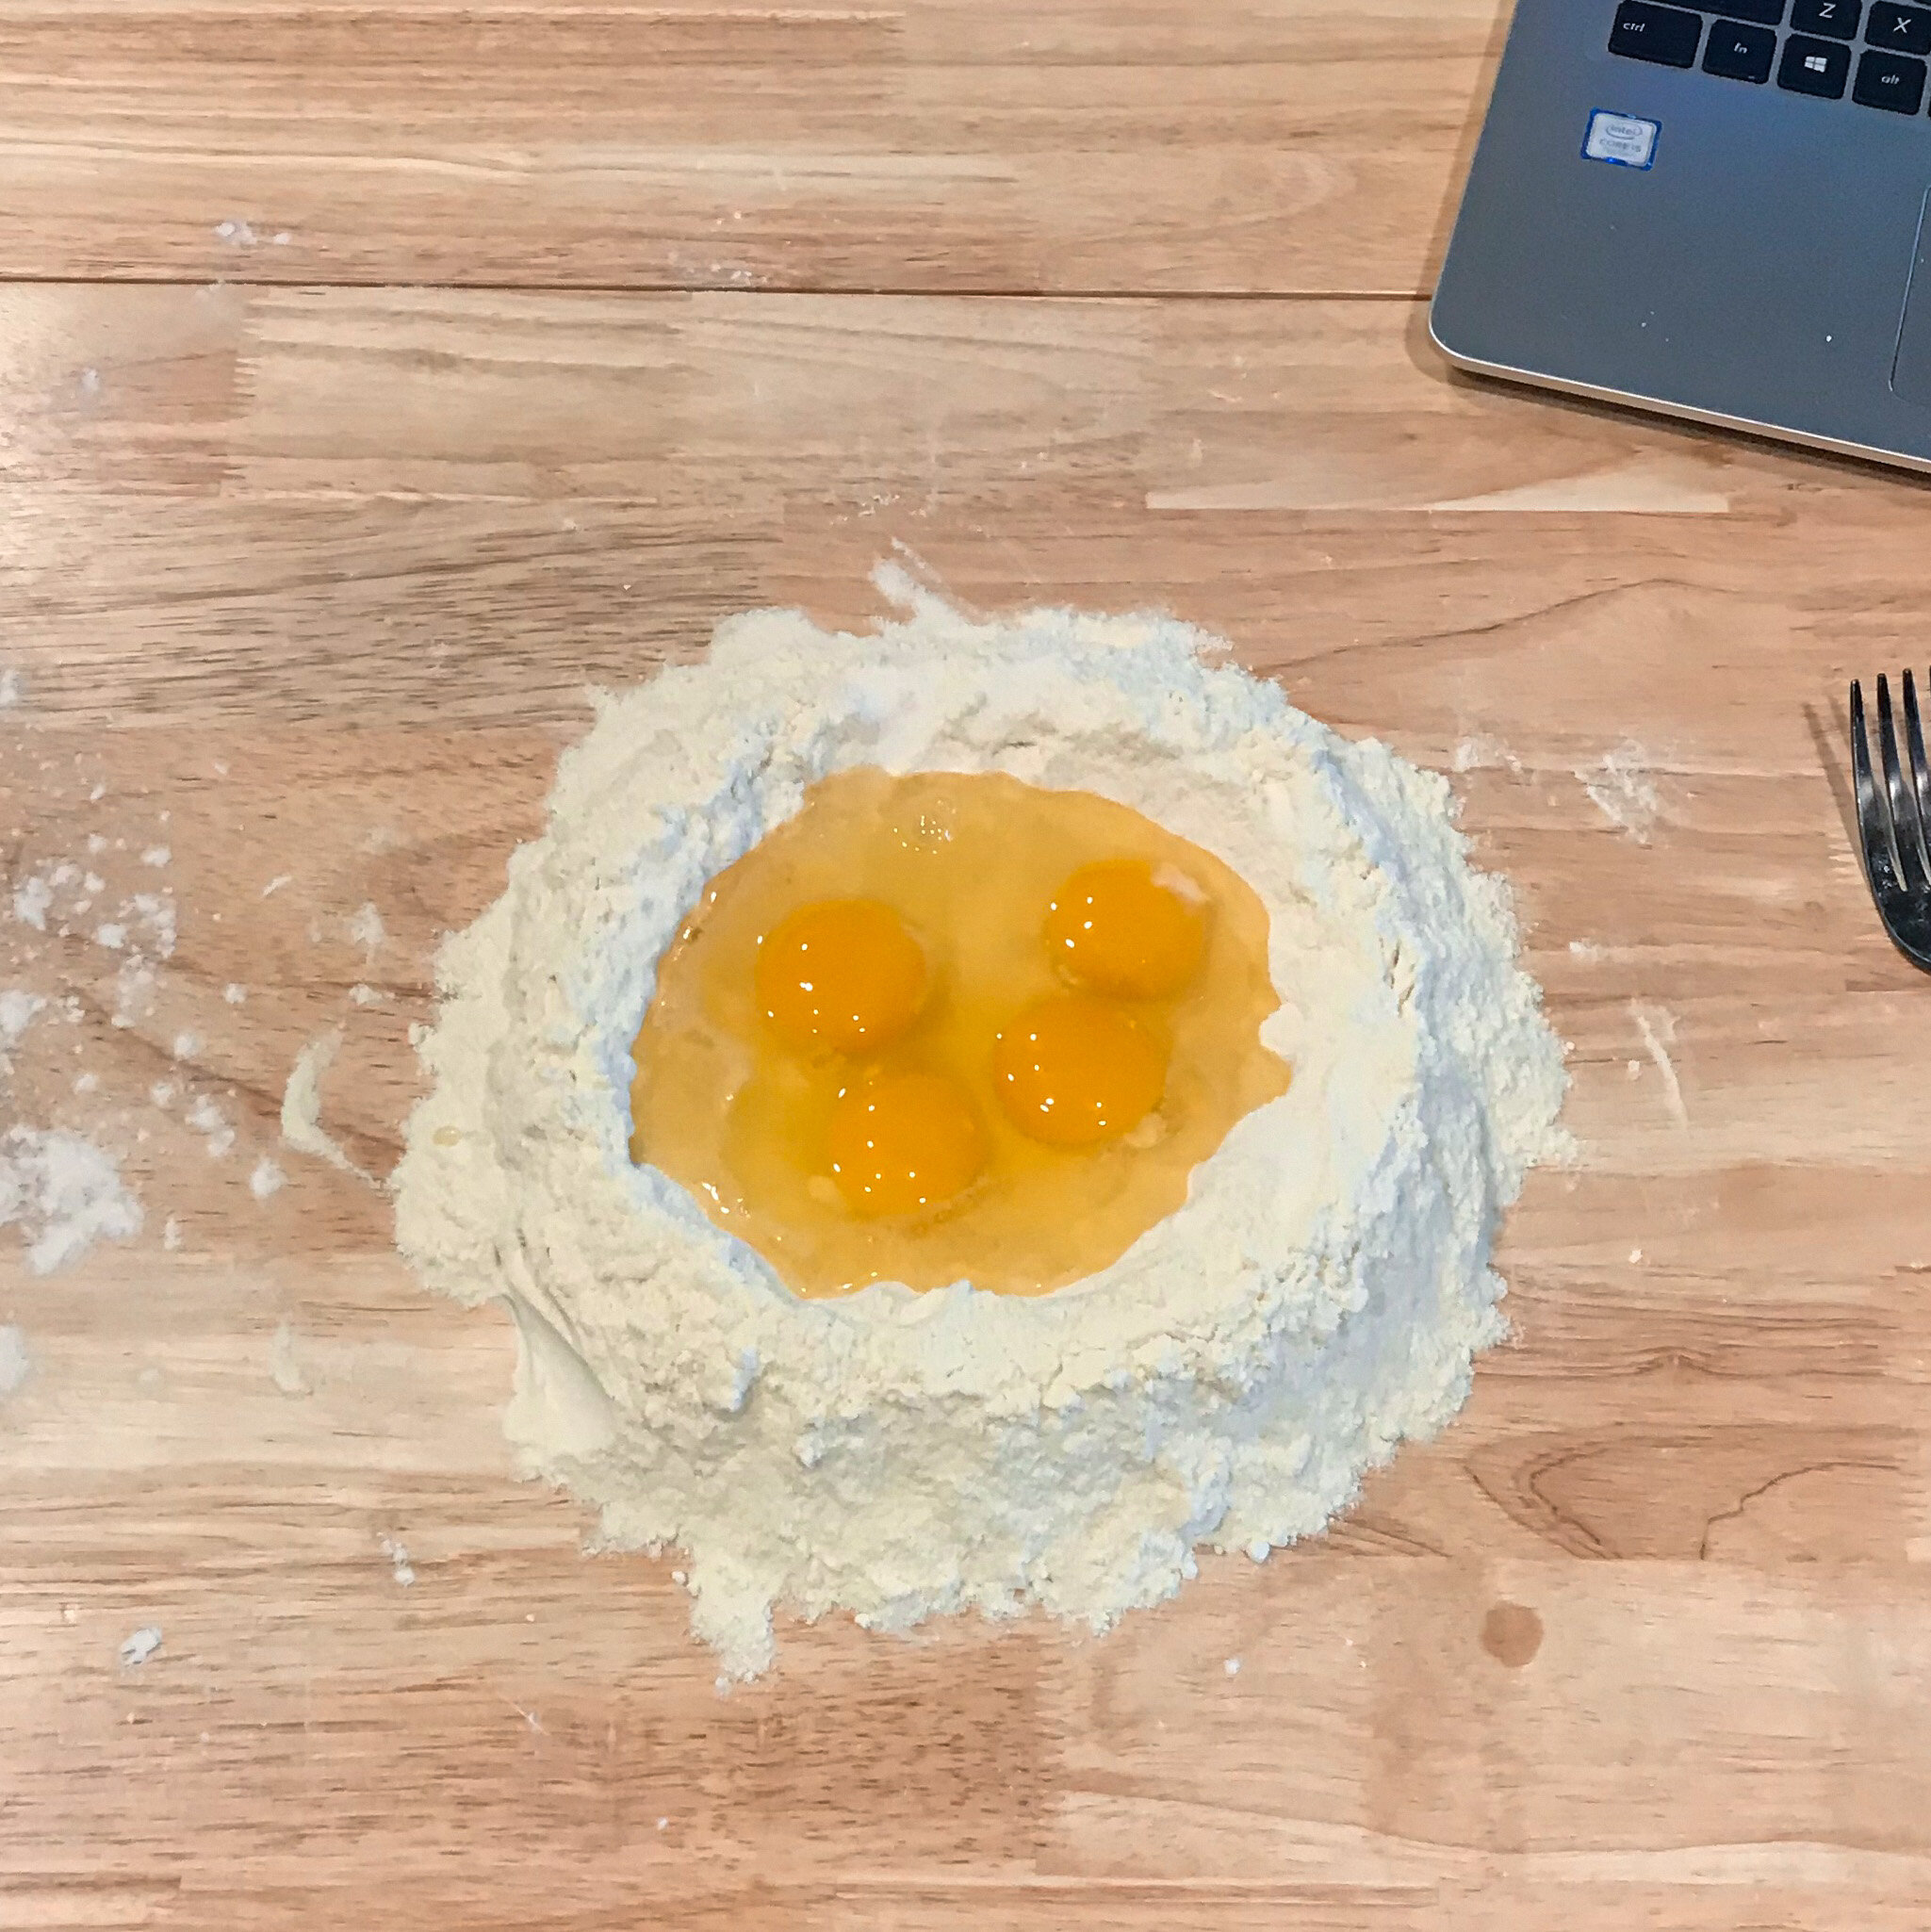
- Sift together the flours and salt. You can mix either in a large bowl or on a clean countertop. Form a well in the center of the flour, wide enough to hold all your eggs. You can also combine all the ingredients in a stand mixer and mix on medium with a dough hook.
- Crack eggs into the well and break each yolk with a fork. Gently whisk eggs, adding in the water and oil.
- Keep whisking, incorporating the flour a little at a time, being careful not to spill the egg over the edge.
- Once you have a thick paste, bring the dough together with your hands and start kneading. The dough will become less sticky as it comes together. Knead for 10 minutes until smooth and elastic. Test the dough by pressing your knuckle into it. If it bounces back it's ready; if not, keep kneading.
- Wrap dough in plastic wrap and let rest for 30 minutes. This is the time to make your filling or sauce.
- To roll and shape your dough, flour your surface and roll dough out to the desired thickness with a rolling pin, or cut in chunks and pass through a pasta roller. Cut into desired shapes and/or fill with your favorite filling.
- Brink a large pot of salted water to a boil. Add pasta and cook till the noodles float to the top, between 1-3 minutes. Use a slotted spoon to remove the finished noodles until all the pasta is cooked.
===========
Notes:
– To use a pasta roller, start with the widest setting and pass a flattened, floured disk through slowly. Fold the sheet in thirds and pass through on the same setting. Fold again and pass through one more time. Now, adjust your thickness by one or two degrees each pass, until you reach your desired thickness.
– If you're making a filled pasta, make sure you seal all the edges well or else your pastas will burst in the water.
– To freeze, coat your noodles with flour and shake off the excess. Form straight noodles into little bird’s nests and place in a Zip-lock bag. Try to lock out as much air as you can, then stick in the freezer. You can freeze homemade pasta for up to a month; make sure you write the date on the bag.
